Agen Allwedd Sand Caverns trip 09/08/2020
Unless otherwise stated, camera, setups, lighting, edits and gallery effects by Tarquin. Modelling and lighting at various points will be Pete Bolt.
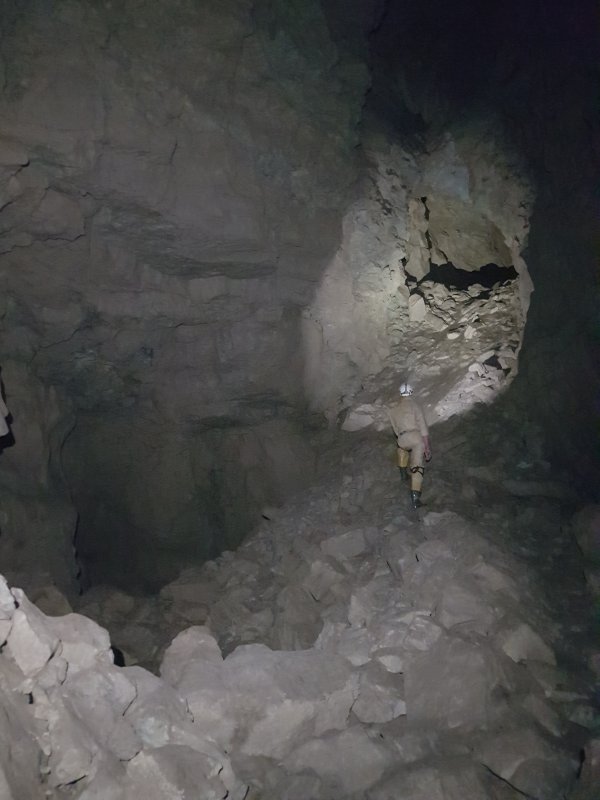
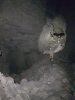 Sand Caverns, just beyond the junction with Selenite Needle Passage, which I have already covered in other galleries. The branch is blind, and the way on is the alcove on the left.
Modelling by Pete, lighting by Tarquin and Pete
Sand Caverns, just beyond the junction with Selenite Needle Passage, which I have already covered in other galleries. The branch is blind, and the way on is the alcove on the left.
Modelling by Pete, lighting by Tarquin and Pete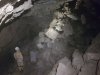 The way on passes through a ruckle, with several options that all work.
Modelling by Pete, lighting by Tarquin and Pete
The way on passes through a ruckle, with several options that all work.
Modelling by Pete, lighting by Tarquin and Pete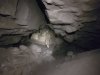 The early part remains reasonably sized.
Modelling by Pete, lighting by Tarquin and Pete
The early part remains reasonably sized.
Modelling by Pete, lighting by Tarquin and Pete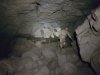 The way on is not difficult to find. The passage, however, still has not shown off its quality.
Modelling by Pete, lighting by Tarquin and Pete
The way on is not difficult to find. The passage, however, still has not shown off its quality.
Modelling by Pete, lighting by Tarquin and Pete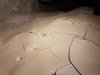 Mud formations.
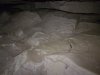 Mud formations.
 Finally back to good passage, with a small stream between the sand banks; the sand of Sand Caverns.
Modelling by Pete, lighting by Tarquin and Pete
Finally back to good passage, with a small stream between the sand banks; the sand of Sand Caverns.
Modelling by Pete, lighting by Tarquin and Pete Inlet with a climbing pole. It must have been quite a feat to get that pole all the way in here. The inlet closes down very quickly.
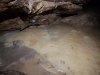 Flowstone on the mud.
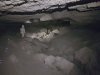 Stream channel.
Modelling by Pete, lighting by Tarquin and Pete
Stream channel.
Modelling by Pete, lighting by Tarquin and Pete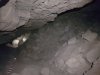 Another choke. We found the obvious way through, without realising that there is another one hidden at the top which goes elsewhere.
Modelling by Pete, lighting by Tarquin and Pete
Another choke. We found the obvious way through, without realising that there is another one hidden at the top which goes elsewhere.
Modelling by Pete, lighting by Tarquin and Pete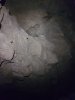 Overpass above a natural rock bridge. We would return here later.
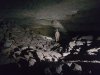 The passage suddenly grows to a very grand scale.
Modelling by Pete, lighting by Tarquin and Pete
The passage suddenly grows to a very grand scale.
Modelling by Pete, lighting by Tarquin and Pete A side passage that appears to end very quickly.
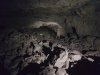 Staying in the big passage.
Modelling by Pete, lighting by Tarquin and Pete
Staying in the big passage.
Modelling by Pete, lighting by Tarquin and Pete Cryostal on the boulders.
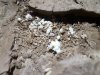 Cryostal, revealed below the mud cap.
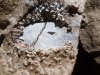 Revealed by drips.
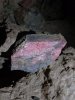 Brightly coloured rock. This appears to be shale.
 The final chamber is also the best.
Modelling by Pete, lighting by Tarquin and Pete
The final chamber is also the best.
Modelling by Pete, lighting by Tarquin and Pete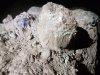 Mud formation in the final chamber.
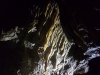 Translucent curtains.
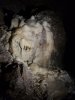 Stalagmite flow.
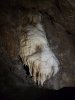 Flowstone on the wall.
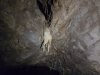 Stalactites that look like pig's ears.
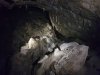 The highlight of the final chamber is this huge grotto, a jewel in the crown for Aggy.
Lighting by Tarquin and Pete
The highlight of the final chamber is this huge grotto, a jewel in the crown for Aggy.
Lighting by Tarquin and Pete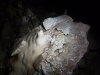 Beautifully textured stalagmite.
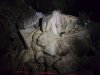 Poured cream.
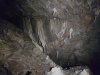 Decorations at the back of the chamber, mostly curtains.
 Stalagmite boulders.
 Little curtains.
 End of the passage, which has not been extended despite being found in 1975-1976.
Modelling by Pete, lighting by Tarquin and Pete
End of the passage, which has not been extended despite being found in 1975-1976.
Modelling by Pete, lighting by Tarquin and Pete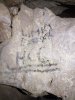 Signature left by the original explorers from Hereford Caving Club; LIMIT [OF] EXPLO[RATION] HCC.
 We climbed up a pole near the last choke, where a short passage took us into the overpass. From there, a continuing passage entered Central Avenue, a large canyon passage leading over to Selenite Tunnel.
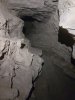 Central Avenue.
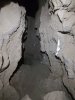 The passage branches, and we took the wrong branch (the description and survey were terrible), which was not as comfortable as the passage before it.
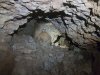 A scramble up through a choke gave access to a domed passage in the nodular bed, which dropped us back out in Sand Caverns at the other end of the choke.
Modelling by Pete, lighting by Tarquin and Pete
A scramble up through a choke gave access to a domed passage in the nodular bed, which dropped us back out in Sand Caverns at the other end of the choke.
Modelling by Pete, lighting by Tarquin and Pete Rescue dump at the Inner Circle, with emergency food and medical kit, in case the way out flooded or collapsed.
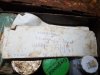 It has been here since 1976, nearly 20 years after the original exploration, and is more like a time capsule of outdated medical products, rather than being of any current use.
 Sand Caverns, just beyond the junction with Selenite Needle Passage, which I have already covered in other galleries. The branch is blind, and the way on is the alcove on the left.
Modelling by Pete, lighting by Tarquin and Pete
Sand Caverns, just beyond the junction with Selenite Needle Passage, which I have already covered in other galleries. The branch is blind, and the way on is the alcove on the left.
Modelling by Pete, lighting by Tarquin and Pete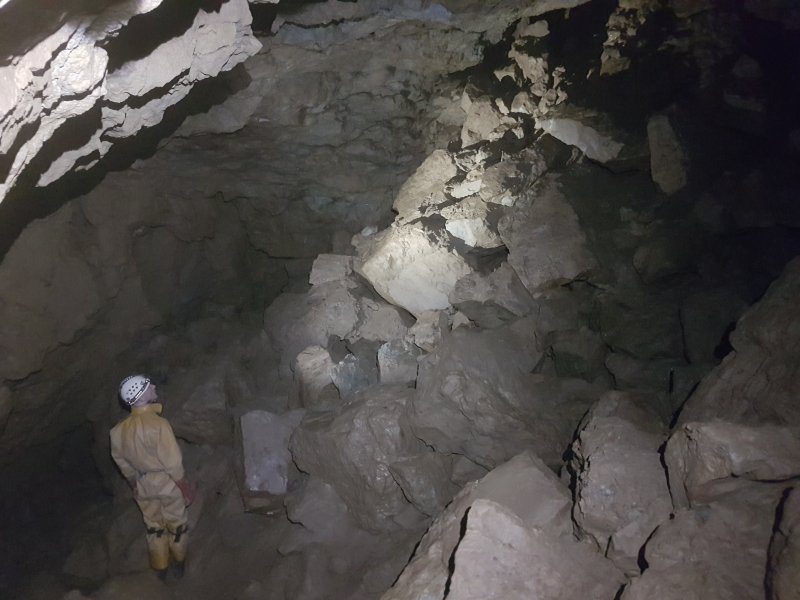 The way on passes through a ruckle, with several options that all work.
Modelling by Pete, lighting by Tarquin and Pete
The way on passes through a ruckle, with several options that all work.
Modelling by Pete, lighting by Tarquin and Pete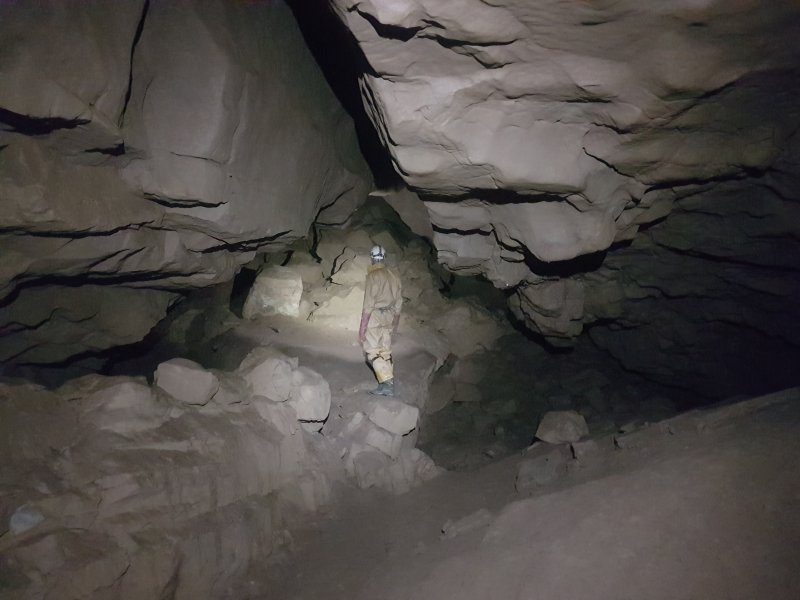 The early part remains reasonably sized.
Modelling by Pete, lighting by Tarquin and Pete
The early part remains reasonably sized.
Modelling by Pete, lighting by Tarquin and Pete The way on is not difficult to find. The passage, however, still has not shown off its quality.
Modelling by Pete, lighting by Tarquin and Pete
The way on is not difficult to find. The passage, however, still has not shown off its quality.
Modelling by Pete, lighting by Tarquin and Pete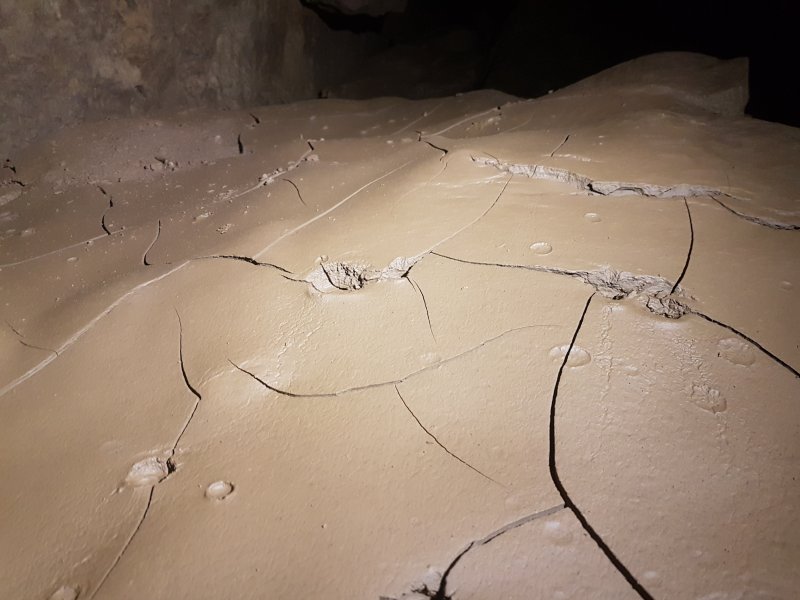 Mud formations.
 Mud formations.
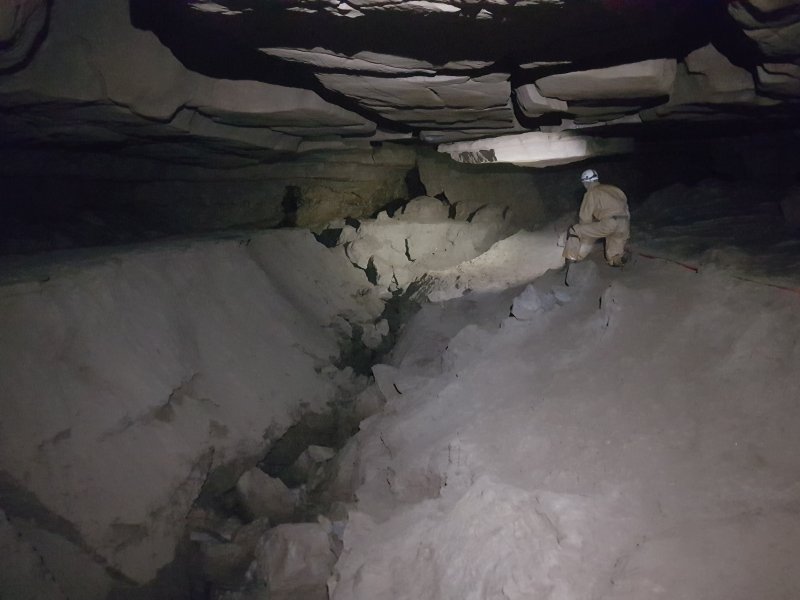 Finally back to good passage, with a small stream between the sand banks; the sand of Sand Caverns.
Modelling by Pete, lighting by Tarquin and Pete
Finally back to good passage, with a small stream between the sand banks; the sand of Sand Caverns.
Modelling by Pete, lighting by Tarquin and Pete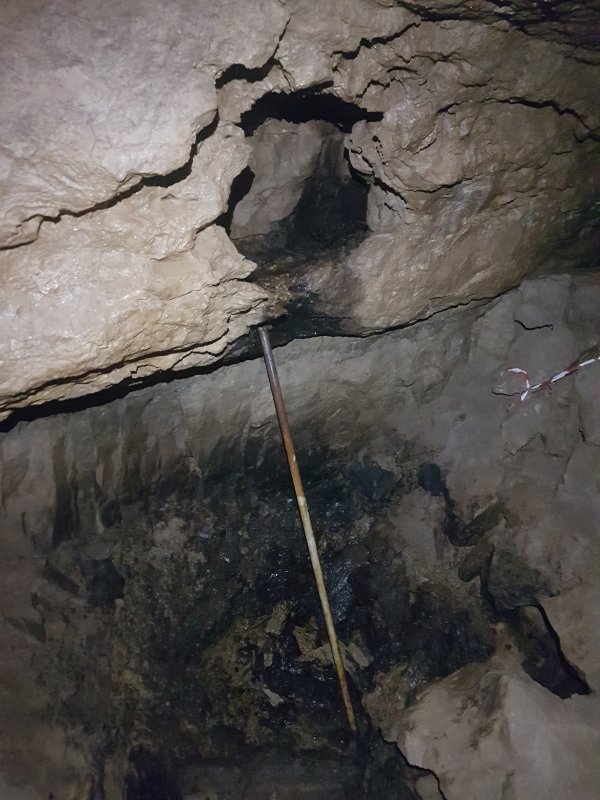 Inlet with a climbing pole. It must have been quite a feat to get that pole all the way in here. The inlet closes down very quickly.
 Flowstone on the mud.
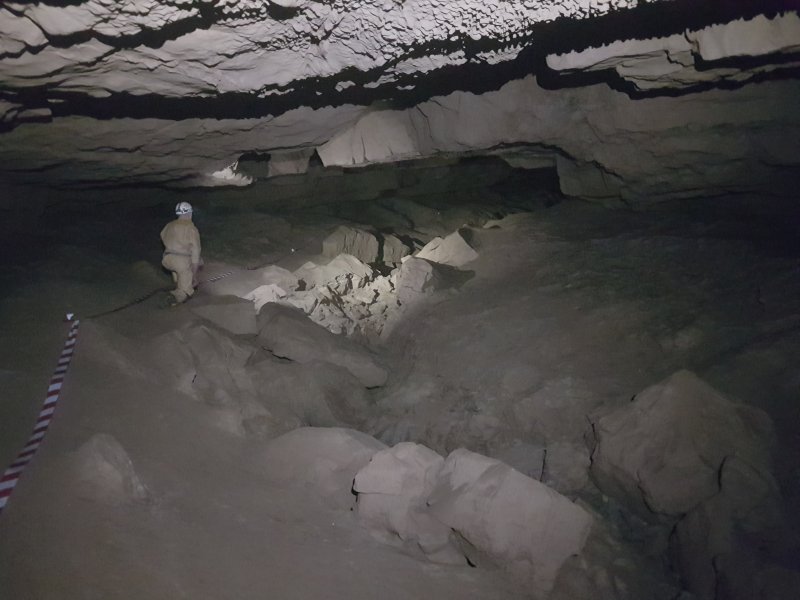 Stream channel.
Modelling by Pete, lighting by Tarquin and Pete
Stream channel.
Modelling by Pete, lighting by Tarquin and Pete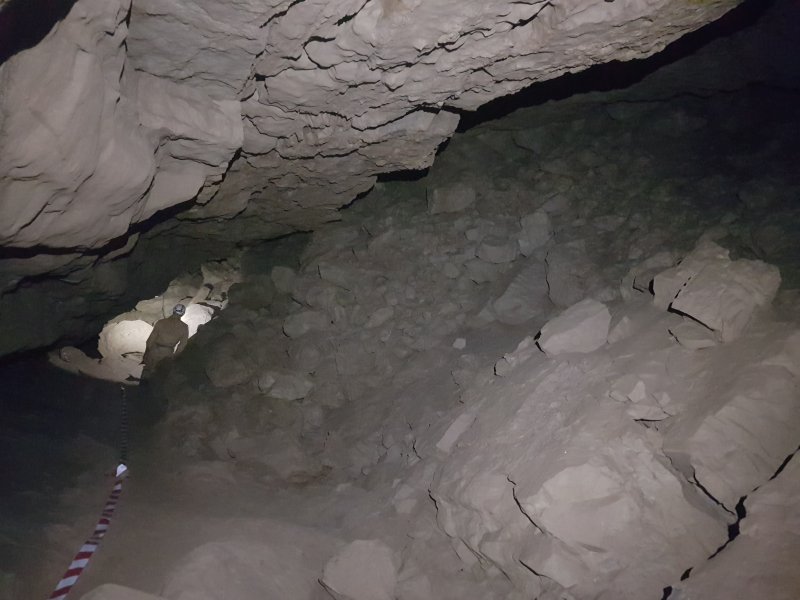 Another choke. We found the obvious way through, without realising that there is another one hidden at the top which goes elsewhere.
Modelling by Pete, lighting by Tarquin and Pete
Another choke. We found the obvious way through, without realising that there is another one hidden at the top which goes elsewhere.
Modelling by Pete, lighting by Tarquin and Pete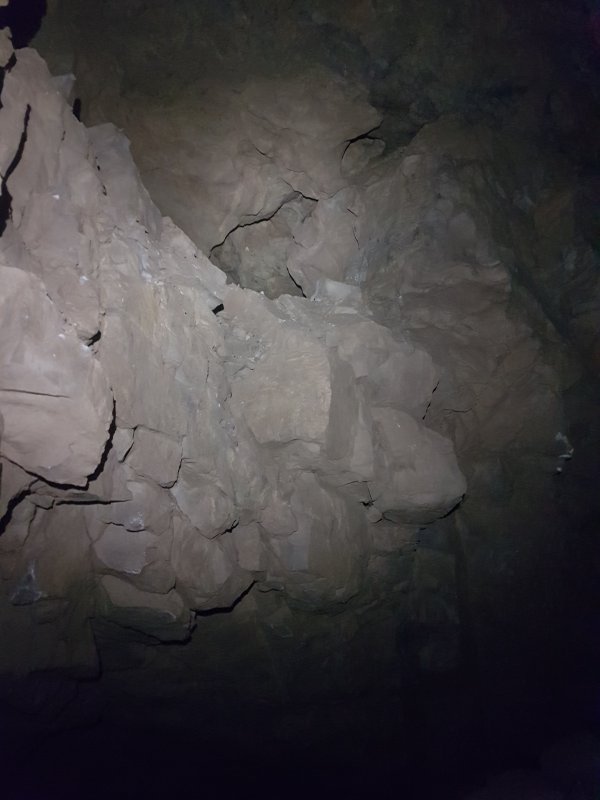 Overpass above a natural rock bridge. We would return here later.
 The passage suddenly grows to a very grand scale.
Modelling by Pete, lighting by Tarquin and Pete
The passage suddenly grows to a very grand scale.
Modelling by Pete, lighting by Tarquin and Pete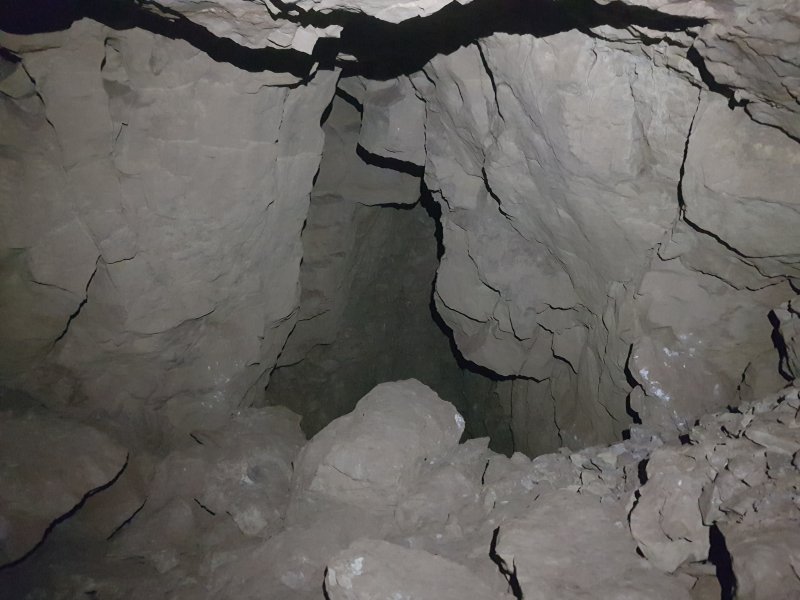 A side passage that appears to end very quickly.
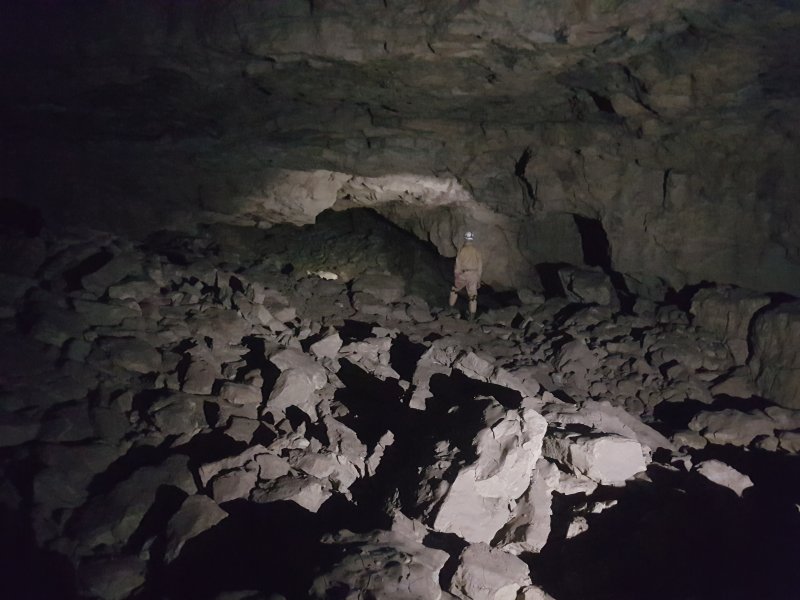 Staying in the big passage.
Modelling by Pete, lighting by Tarquin and Pete
Staying in the big passage.
Modelling by Pete, lighting by Tarquin and Pete Cryostal on the boulders.
 Cryostal, revealed below the mud cap.
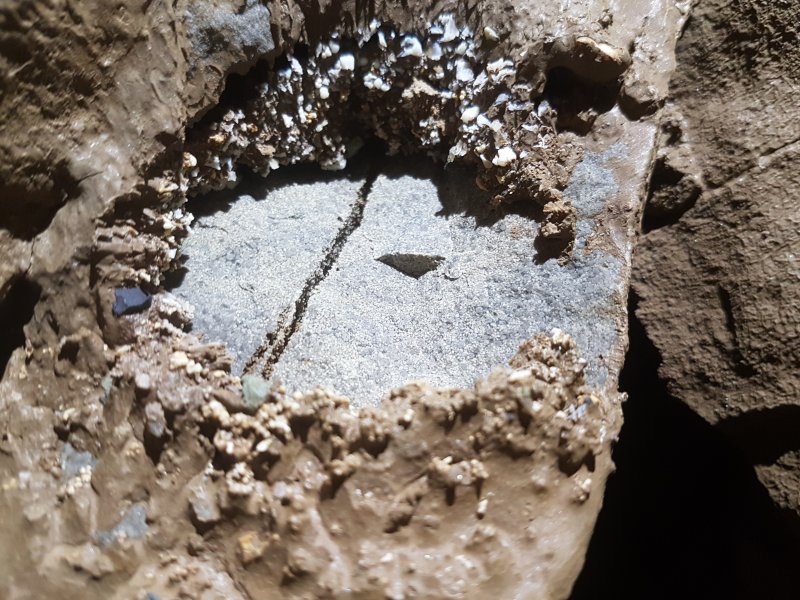 Revealed by drips.
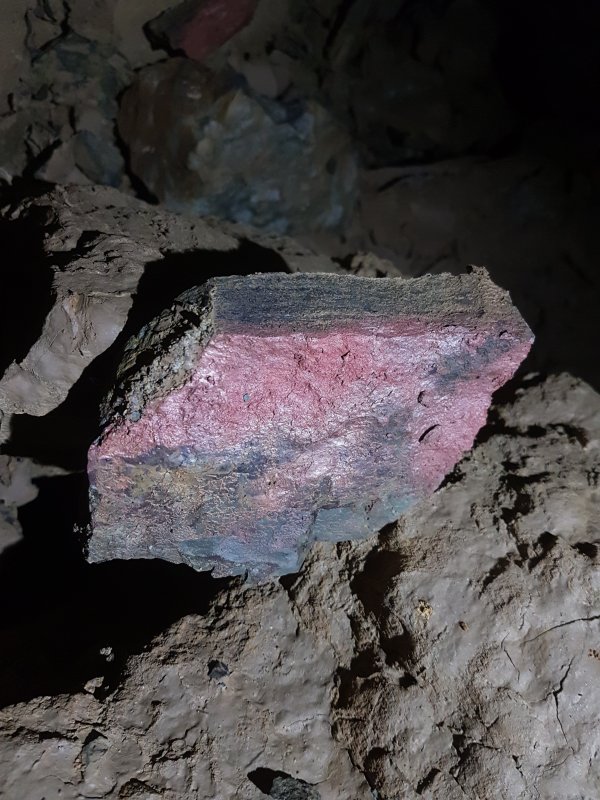 Brightly coloured rock. This appears to be shale.
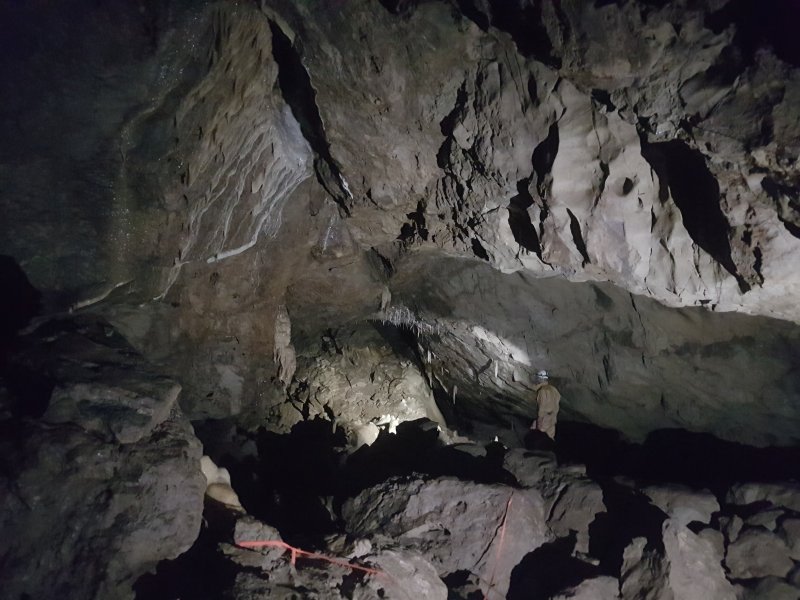 The final chamber is also the best.
Modelling by Pete, lighting by Tarquin and Pete
The final chamber is also the best.
Modelling by Pete, lighting by Tarquin and Pete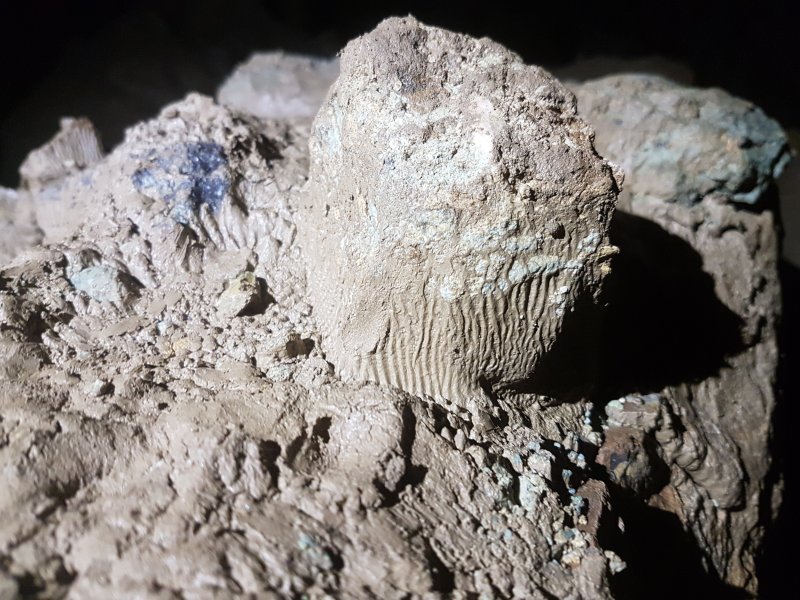 Mud formation in the final chamber.
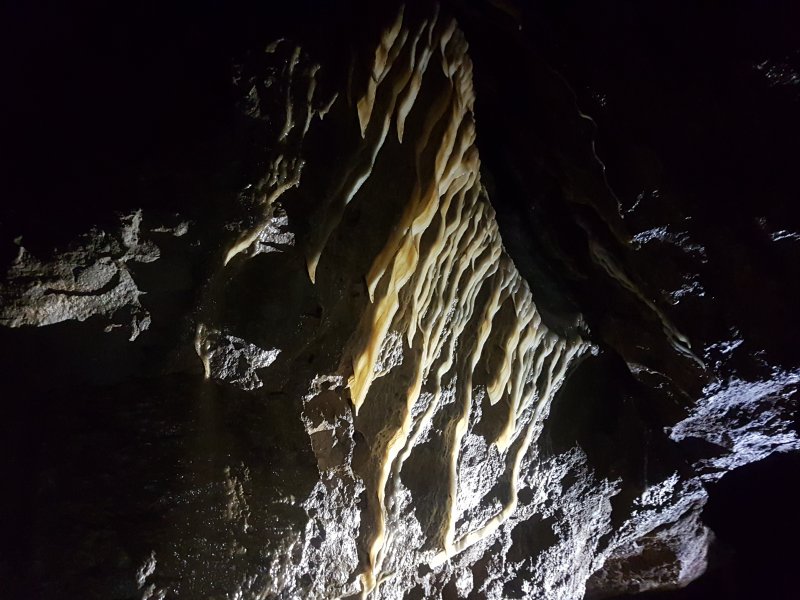 Translucent curtains.
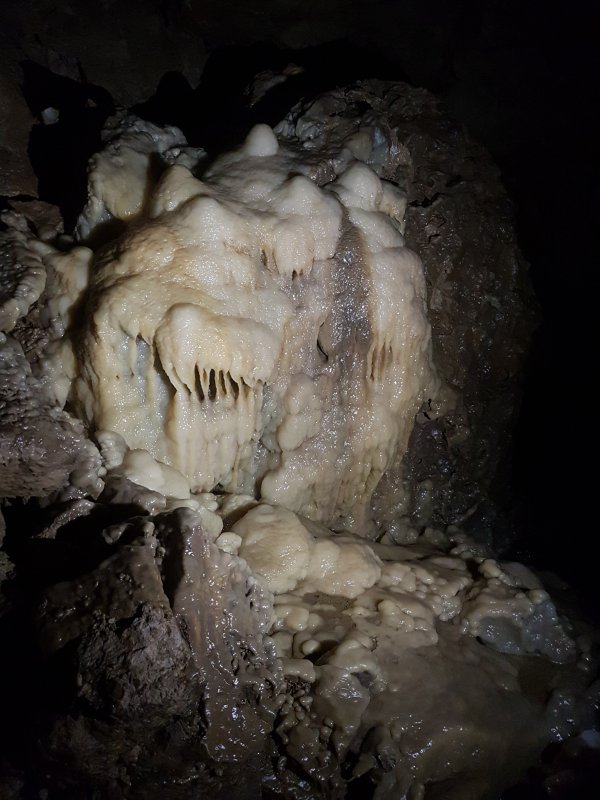 Stalagmite flow.
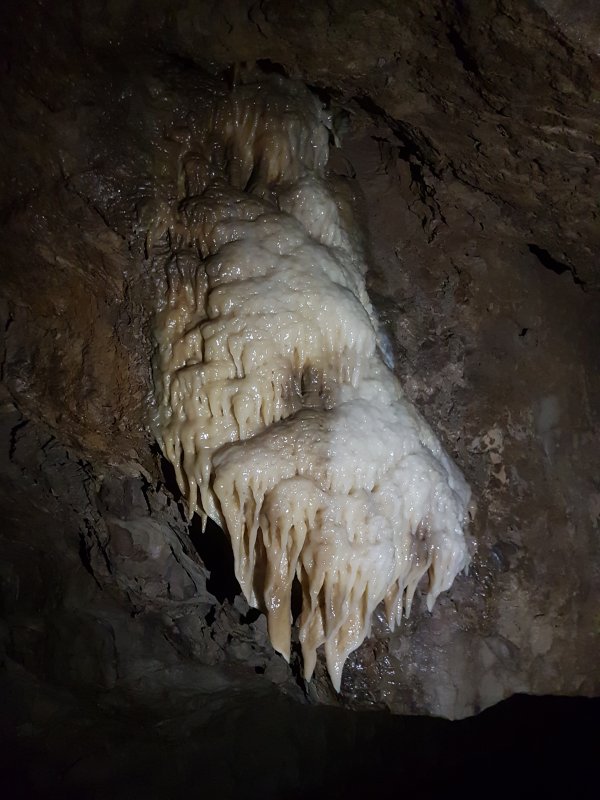 Flowstone on the wall.
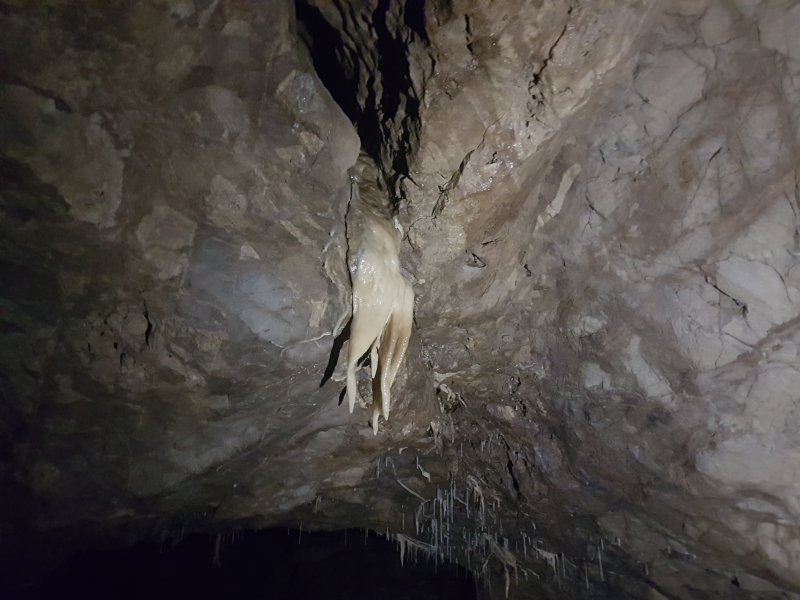 Stalactites that look like pig's ears.
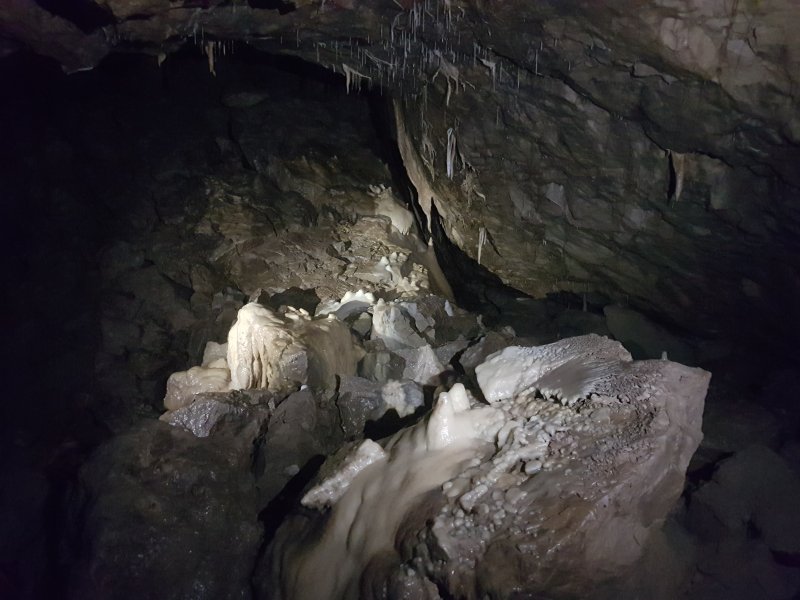 The highlight of the final chamber is this huge grotto, a jewel in the crown for Aggy.
Lighting by Tarquin and Pete
The highlight of the final chamber is this huge grotto, a jewel in the crown for Aggy.
Lighting by Tarquin and Pete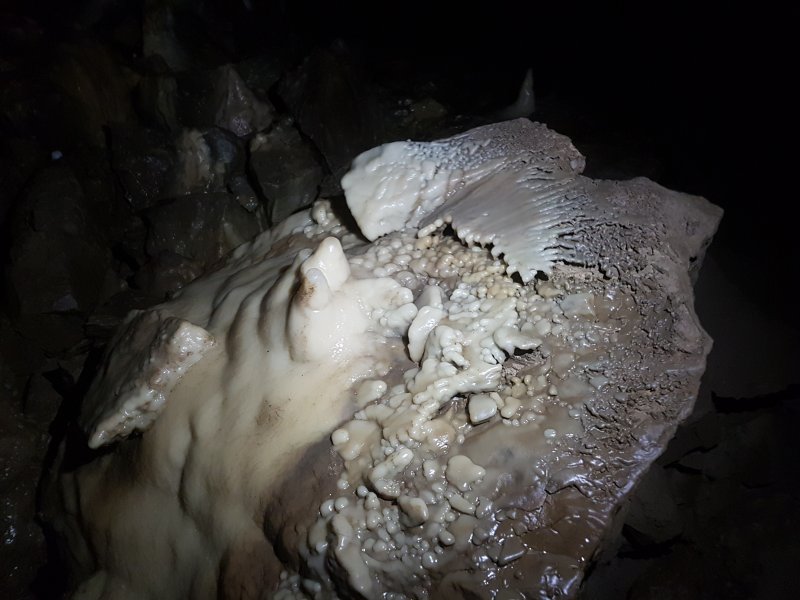 Beautifully textured stalagmite.
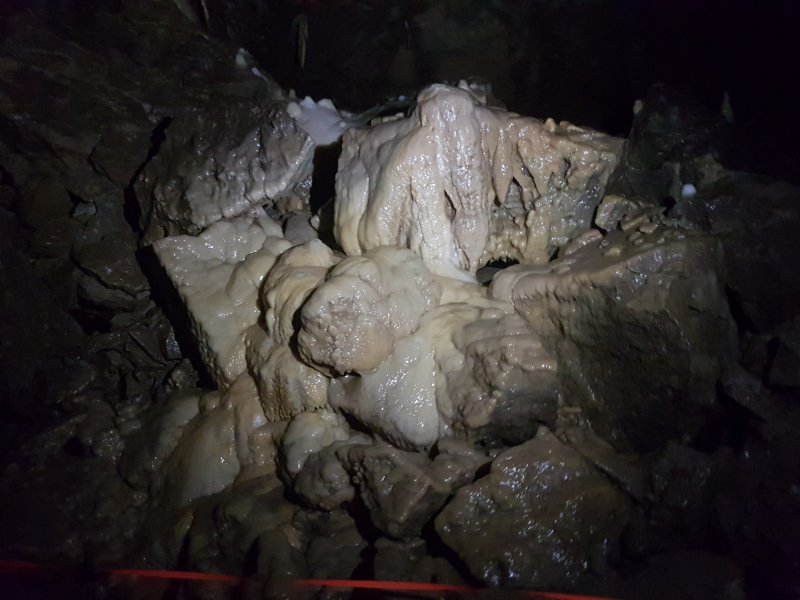 Poured cream.
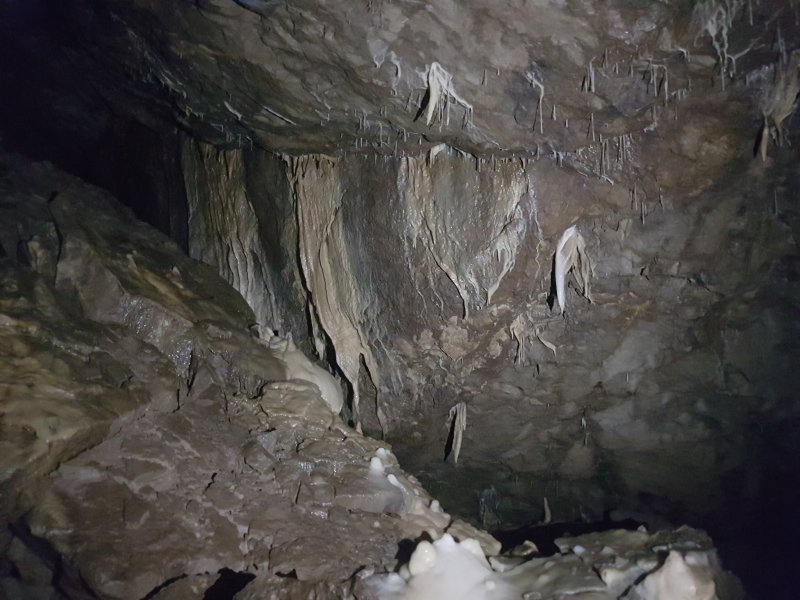 Decorations at the back of the chamber, mostly curtains.
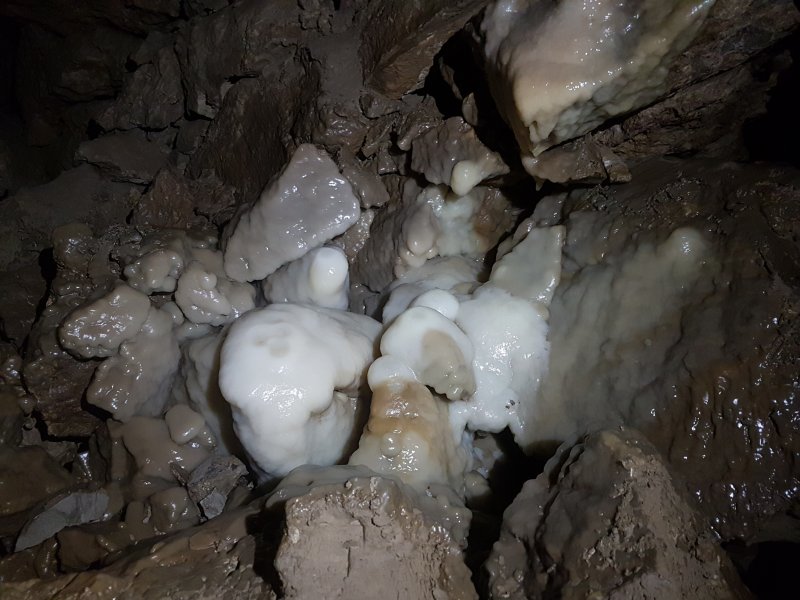 Stalagmite boulders.
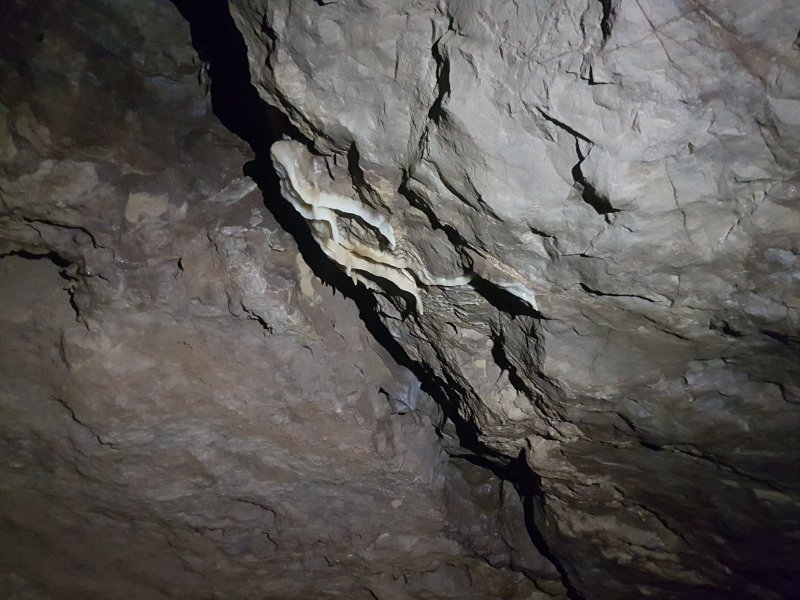 Little curtains.
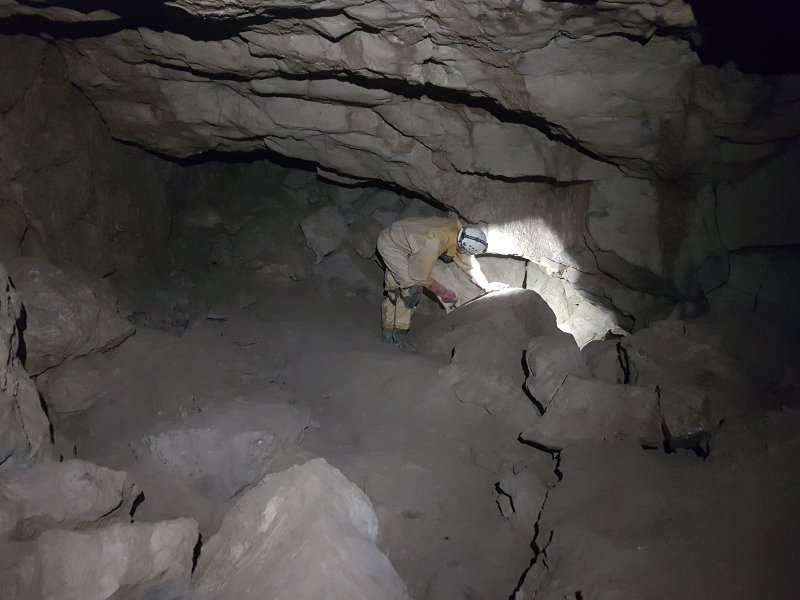 End of the passage, which has not been extended despite being found in 1975-1976.
Modelling by Pete, lighting by Tarquin and Pete
End of the passage, which has not been extended despite being found in 1975-1976.
Modelling by Pete, lighting by Tarquin and Pete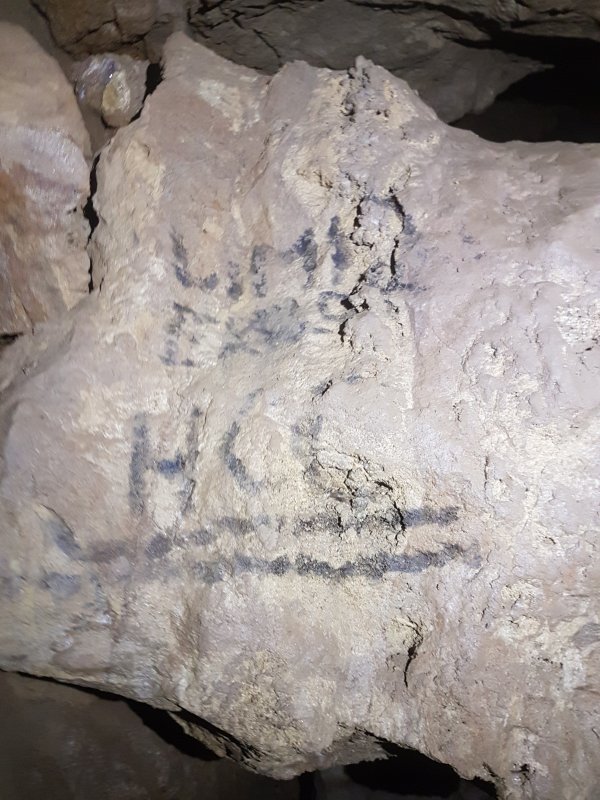 Signature left by the original explorers from Hereford Caving Club; LIMIT [OF] EXPLO[RATION] HCC.
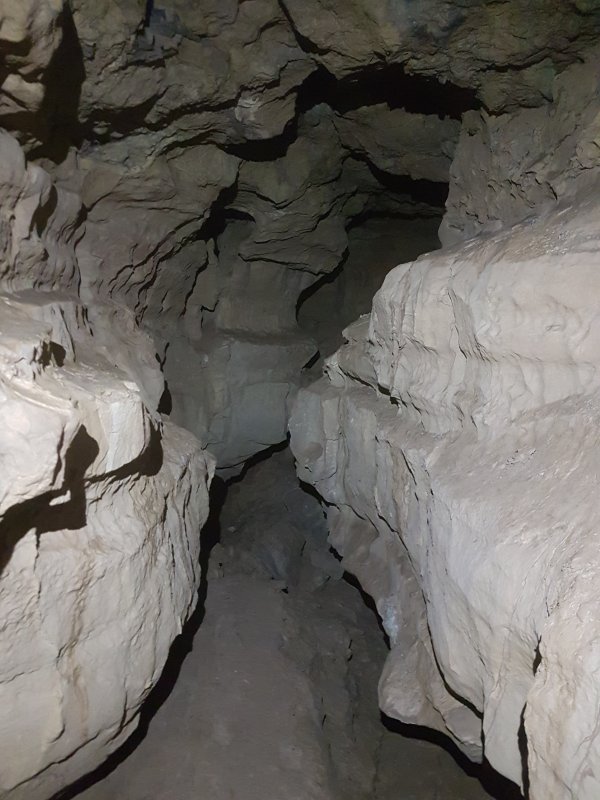 We climbed up a pole near the last choke, where a short passage took us into the overpass. From there, a continuing passage entered Central Avenue, a large canyon passage leading over to Selenite Tunnel.
 Central Avenue.
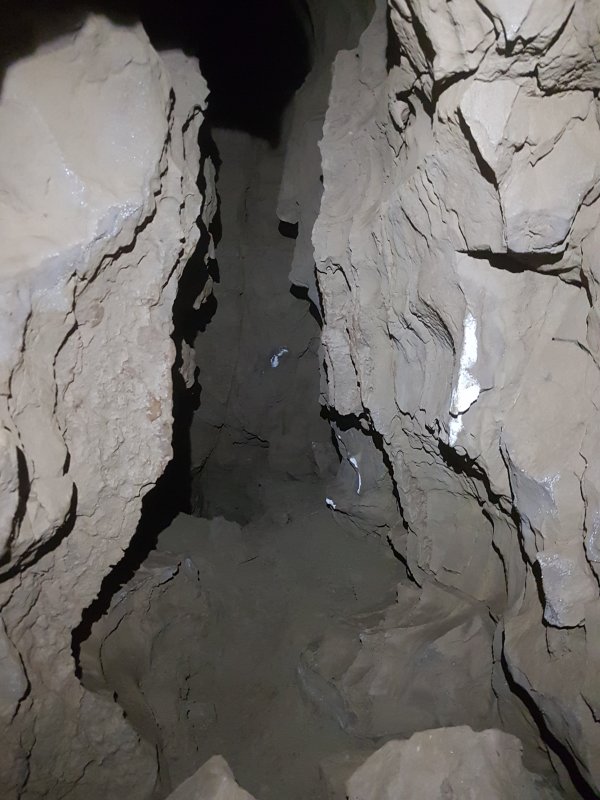 The passage branches, and we took the wrong branch (the description and survey were terrible), which was not as comfortable as the passage before it.
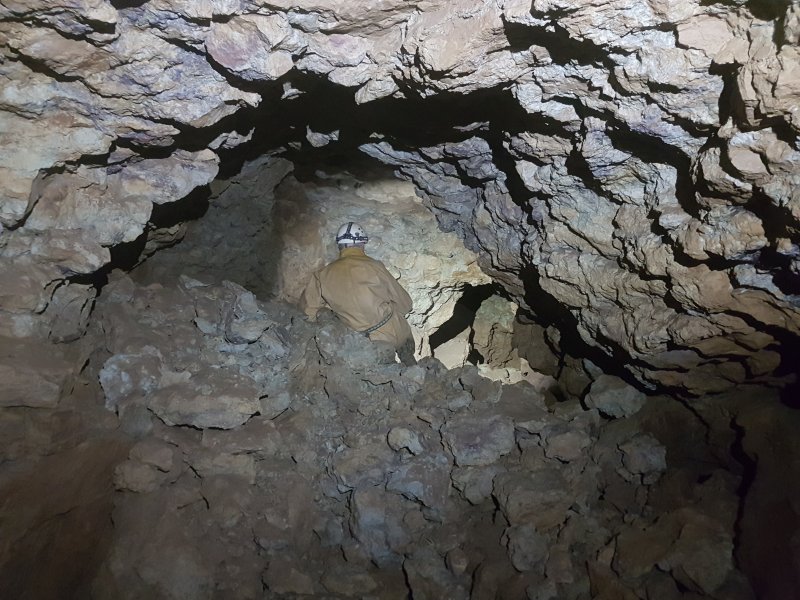 A scramble up through a choke gave access to a domed passage in the nodular bed, which dropped us back out in Sand Caverns at the other end of the choke.
Modelling by Pete, lighting by Tarquin and Pete
A scramble up through a choke gave access to a domed passage in the nodular bed, which dropped us back out in Sand Caverns at the other end of the choke.
Modelling by Pete, lighting by Tarquin and Pete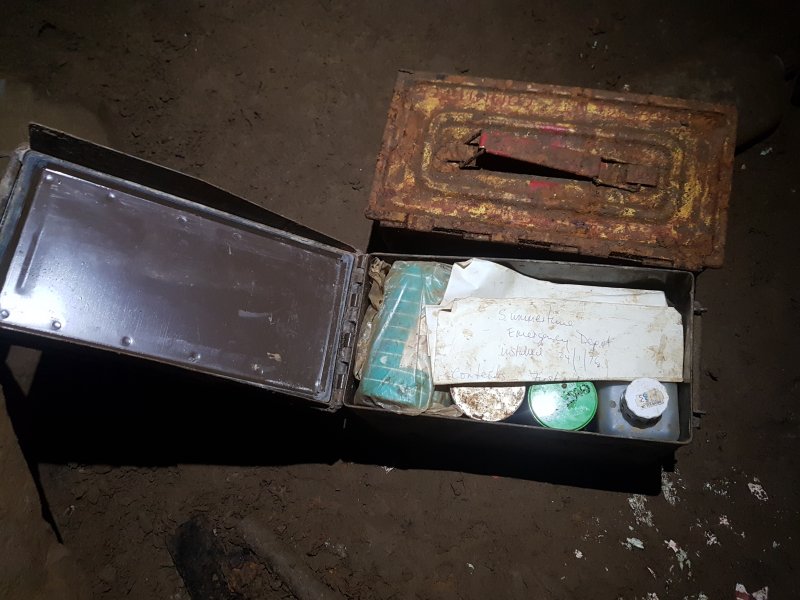 Rescue dump at the Inner Circle, with emergency food and medical kit, in case the way out flooded or collapsed.
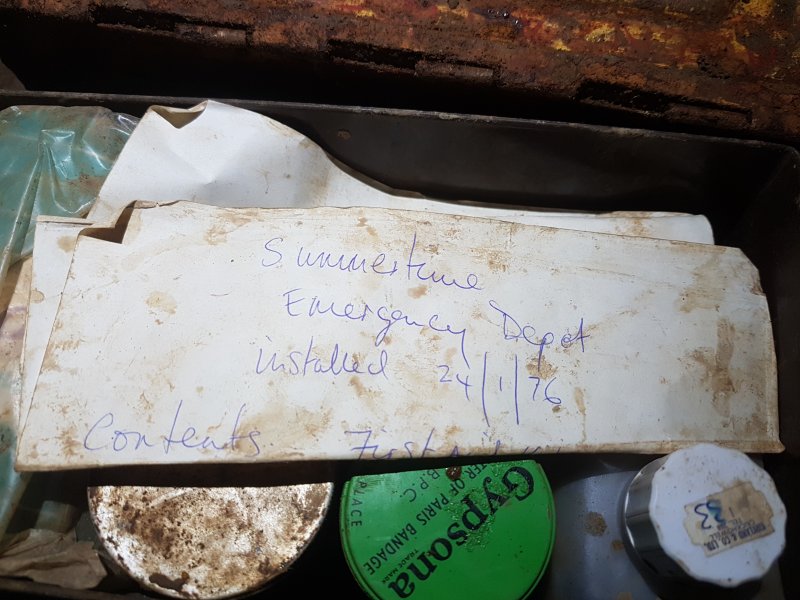 It has been here since 1976, nearly 20 years after the original exploration, and is more like a time capsule of outdated medical products, rather than being of any current use.