Ogof Draenen Big Country trip 11/11/2018
Unless otherwise stated, camera, setups, lighting, edits and gallery effects by Tarquin. Modelling and lighting at various points will be Pete Bolt.
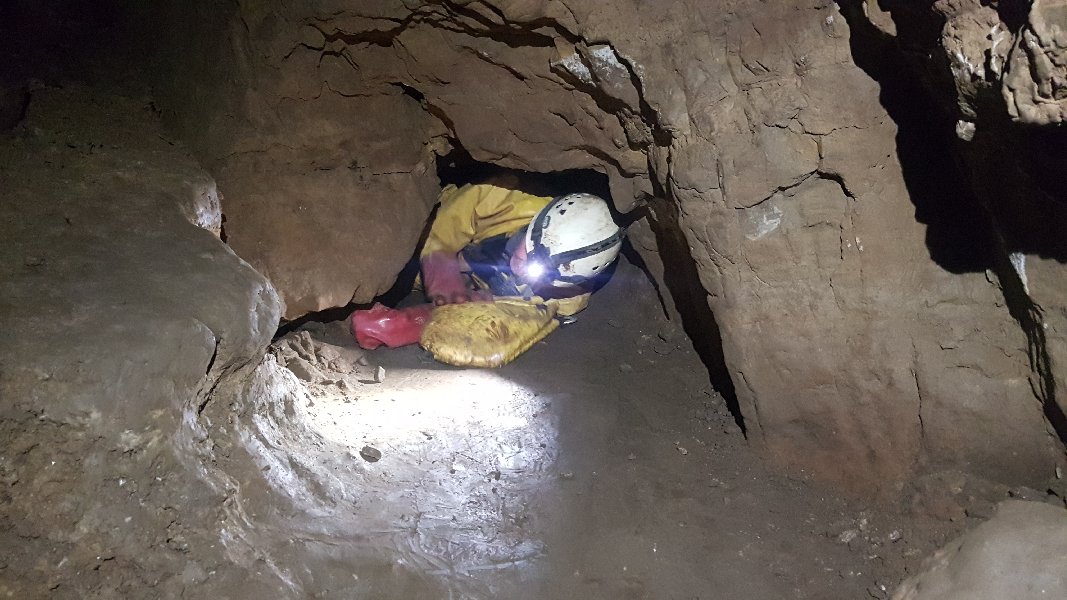
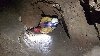 Lucky 13 Passage, the way into Lucky 13 Series, just after the breakthrough point.
Lighting by Tarquin and Pete
Lucky 13 Passage, the way into Lucky 13 Series, just after the breakthrough point.
Lighting by Tarquin and Pete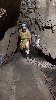 Cracked mud near the end of Lucky 13 Passage.
Lighting by Tarquin and Pete
Cracked mud near the end of Lucky 13 Passage.
Lighting by Tarquin and Pete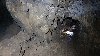 Station 13 Passage, the way to Big Country, and the original route through Lucky 13 Series. Gone With The Wind and Going Somewhere quickly took over as the major route, once the Midwinter Chambers connection was made.
Lighting by Tarquin and Pete
Station 13 Passage, the way to Big Country, and the original route through Lucky 13 Series. Gone With The Wind and Going Somewhere quickly took over as the major route, once the Midwinter Chambers connection was made.
Lighting by Tarquin and Pete Gone In The Years South, the original way to Snowball Passage via Rogered Senseless.
Lighting by Tarquin and Pete
Gone In The Years South, the original way to Snowball Passage via Rogered Senseless.
Lighting by Tarquin and Pete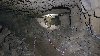 Gone In The Years North, the way to Big Country.
Lighting by Tarquin and Pete
Gone In The Years North, the way to Big Country.
Lighting by Tarquin and Pete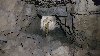 Beyond the choke at the former end of Gone In The Years North, a discovery made by Pete and his companions from the BEC.
Lighting by Tarquin and Pete
Beyond the choke at the former end of Gone In The Years North, a discovery made by Pete and his companions from the BEC.
Lighting by Tarquin and Pete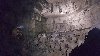 The final breakthrough came when a choke (which no longer exists) was passed into this chamber. Officially, this marks the start of the Big Country Extensions.
Lighting by Tarquin and Pete
The final breakthrough came when a choke (which no longer exists) was passed into this chamber. Officially, this marks the start of the Big Country Extensions.
Lighting by Tarquin and Pete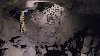 The most complex junction in the cave. No less than 10 passages lead off from this chamber: 5 from the balcony ahead, 4 below the balcony, and the way on directly under the balcony climb.
Lighting by Tarquin and Pete
The most complex junction in the cave. No less than 10 passages lead off from this chamber: 5 from the balcony ahead, 4 below the balcony, and the way on directly under the balcony climb.
Lighting by Tarquin and Pete The start of Three Amigos!, the way on.
Lighting by Tarquin and Pete
The start of Three Amigos!, the way on.
Lighting by Tarquin and Pete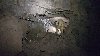 The way to Slaughter Canyon, where the large passage ends.
Lighting by Tarquin and Pete
The way to Slaughter Canyon, where the large passage ends.
Lighting by Tarquin and Pete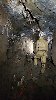 The large side passage continuing ahead instead, leading towards Nervous Breakdown.
Lighting by Tarquin and Pete
The large side passage continuing ahead instead, leading towards Nervous Breakdown.
Lighting by Tarquin and Pete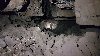 The largest part of the side passage where the oxbow rejoins, shortly before Nervous Breakdown. Nervous Breakdown is a frighteningly unstable section of passage, which is most definitely not worth the risk to visit it.
Lighting by Tarquin and Pete
The largest part of the side passage where the oxbow rejoins, shortly before Nervous Breakdown. Nervous Breakdown is a frighteningly unstable section of passage, which is most definitely not worth the risk to visit it.
Lighting by Tarquin and Pete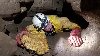 Slaughter Canyon is the traditional and normal route into Big Country, being a relatively short but low crawl.
Lighting by Tarquin and Pete
Slaughter Canyon is the traditional and normal route into Big Country, being a relatively short but low crawl.
Lighting by Tarquin and Pete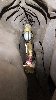 The highlight of Slaughter Canyon is the squeeze, which looks ridiculously impossible when first approached. On the breakthrough trip, Pete took 2 large tackle bags through this without even knowing if it would go anywhere, following his companions.
Lighting by Tarquin and Pete
The highlight of Slaughter Canyon is the squeeze, which looks ridiculously impossible when first approached. On the breakthrough trip, Pete took 2 large tackle bags through this without even knowing if it would go anywhere, following his companions.
Lighting by Tarquin and Pete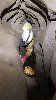 The squeeze is actually a lot easier than it looks (which is lucky), as long as you remain in the wider section part way down, not at ceiling or floor level. This is quite deceptive, because both the top and bottom look bigger. It is not particularly tight, as long as you get the right position.
Lighting by Tarquin and Pete
The squeeze is actually a lot easier than it looks (which is lucky), as long as you remain in the wider section part way down, not at ceiling or floor level. This is quite deceptive, because both the top and bottom look bigger. It is not particularly tight, as long as you get the right position.
Lighting by Tarquin and Pete Exiting Slaughter Canyon from an almost invisible hole into the side of an enormous passage.
Lighting by Tarquin and Pete
Exiting Slaughter Canyon from an almost invisible hole into the side of an enormous passage.
Lighting by Tarquin and Pete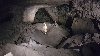 The mudbanks start just downstream of Blorenge Inlet, seen here looking upstream. This is the point where a large lake can form in flood. Clive Westlake's famous picture (which can be seen in Clive Westlake's Draenen picture gallery on this website) was taken in the opposite direction here.
Lighting by Tarquin and Pete
The mudbanks start just downstream of Blorenge Inlet, seen here looking upstream. This is the point where a large lake can form in flood. Clive Westlake's famous picture (which can be seen in Clive Westlake's Draenen picture gallery on this website) was taken in the opposite direction here.
Lighting by Tarquin and Pete The largest section of Big Country, also seen in one of Clive's pictures in the opposite direction. Tucked invisibly behind some rocks on the right at this point is the entrance to the parallel streamway. Where the passage narrows ahead, the stream invisibly slides right to join the line of the parallel streamway.
Lighting by Tarquin and Pete
The largest section of Big Country, also seen in one of Clive's pictures in the opposite direction. Tucked invisibly behind some rocks on the right at this point is the entrance to the parallel streamway. Where the passage narrows ahead, the stream invisibly slides right to join the line of the parallel streamway.
Lighting by Tarquin and Pete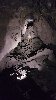 The parallel streamway is very large indeed, but Pete and his team had not noticed it because of how well the entrance is hidden. It was discovered later during surveying. It heads back upstream.
Lighting by Tarquin and Pete
The parallel streamway is very large indeed, but Pete and his team had not noticed it because of how well the entrance is hidden. It was discovered later during surveying. It heads back upstream.
Lighting by Tarquin and Pete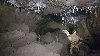 Formations in the parallel streamway.
Lighting by Tarquin and Pete
Formations in the parallel streamway.
Lighting by Tarquin and Pete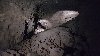 The parallel streamway has a large side passage which degenerates into tiny passages almost immediately when it intersects a barite vein. The main passage then fills with sediment. The stream can be seen again via a side passage opposite Blorenge Inlet (which was found by Pete's crew). Beyond that, it can then be seen again as the inlets in Three Amigos!
Lighting by Tarquin and Pete
The parallel streamway has a large side passage which degenerates into tiny passages almost immediately when it intersects a barite vein. The main passage then fills with sediment. The stream can be seen again via a side passage opposite Blorenge Inlet (which was found by Pete's crew). Beyond that, it can then be seen again as the inlets in Three Amigos!
Lighting by Tarquin and Pete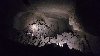 Shortly after the widest section, the main passage of Big Country abruptly ends. Ahead continues as a much smaller series of passages; Canyonland. The way on is down a hole in the alcove on the right, to locate the stream running at a lower level in a parallel passage. Upstream chokes beneath the floor of the large section.
Lighting by Tarquin and Pete
Shortly after the widest section, the main passage of Big Country abruptly ends. Ahead continues as a much smaller series of passages; Canyonland. The way on is down a hole in the alcove on the right, to locate the stream running at a lower level in a parallel passage. Upstream chokes beneath the floor of the large section.
Lighting by Tarquin and Pete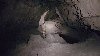 Downstream begins as a mud floored passage, showing signs of regular flooding. The stream would normally run between rocks beneath the mud, but recent flooding had not completely subsided, and deep pools remained with plenty of water flowing through them. Unusually for Draenen, the passage still seems to have its original roof, suggesting that this passage lies just below the limit of permafrost freeze-thaw effects during the ice ages.
Lighting by Tarquin and Pete
Downstream begins as a mud floored passage, showing signs of regular flooding. The stream would normally run between rocks beneath the mud, but recent flooding had not completely subsided, and deep pools remained with plenty of water flowing through them. Unusually for Draenen, the passage still seems to have its original roof, suggesting that this passage lies just below the limit of permafrost freeze-thaw effects during the ice ages.
Lighting by Tarquin and Pete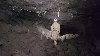 Formations in the downstream direction. This is a rare section of breakdown in the downstream direction.
Lighting by Tarquin and Pete
Formations in the downstream direction. This is a rare section of breakdown in the downstream direction.
Lighting by Tarquin and Pete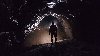 Back to beautifully arched ceilings. The mud banks were quite challenging to cross, being freshly soaked and very slippery, threatening to slide us into another pool.
Lighting by Pete
Back to beautifully arched ceilings. The mud banks were quite challenging to cross, being freshly soaked and very slippery, threatening to slide us into another pool.
Lighting by Pete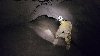 The most serious flood point, showing a scum mark on the ceiling; this part sumps in flood, and had done so recently. The sumped section would be long enough to prevent free diving upstream. There is no possible bypass here; there are some small oxbows, but these also sump completely. It was still raining during our trip, so this was particularly disconcerting. However, the rain was not severe enough to cause it to sump again. Just past here, a slippery mud ramp needs to be ascended sooner rather than later to regain the way on over the mudbanks.
Lighting by Tarquin and Pete
The most serious flood point, showing a scum mark on the ceiling; this part sumps in flood, and had done so recently. The sumped section would be long enough to prevent free diving upstream. There is no possible bypass here; there are some small oxbows, but these also sump completely. It was still raining during our trip, so this was particularly disconcerting. However, the rain was not severe enough to cause it to sump again. Just past here, a slippery mud ramp needs to be ascended sooner rather than later to regain the way on over the mudbanks.
Lighting by Tarquin and Pete The way on is under a low arch back into a wide passage, but a side passage on the left contains some calcite flows in an oxbow.
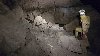 The side passage ends in breakdown, where the calcited oxbow rejoins from the left, and a route down through boulders on the right rejoins the main passage of Big Country.
Lighting by Tarquin and Pete
The side passage ends in breakdown, where the calcited oxbow rejoins from the left, and a route down through boulders on the right rejoins the main passage of Big Country.
Lighting by Tarquin and Pete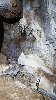 Helictite formation at the end of the side passage.
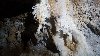 Detail of the formation.
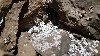 Cryostal on the boulders in the side passage.
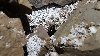 Cryostal.
 The main passage of Big Country quickly reaches a major choke, one of the largest in the cave. So far, it has resisted attempts to pass it.
Lighting by Tarquin and Pete
The main passage of Big Country quickly reaches a major choke, one of the largest in the cave. So far, it has resisted attempts to pass it.
Lighting by Tarquin and Pete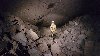 In the centre of the choke, a route up through a small aven and then the boulders gains the cavity above the choke. While this space is very impressive, it is also too far above the river level to be useful. Several attempts have been made to find a way back down into the continuing passage. The large barite vein in the ceiling is particularly untrustowrthy, along with the loose block which threatens to fall out.
Lighting by Tarquin and Pete
In the centre of the choke, a route up through a small aven and then the boulders gains the cavity above the choke. While this space is very impressive, it is also too far above the river level to be useful. Several attempts have been made to find a way back down into the continuing passage. The large barite vein in the ceiling is particularly untrustowrthy, along with the loose block which threatens to fall out.
Lighting by Tarquin and Pete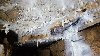 An alcove on one side has some small formations.
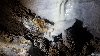 Stalagmite formation below it.
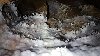 The hole in the ceiling conceals a large number of attractive anthodites, but these were - until this visit - very difficult to see. An aven above them echoed, but it would be criminal to damage the anthodites just to check it.
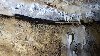 The next set of formations in the alcove.
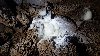 Stalagmite formation below it.
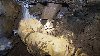 When I had visited previously, I had seen some gaps into an aven beside these enormous boulders at the end of the alcove. On this trip, we set to work undermining the largest boulder. When we had started, the floor was level with the bottom of the boulder. Pete put in the effort to clear the floor, and losen the solidly cemented walls. I would then drag the heavy rocks and debris back to the main chamber, as well as reaching into the gap, and tickling the smaller chockstones which jammed against the sides of the large boulder. Somehow managing to avoid having them smash into my face.
Lighting by Tarquin and Pete
When I had visited previously, I had seen some gaps into an aven beside these enormous boulders at the end of the alcove. On this trip, we set to work undermining the largest boulder. When we had started, the floor was level with the bottom of the boulder. Pete put in the effort to clear the floor, and losen the solidly cemented walls. I would then drag the heavy rocks and debris back to the main chamber, as well as reaching into the gap, and tickling the smaller chockstones which jammed against the sides of the large boulder. Somehow managing to avoid having them smash into my face.
Lighting by Tarquin and Pete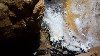 The biggest boulder dropped, causing another large rock beside it to land on top of it instead. The new position exposed some new anthodites, which were photographed as we expected them to be destroyed when the rock fell.
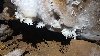 Newly exposed anthodites.
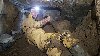 Very careful planning paid off, and the two boulders dropped into the undermined space, perfectly avoiding all of the formations. We had our breakthrough.
Lighting by Tarquin and Pete
Very careful planning paid off, and the two boulders dropped into the undermined space, perfectly avoiding all of the formations. We had our breakthrough.
Lighting by Tarquin and Pete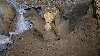 Passing the breakthrough into the newly exposed aven. The size of the boulders can be seen here, with the larger one being about half a tonne.
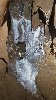 Sadly our new extension closed down after a total of 8 metres, ending in a series of mud-filled alcoves. However, the anthodites could now be seen much more easily from above without risking damage to the formations.
Lighting by Tarquin and Pete
Sadly our new extension closed down after a total of 8 metres, ending in a series of mud-filled alcoves. However, the anthodites could now be seen much more easily from above without risking damage to the formations.
Lighting by Tarquin and Pete
 Lucky 13 Passage, the way into Lucky 13 Series, just after the breakthrough point.
Lighting by Tarquin and Pete
Lucky 13 Passage, the way into Lucky 13 Series, just after the breakthrough point.
Lighting by Tarquin and Pete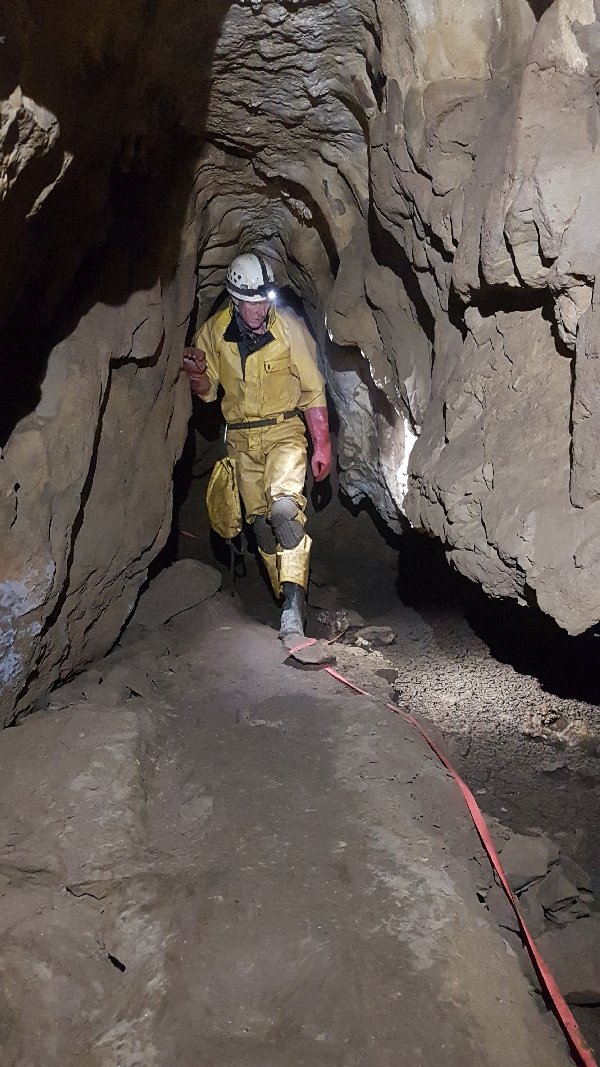 Cracked mud near the end of Lucky 13 Passage.
Lighting by Tarquin and Pete
Cracked mud near the end of Lucky 13 Passage.
Lighting by Tarquin and Pete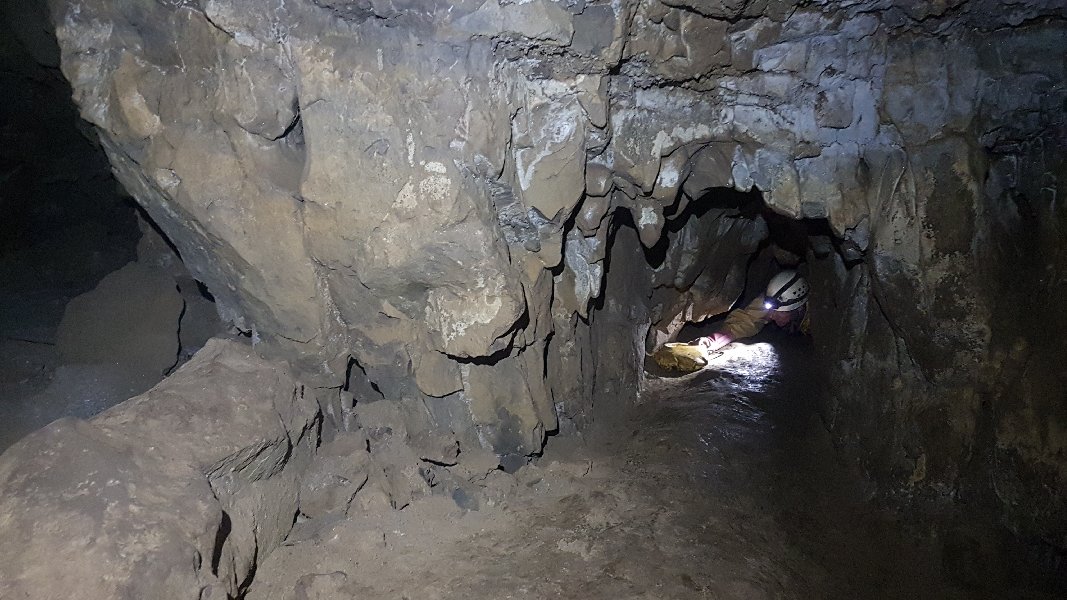 Station 13 Passage, the way to Big Country, and the original route through Lucky 13 Series. Gone With The Wind and Going Somewhere quickly took over as the major route, once the Midwinter Chambers connection was made.
Lighting by Tarquin and Pete
Station 13 Passage, the way to Big Country, and the original route through Lucky 13 Series. Gone With The Wind and Going Somewhere quickly took over as the major route, once the Midwinter Chambers connection was made.
Lighting by Tarquin and Pete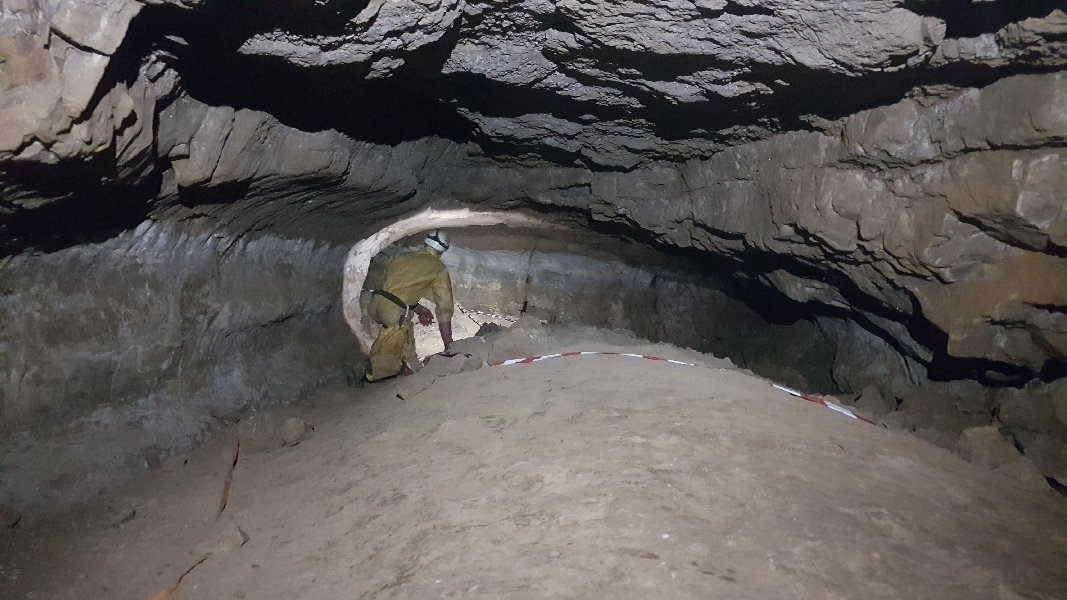 Gone In The Years South, the original way to Snowball Passage via Rogered Senseless.
Lighting by Tarquin and Pete
Gone In The Years South, the original way to Snowball Passage via Rogered Senseless.
Lighting by Tarquin and Pete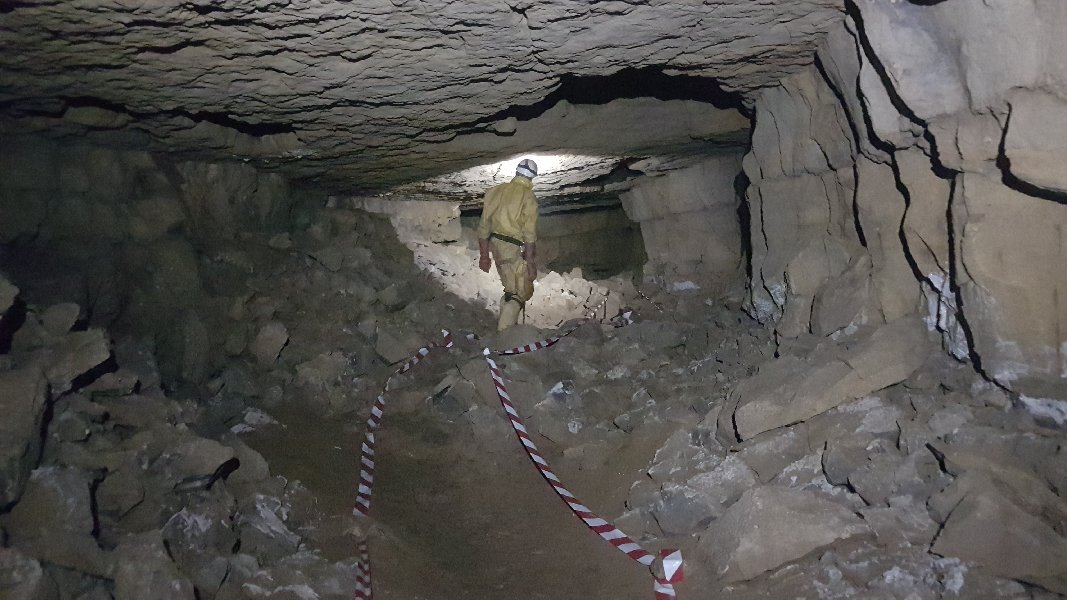 Gone In The Years North, the way to Big Country.
Lighting by Tarquin and Pete
Gone In The Years North, the way to Big Country.
Lighting by Tarquin and Pete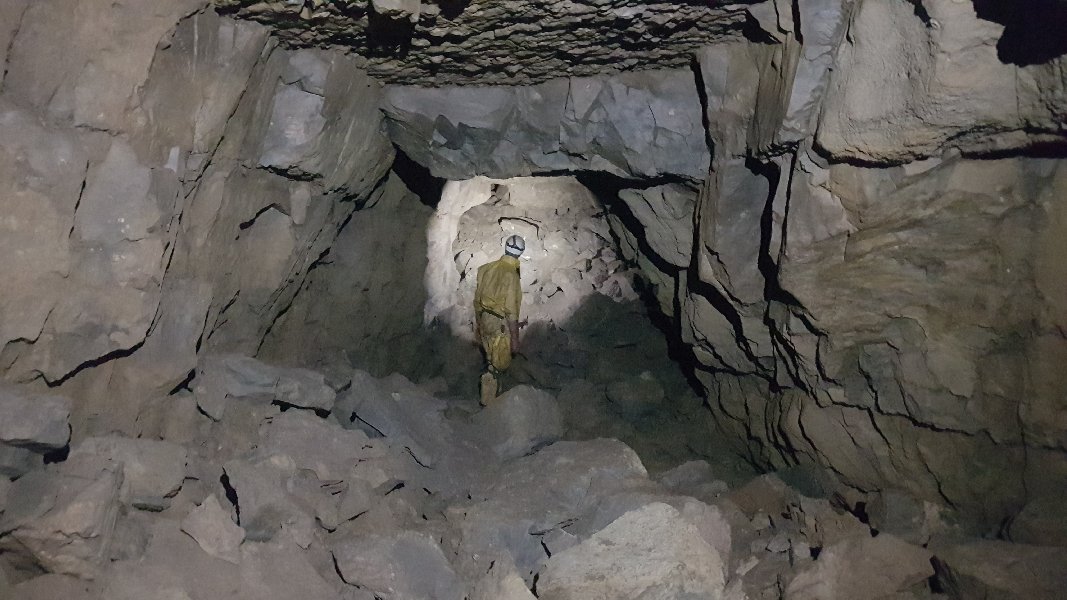 Beyond the choke at the former end of Gone In The Years North, a discovery made by Pete and his companions from the BEC.
Lighting by Tarquin and Pete
Beyond the choke at the former end of Gone In The Years North, a discovery made by Pete and his companions from the BEC.
Lighting by Tarquin and Pete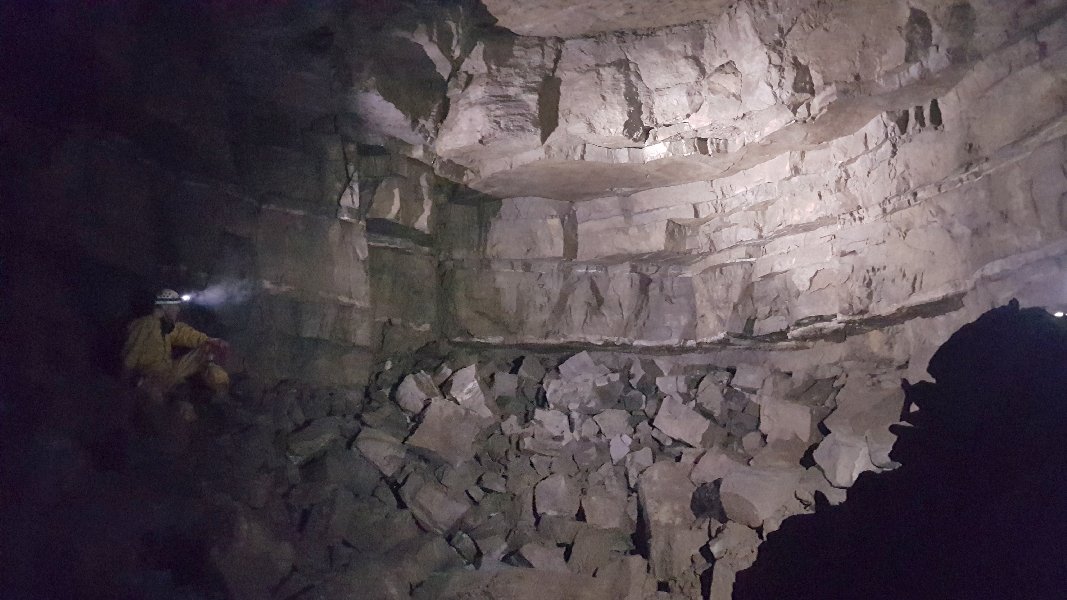 The final breakthrough came when a choke (which no longer exists) was passed into this chamber. Officially, this marks the start of the Big Country Extensions.
Lighting by Tarquin and Pete
The final breakthrough came when a choke (which no longer exists) was passed into this chamber. Officially, this marks the start of the Big Country Extensions.
Lighting by Tarquin and Pete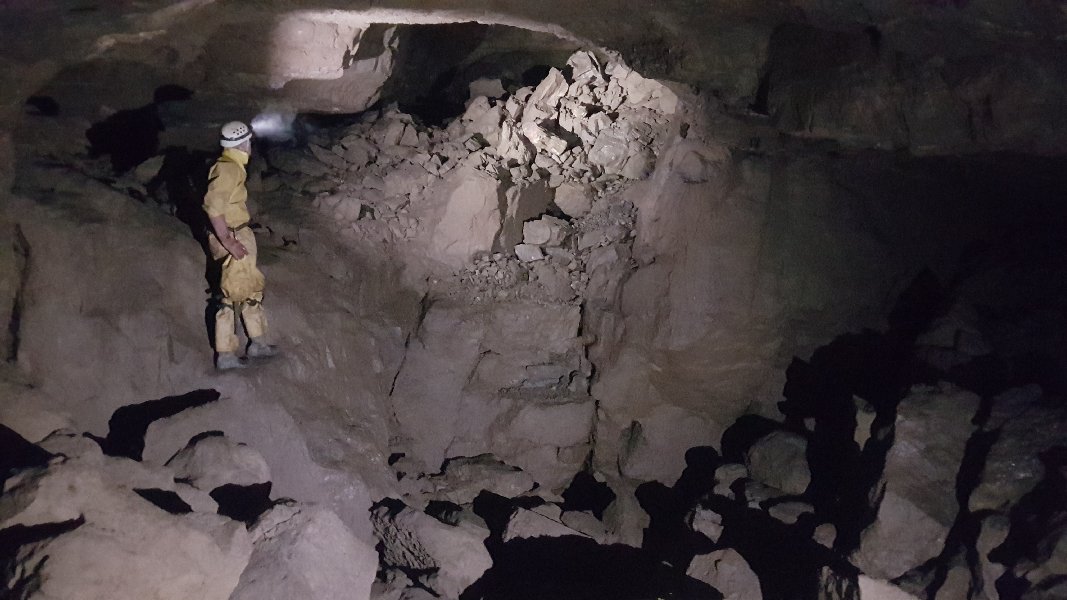 The most complex junction in the cave. No less than 10 passages lead off from this chamber: 5 from the balcony ahead, 4 below the balcony, and the way on directly under the balcony climb.
Lighting by Tarquin and Pete
The most complex junction in the cave. No less than 10 passages lead off from this chamber: 5 from the balcony ahead, 4 below the balcony, and the way on directly under the balcony climb.
Lighting by Tarquin and Pete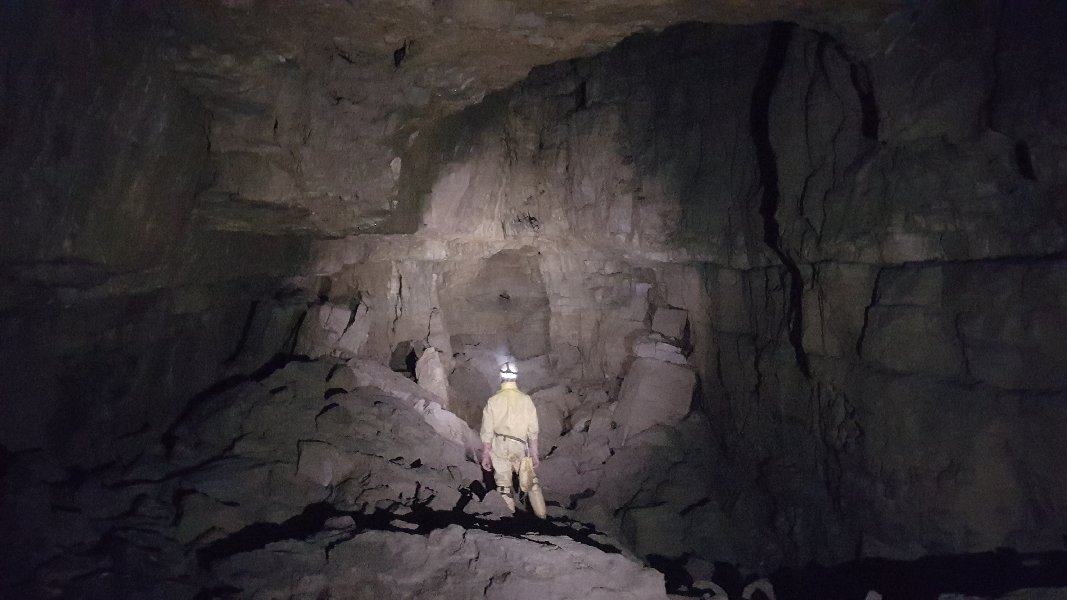 The start of Three Amigos!, the way on.
Lighting by Tarquin and Pete
The start of Three Amigos!, the way on.
Lighting by Tarquin and Pete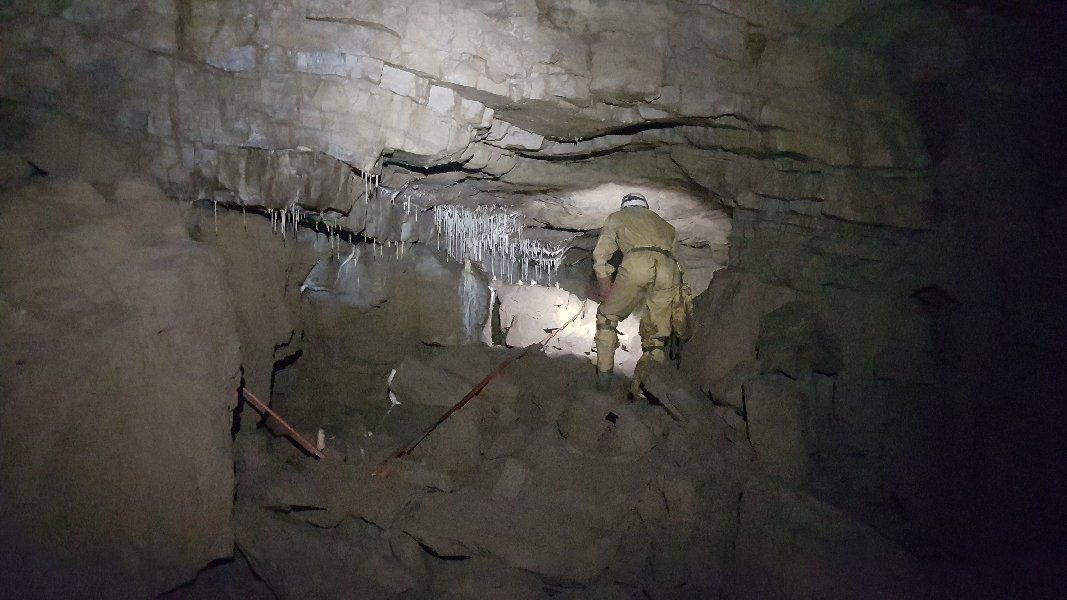 The way to Slaughter Canyon, where the large passage ends.
Lighting by Tarquin and Pete
The way to Slaughter Canyon, where the large passage ends.
Lighting by Tarquin and Pete The large side passage continuing ahead instead, leading towards Nervous Breakdown.
Lighting by Tarquin and Pete
The large side passage continuing ahead instead, leading towards Nervous Breakdown.
Lighting by Tarquin and Pete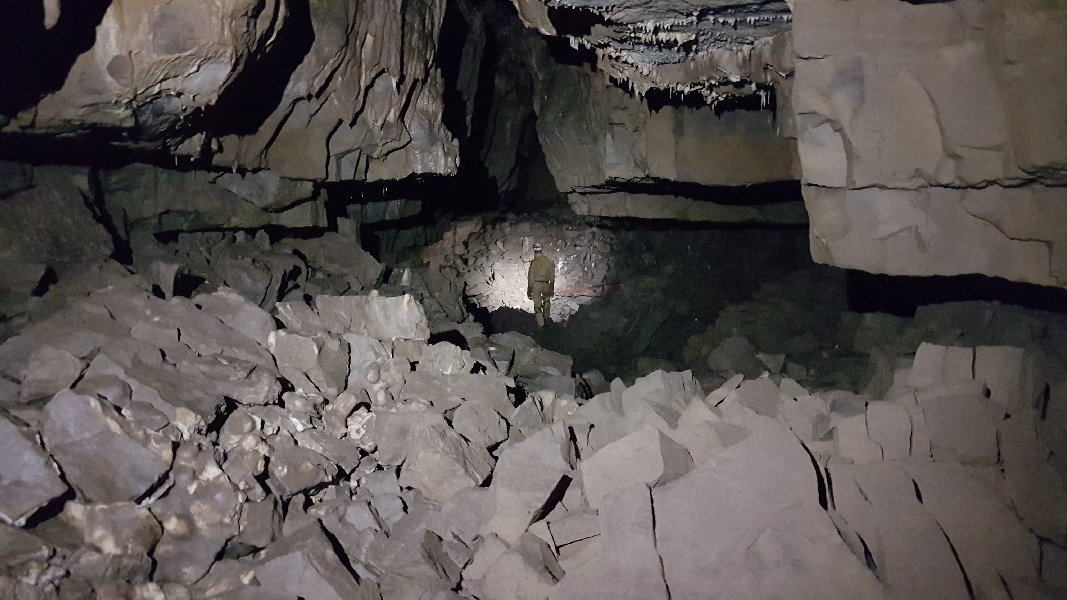 The largest part of the side passage where the oxbow rejoins, shortly before Nervous Breakdown. Nervous Breakdown is a frighteningly unstable section of passage, which is most definitely not worth the risk to visit it.
Lighting by Tarquin and Pete
The largest part of the side passage where the oxbow rejoins, shortly before Nervous Breakdown. Nervous Breakdown is a frighteningly unstable section of passage, which is most definitely not worth the risk to visit it.
Lighting by Tarquin and Pete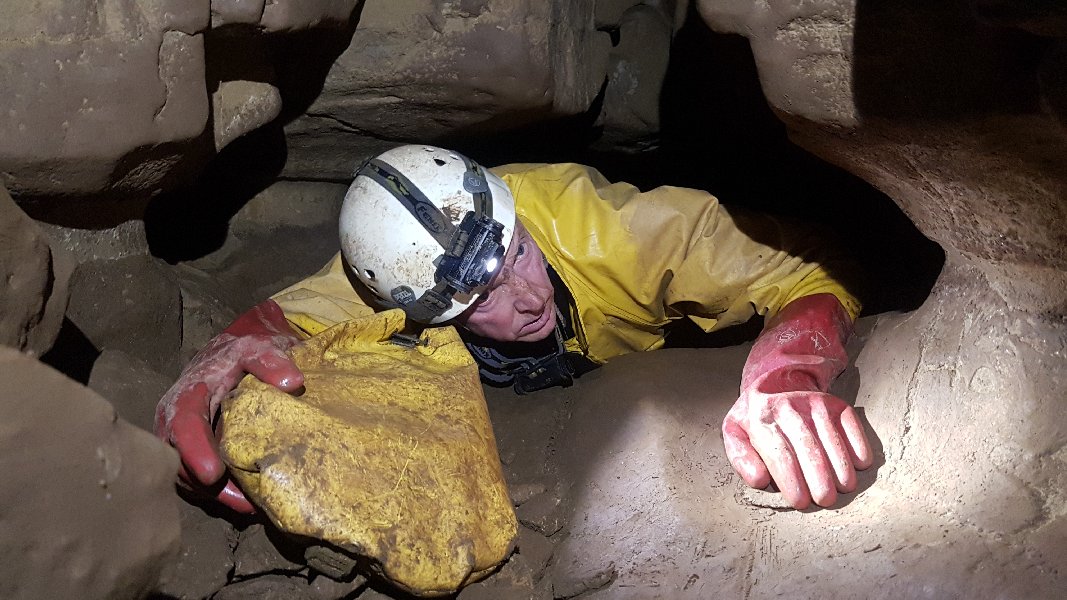 Slaughter Canyon is the traditional and normal route into Big Country, being a relatively short but low crawl.
Lighting by Tarquin and Pete
Slaughter Canyon is the traditional and normal route into Big Country, being a relatively short but low crawl.
Lighting by Tarquin and Pete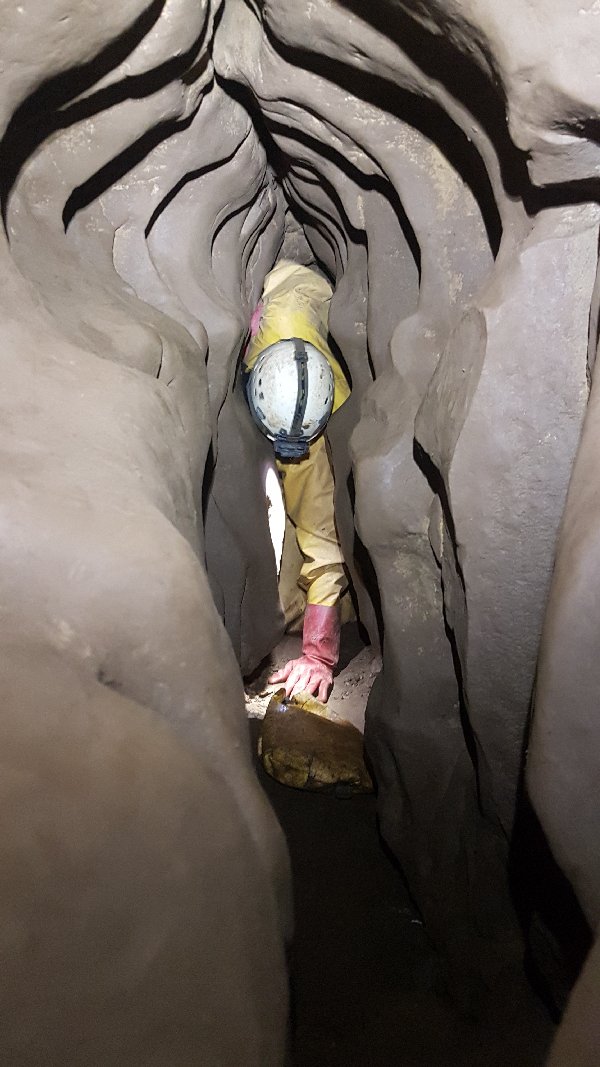 The highlight of Slaughter Canyon is the squeeze, which looks ridiculously impossible when first approached. On the breakthrough trip, Pete took 2 large tackle bags through this without even knowing if it would go anywhere, following his companions.
Lighting by Tarquin and Pete
The highlight of Slaughter Canyon is the squeeze, which looks ridiculously impossible when first approached. On the breakthrough trip, Pete took 2 large tackle bags through this without even knowing if it would go anywhere, following his companions.
Lighting by Tarquin and Pete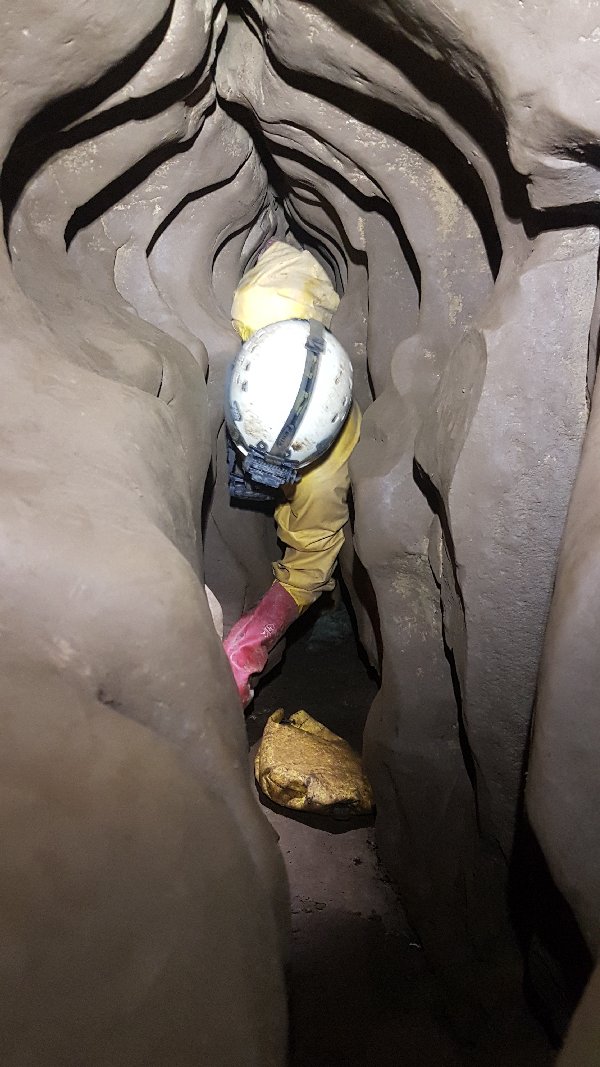 The squeeze is actually a lot easier than it looks (which is lucky), as long as you remain in the wider section part way down, not at ceiling or floor level. This is quite deceptive, because both the top and bottom look bigger. It is not particularly tight, as long as you get the right position.
Lighting by Tarquin and Pete
The squeeze is actually a lot easier than it looks (which is lucky), as long as you remain in the wider section part way down, not at ceiling or floor level. This is quite deceptive, because both the top and bottom look bigger. It is not particularly tight, as long as you get the right position.
Lighting by Tarquin and Pete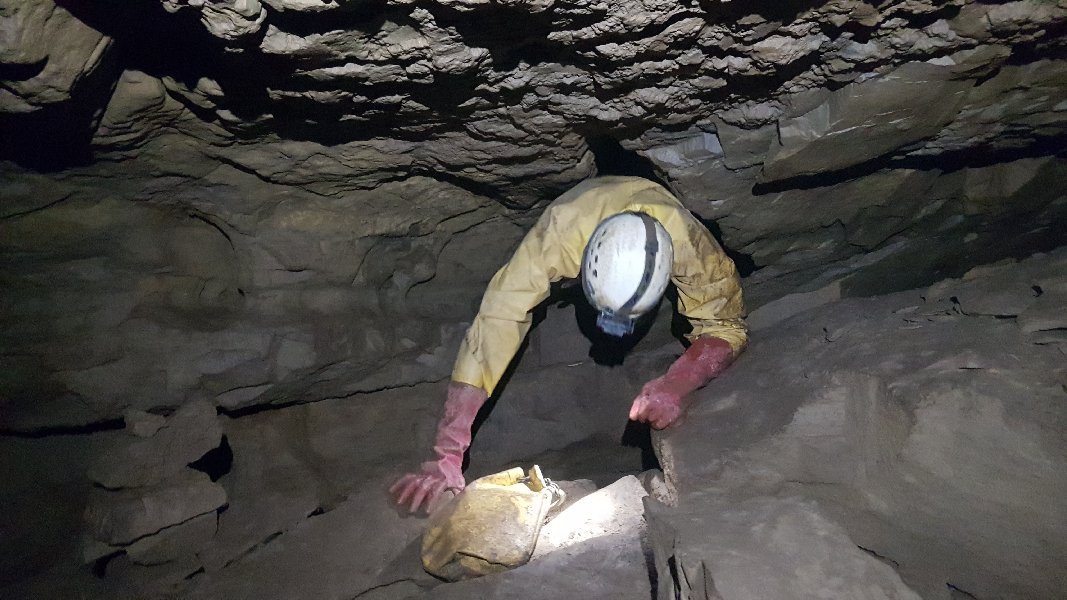 Exiting Slaughter Canyon from an almost invisible hole into the side of an enormous passage.
Lighting by Tarquin and Pete
Exiting Slaughter Canyon from an almost invisible hole into the side of an enormous passage.
Lighting by Tarquin and Pete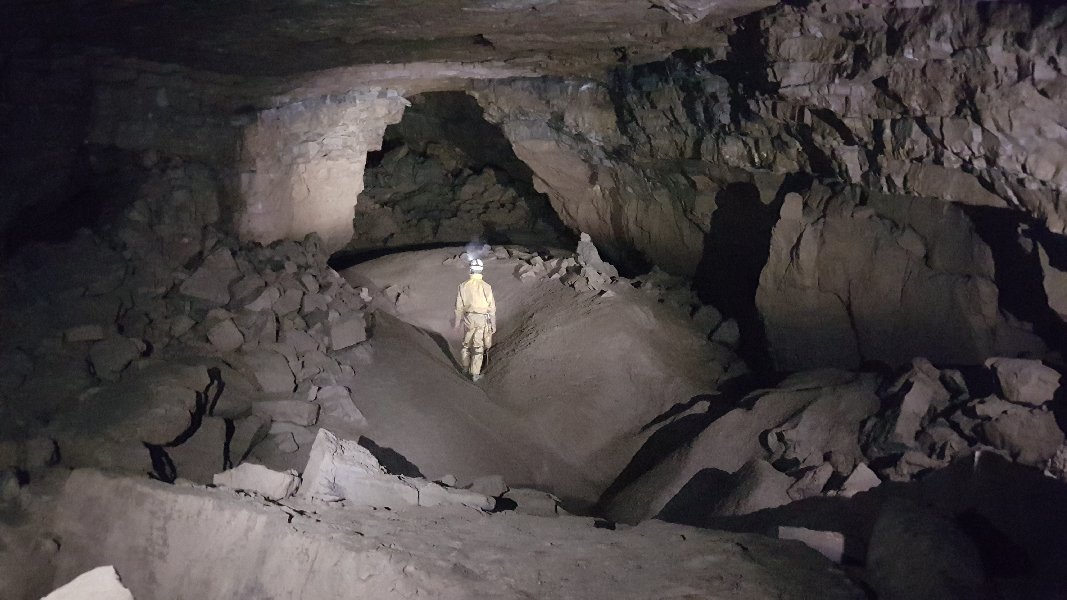 The mudbanks start just downstream of Blorenge Inlet, seen here looking upstream. This is the point where a large lake can form in flood. Clive Westlake's famous picture (which can be seen in Clive Westlake's Draenen picture gallery on this website) was taken in the opposite direction here.
Lighting by Tarquin and Pete
The mudbanks start just downstream of Blorenge Inlet, seen here looking upstream. This is the point where a large lake can form in flood. Clive Westlake's famous picture (which can be seen in Clive Westlake's Draenen picture gallery on this website) was taken in the opposite direction here.
Lighting by Tarquin and Pete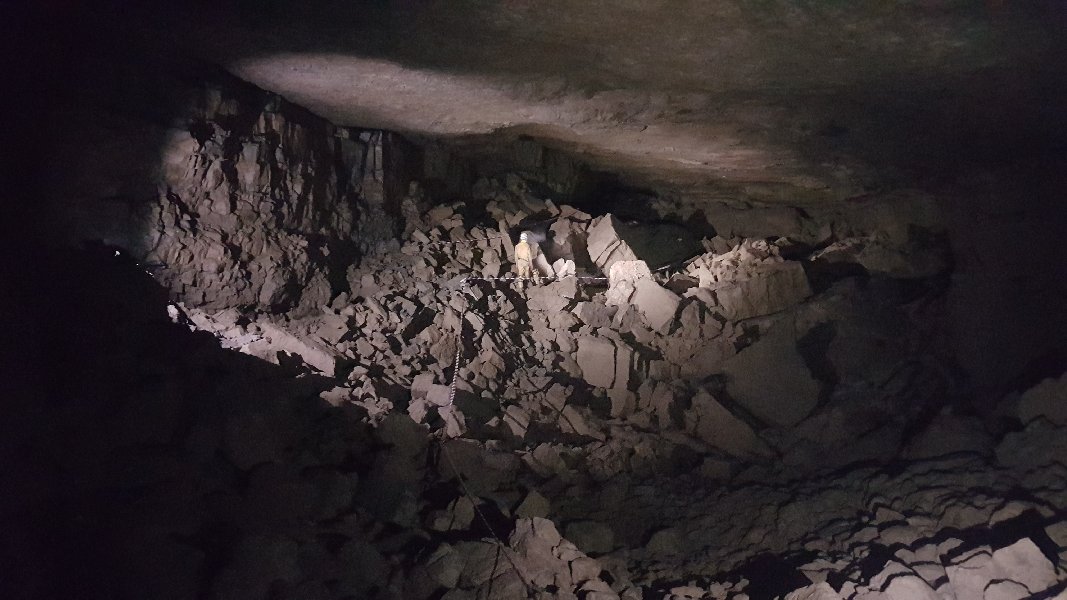 The largest section of Big Country, also seen in one of Clive's pictures in the opposite direction. Tucked invisibly behind some rocks on the right at this point is the entrance to the parallel streamway. Where the passage narrows ahead, the stream invisibly slides right to join the line of the parallel streamway.
Lighting by Tarquin and Pete
The largest section of Big Country, also seen in one of Clive's pictures in the opposite direction. Tucked invisibly behind some rocks on the right at this point is the entrance to the parallel streamway. Where the passage narrows ahead, the stream invisibly slides right to join the line of the parallel streamway.
Lighting by Tarquin and Pete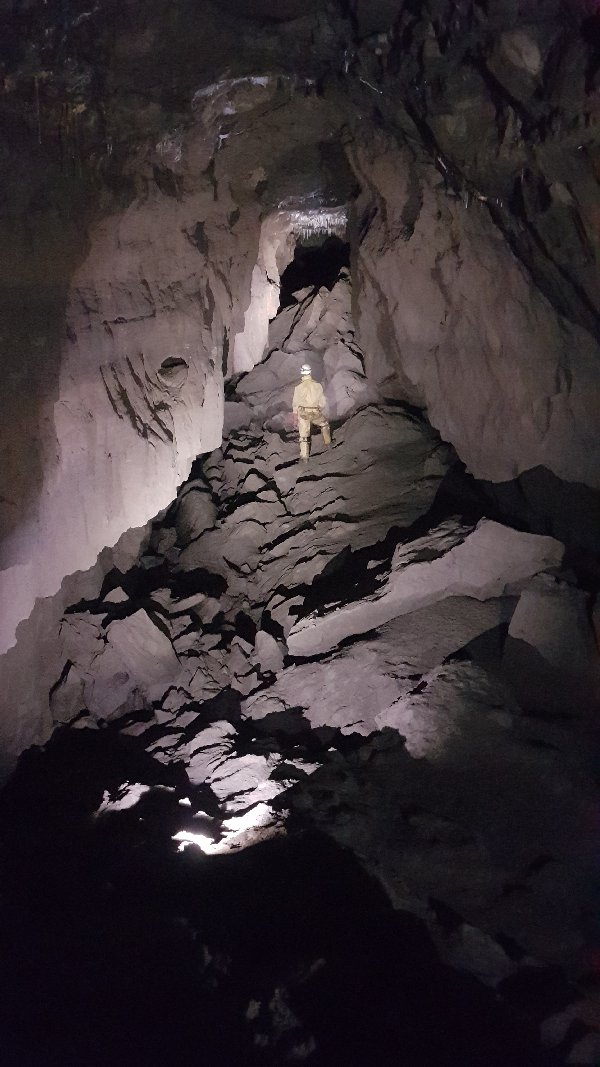 The parallel streamway is very large indeed, but Pete and his team had not noticed it because of how well the entrance is hidden. It was discovered later during surveying. It heads back upstream.
Lighting by Tarquin and Pete
The parallel streamway is very large indeed, but Pete and his team had not noticed it because of how well the entrance is hidden. It was discovered later during surveying. It heads back upstream.
Lighting by Tarquin and Pete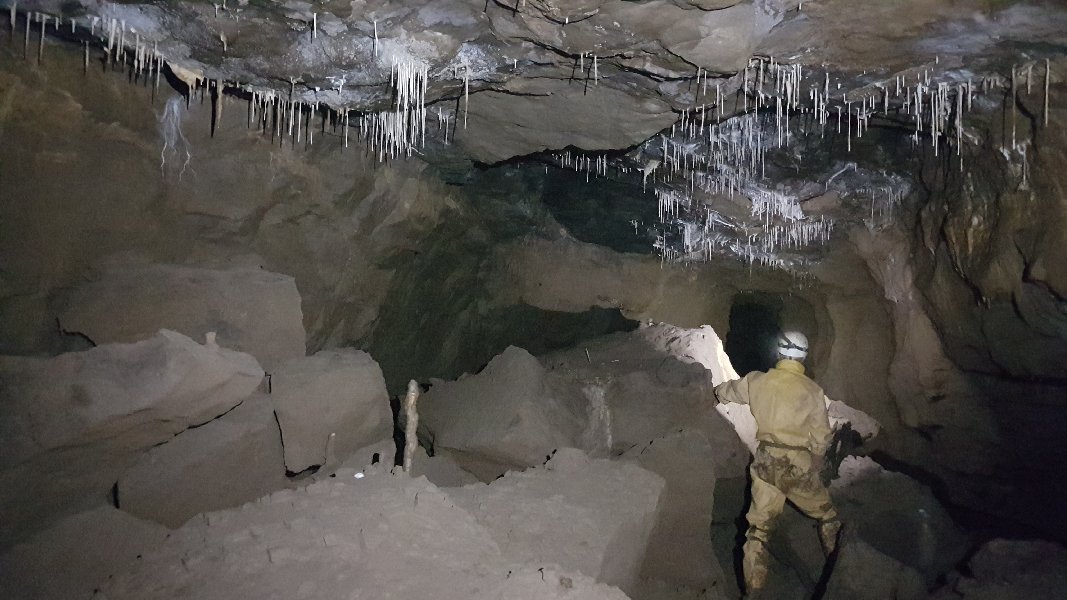 Formations in the parallel streamway.
Lighting by Tarquin and Pete
Formations in the parallel streamway.
Lighting by Tarquin and Pete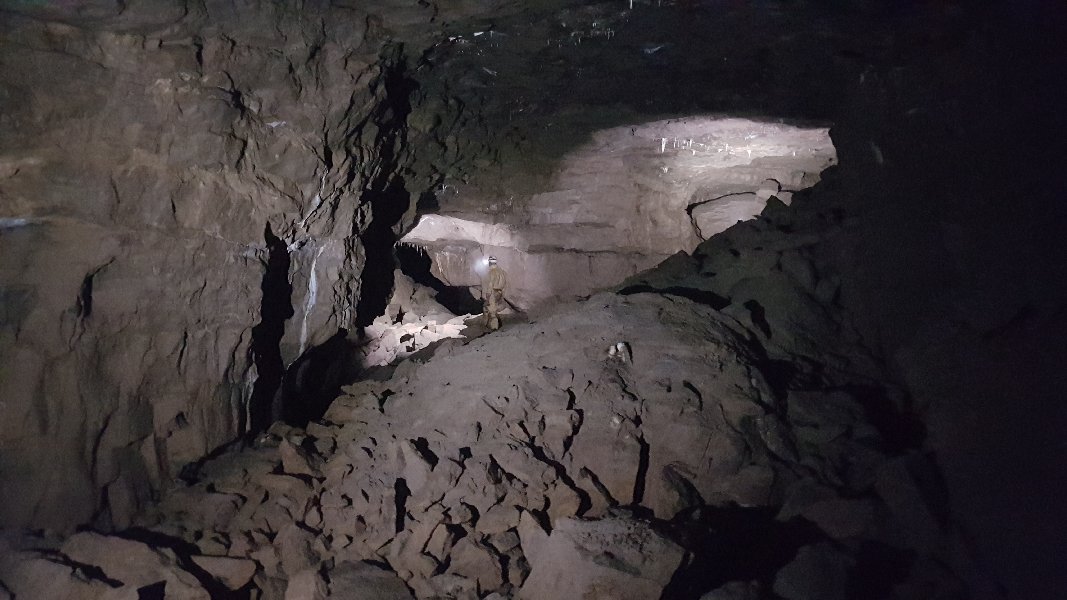 The parallel streamway has a large side passage which degenerates into tiny passages almost immediately when it intersects a barite vein. The main passage then fills with sediment. The stream can be seen again via a side passage opposite Blorenge Inlet (which was found by Pete's crew). Beyond that, it can then be seen again as the inlets in Three Amigos!
Lighting by Tarquin and Pete
The parallel streamway has a large side passage which degenerates into tiny passages almost immediately when it intersects a barite vein. The main passage then fills with sediment. The stream can be seen again via a side passage opposite Blorenge Inlet (which was found by Pete's crew). Beyond that, it can then be seen again as the inlets in Three Amigos!
Lighting by Tarquin and Pete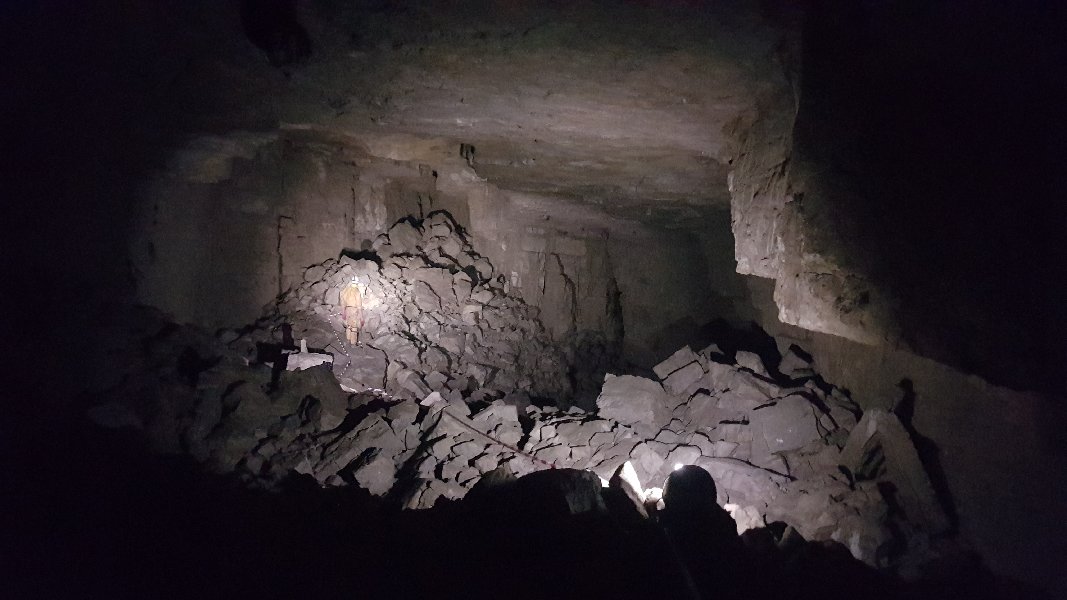 Shortly after the widest section, the main passage of Big Country abruptly ends. Ahead continues as a much smaller series of passages; Canyonland. The way on is down a hole in the alcove on the right, to locate the stream running at a lower level in a parallel passage. Upstream chokes beneath the floor of the large section.
Lighting by Tarquin and Pete
Shortly after the widest section, the main passage of Big Country abruptly ends. Ahead continues as a much smaller series of passages; Canyonland. The way on is down a hole in the alcove on the right, to locate the stream running at a lower level in a parallel passage. Upstream chokes beneath the floor of the large section.
Lighting by Tarquin and Pete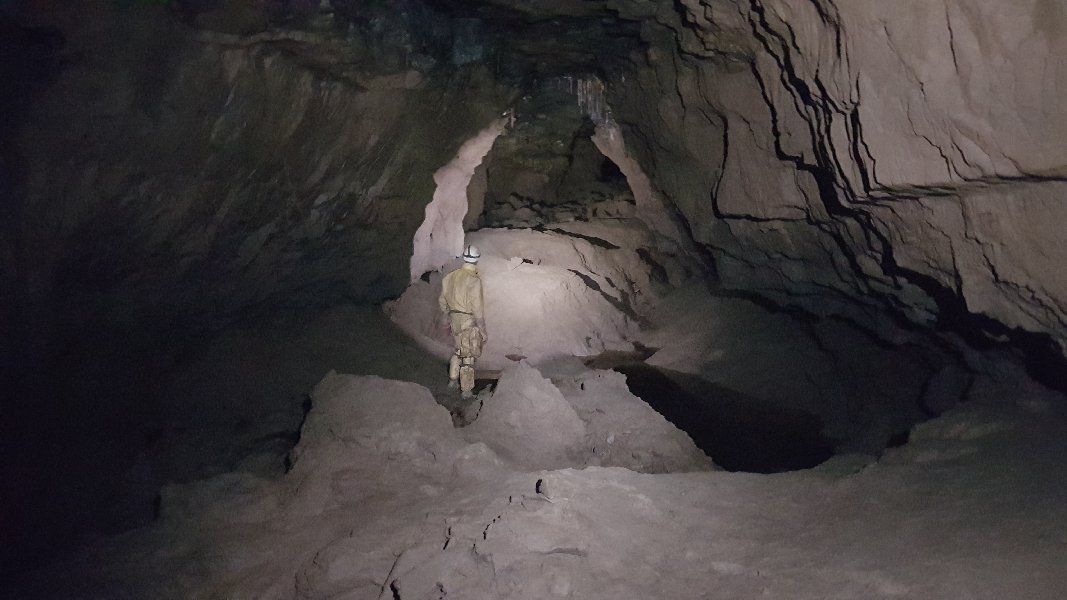 Downstream begins as a mud floored passage, showing signs of regular flooding. The stream would normally run between rocks beneath the mud, but recent flooding had not completely subsided, and deep pools remained with plenty of water flowing through them. Unusually for Draenen, the passage still seems to have its original roof, suggesting that this passage lies just below the limit of permafrost freeze-thaw effects during the ice ages.
Lighting by Tarquin and Pete
Downstream begins as a mud floored passage, showing signs of regular flooding. The stream would normally run between rocks beneath the mud, but recent flooding had not completely subsided, and deep pools remained with plenty of water flowing through them. Unusually for Draenen, the passage still seems to have its original roof, suggesting that this passage lies just below the limit of permafrost freeze-thaw effects during the ice ages.
Lighting by Tarquin and Pete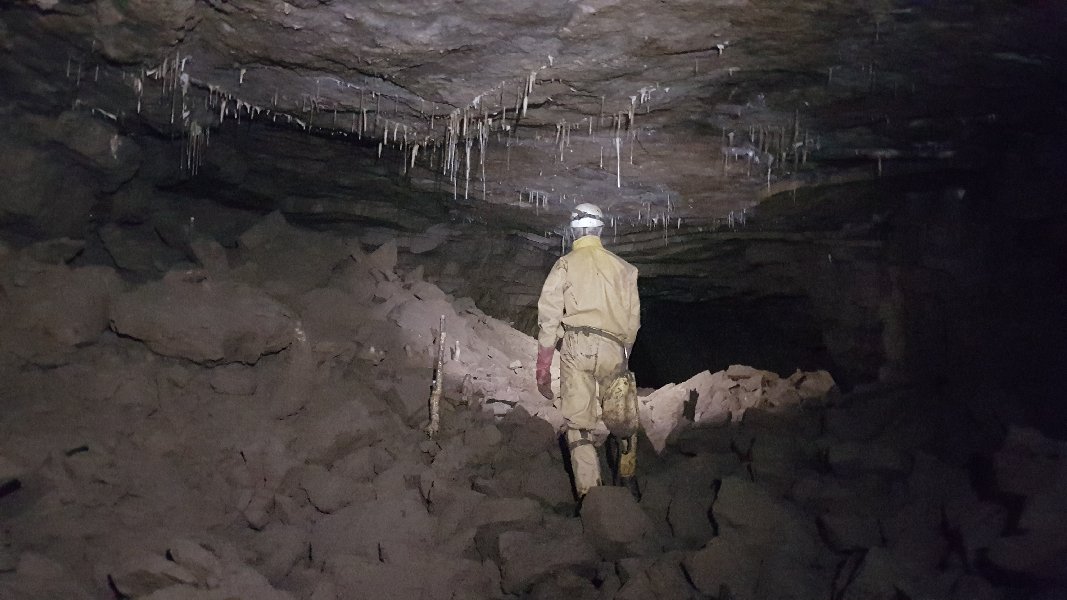 Formations in the downstream direction. This is a rare section of breakdown in the downstream direction.
Lighting by Tarquin and Pete
Formations in the downstream direction. This is a rare section of breakdown in the downstream direction.
Lighting by Tarquin and Pete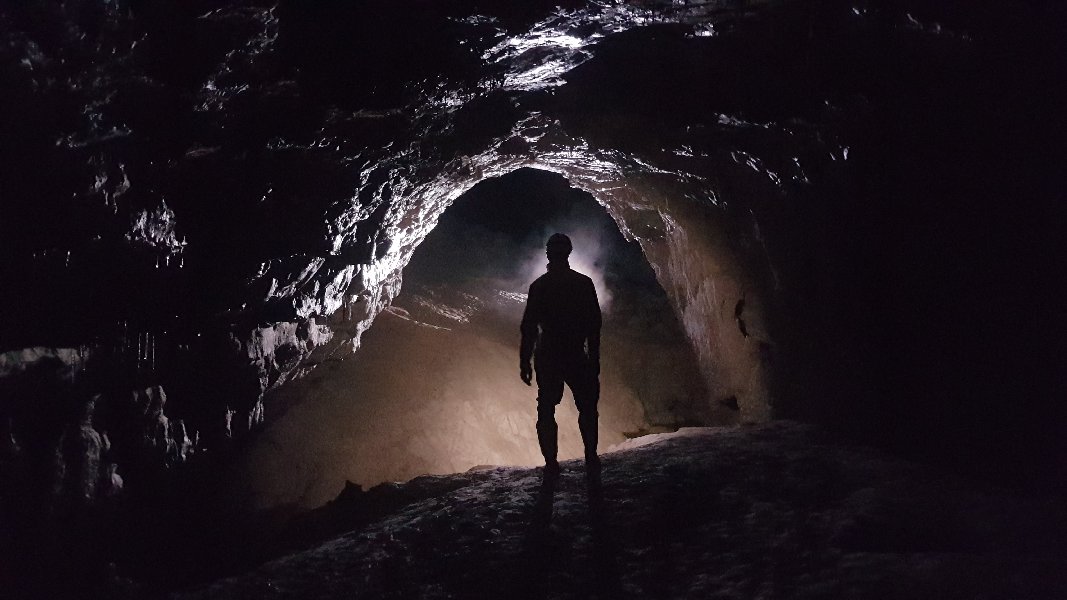 Back to beautifully arched ceilings. The mud banks were quite challenging to cross, being freshly soaked and very slippery, threatening to slide us into another pool.
Lighting by Pete
Back to beautifully arched ceilings. The mud banks were quite challenging to cross, being freshly soaked and very slippery, threatening to slide us into another pool.
Lighting by Pete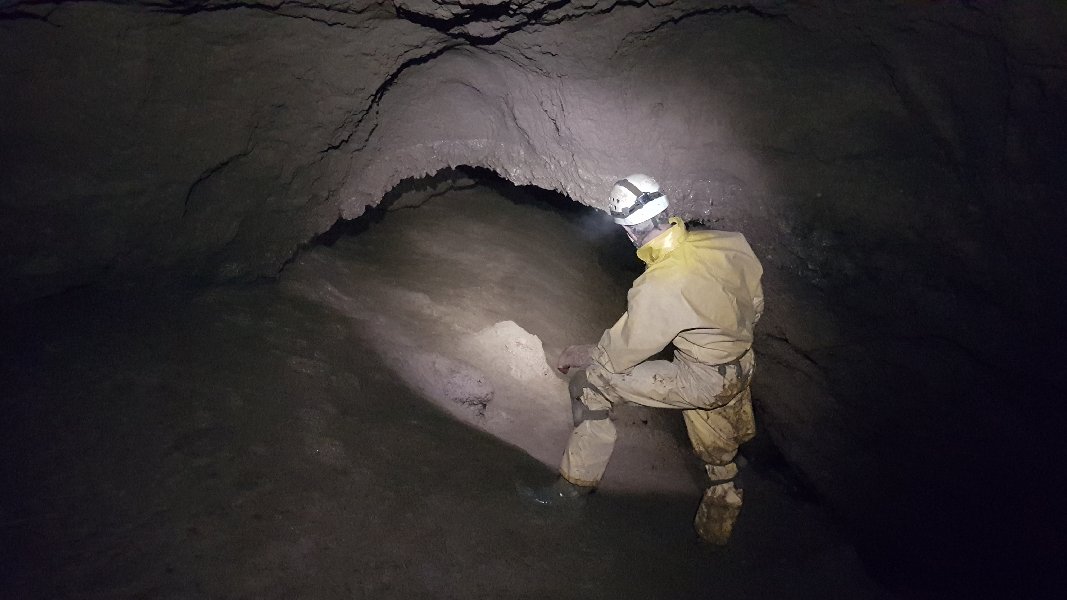 The most serious flood point, showing a scum mark on the ceiling; this part sumps in flood, and had done so recently. The sumped section would be long enough to prevent free diving upstream. There is no possible bypass here; there are some small oxbows, but these also sump completely. It was still raining during our trip, so this was particularly disconcerting. However, the rain was not severe enough to cause it to sump again. Just past here, a slippery mud ramp needs to be ascended sooner rather than later to regain the way on over the mudbanks.
Lighting by Tarquin and Pete
The most serious flood point, showing a scum mark on the ceiling; this part sumps in flood, and had done so recently. The sumped section would be long enough to prevent free diving upstream. There is no possible bypass here; there are some small oxbows, but these also sump completely. It was still raining during our trip, so this was particularly disconcerting. However, the rain was not severe enough to cause it to sump again. Just past here, a slippery mud ramp needs to be ascended sooner rather than later to regain the way on over the mudbanks.
Lighting by Tarquin and Pete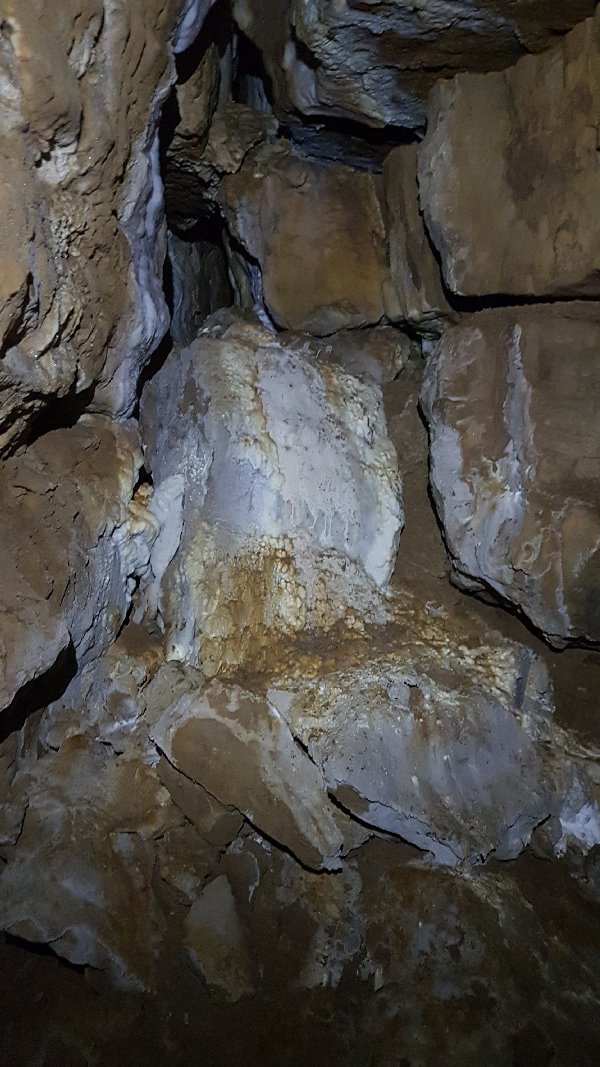 The way on is under a low arch back into a wide passage, but a side passage on the left contains some calcite flows in an oxbow.
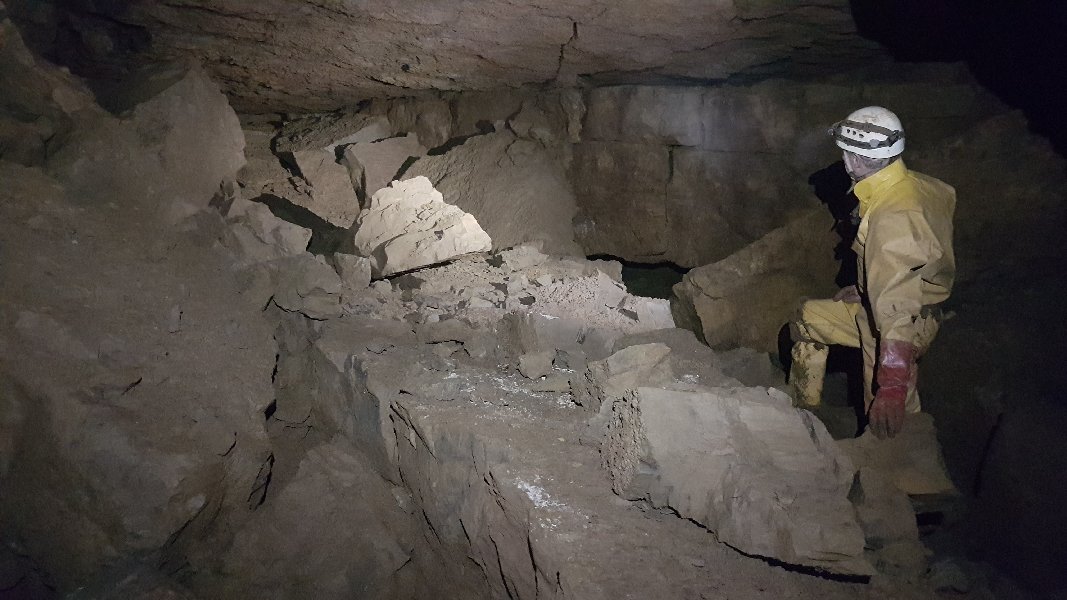 The side passage ends in breakdown, where the calcited oxbow rejoins from the left, and a route down through boulders on the right rejoins the main passage of Big Country.
Lighting by Tarquin and Pete
The side passage ends in breakdown, where the calcited oxbow rejoins from the left, and a route down through boulders on the right rejoins the main passage of Big Country.
Lighting by Tarquin and Pete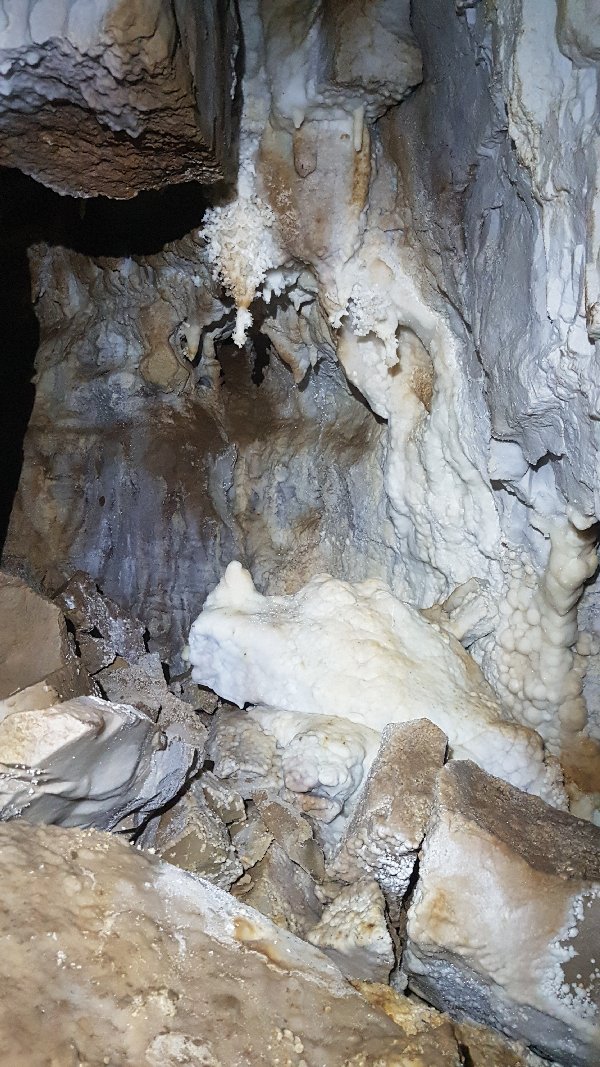 Helictite formation at the end of the side passage.
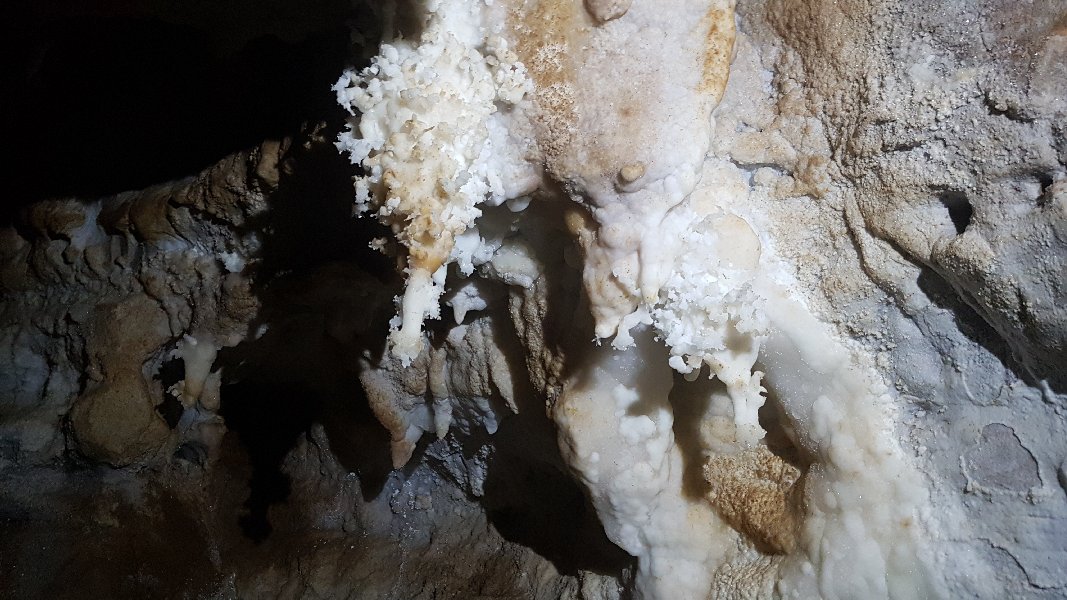 Detail of the formation.
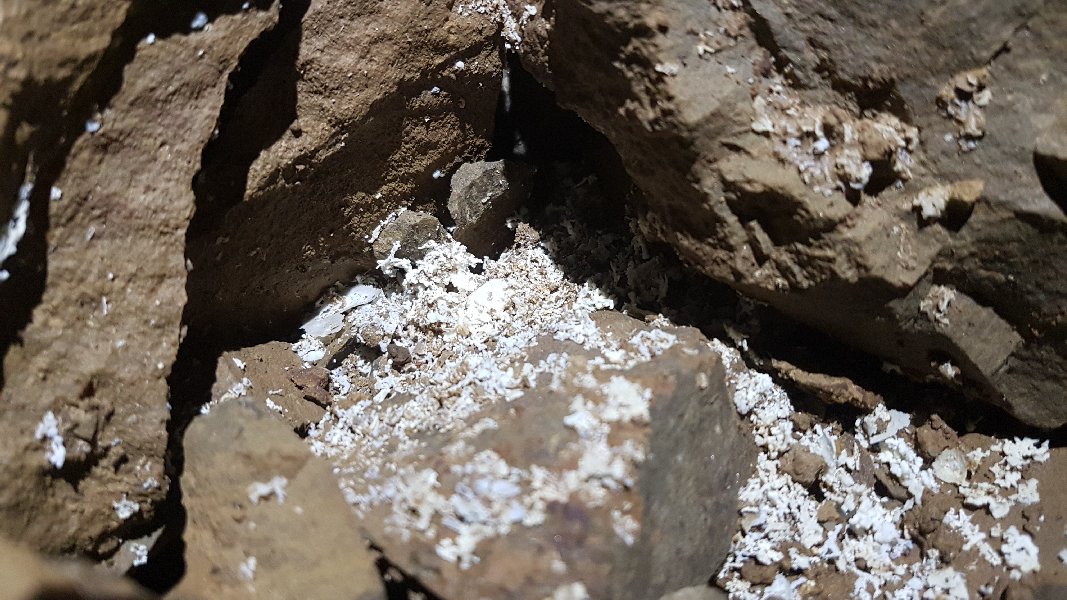 Cryostal on the boulders in the side passage.
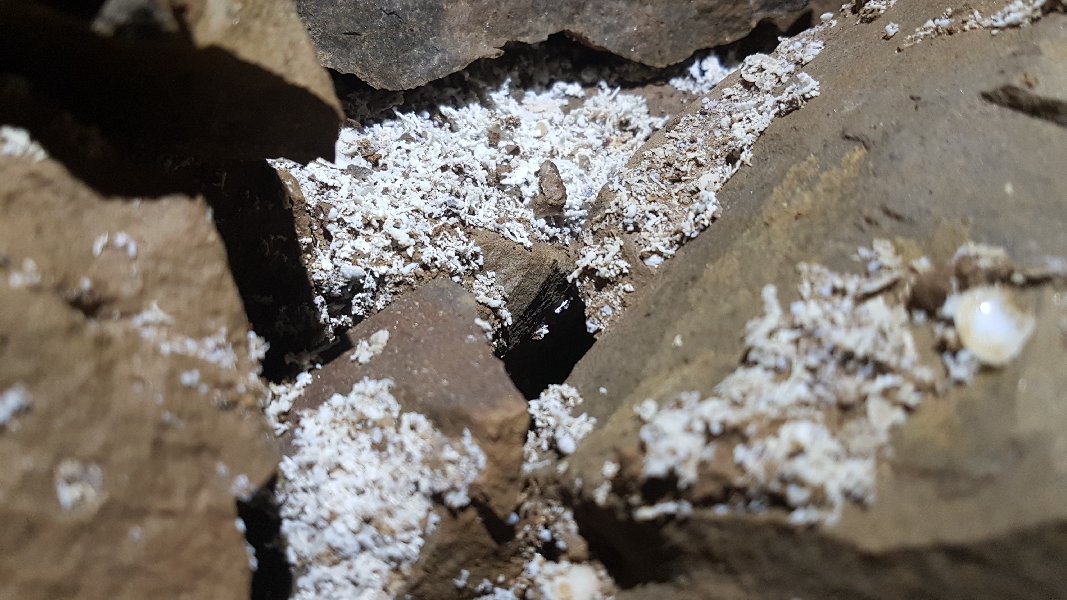 Cryostal.
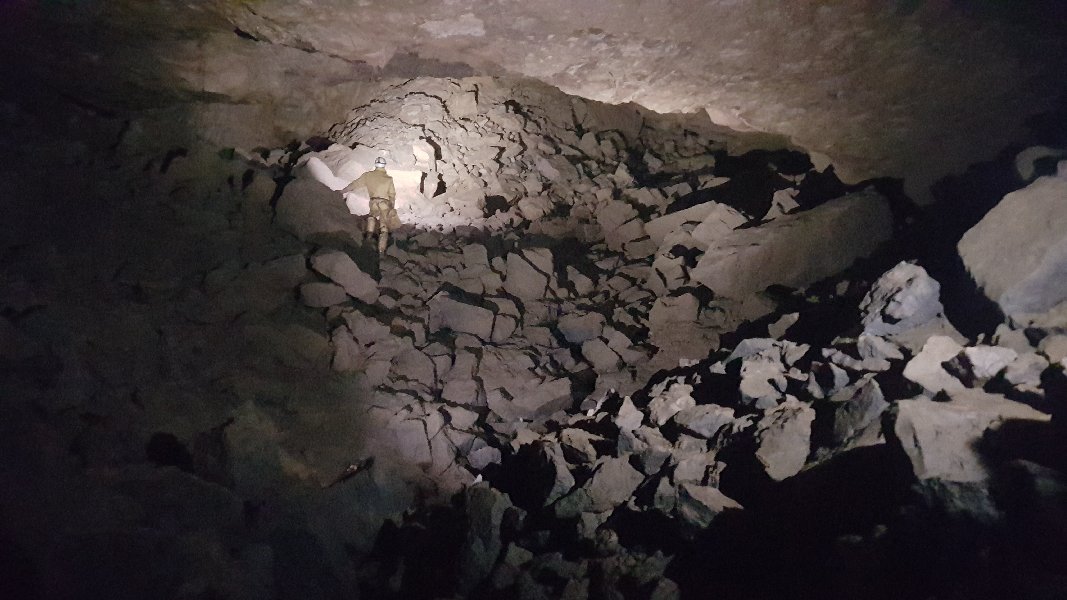 The main passage of Big Country quickly reaches a major choke, one of the largest in the cave. So far, it has resisted attempts to pass it.
Lighting by Tarquin and Pete
The main passage of Big Country quickly reaches a major choke, one of the largest in the cave. So far, it has resisted attempts to pass it.
Lighting by Tarquin and Pete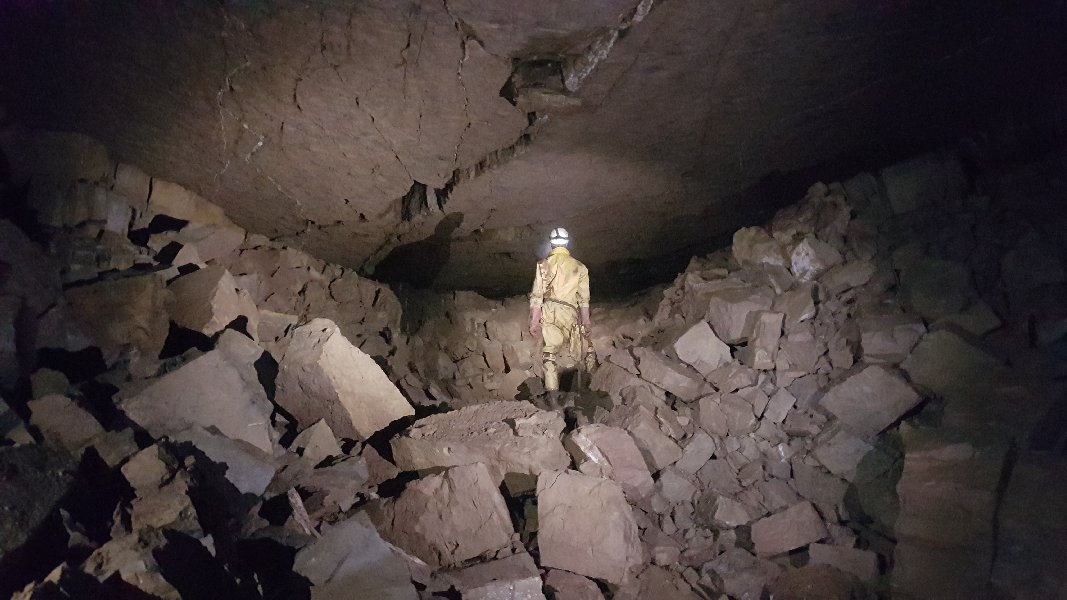 In the centre of the choke, a route up through a small aven and then the boulders gains the cavity above the choke. While this space is very impressive, it is also too far above the river level to be useful. Several attempts have been made to find a way back down into the continuing passage. The large barite vein in the ceiling is particularly untrustowrthy, along with the loose block which threatens to fall out.
Lighting by Tarquin and Pete
In the centre of the choke, a route up through a small aven and then the boulders gains the cavity above the choke. While this space is very impressive, it is also too far above the river level to be useful. Several attempts have been made to find a way back down into the continuing passage. The large barite vein in the ceiling is particularly untrustowrthy, along with the loose block which threatens to fall out.
Lighting by Tarquin and Pete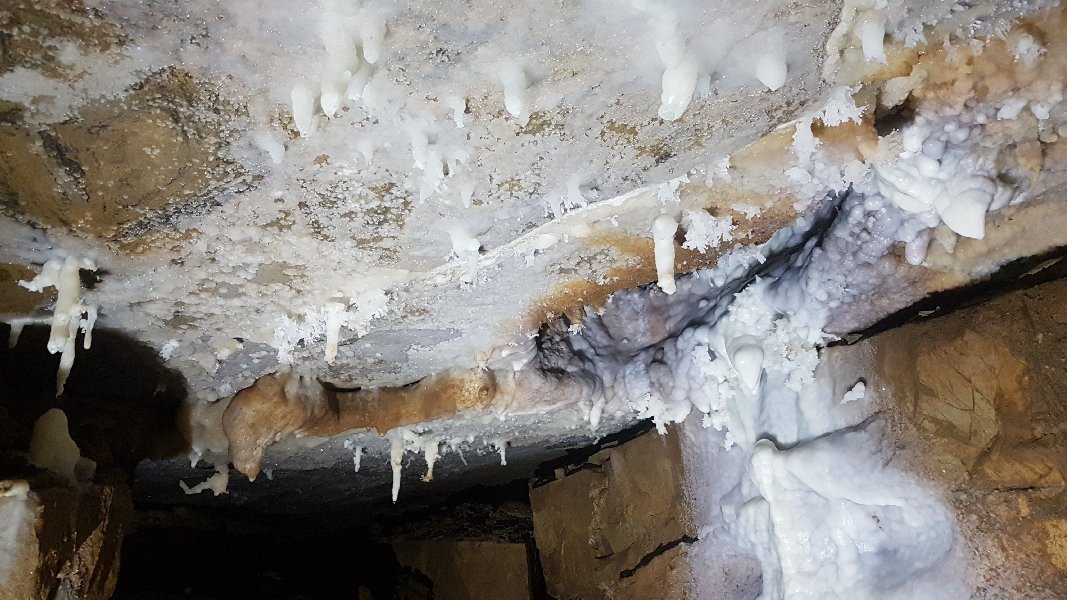 An alcove on one side has some small formations.
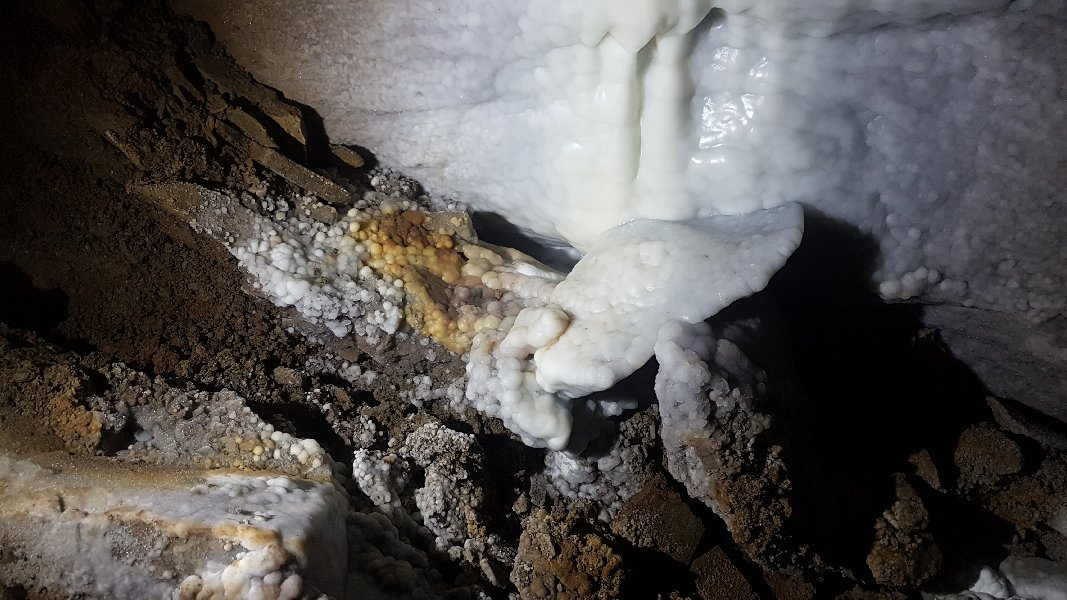 Stalagmite formation below it.
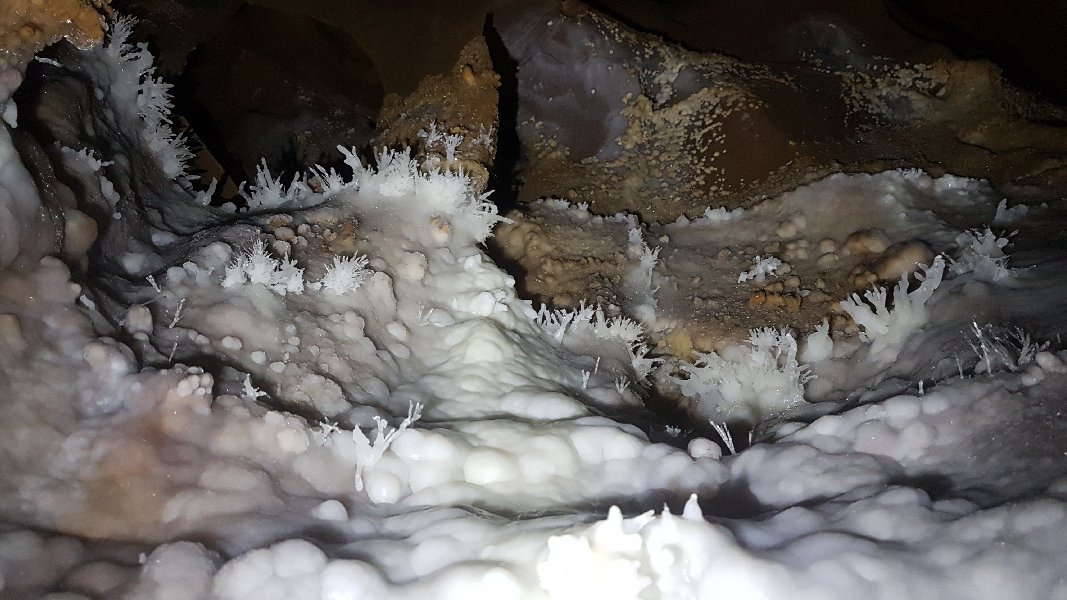 The hole in the ceiling conceals a large number of attractive anthodites, but these were - until this visit - very difficult to see. An aven above them echoed, but it would be criminal to damage the anthodites just to check it.
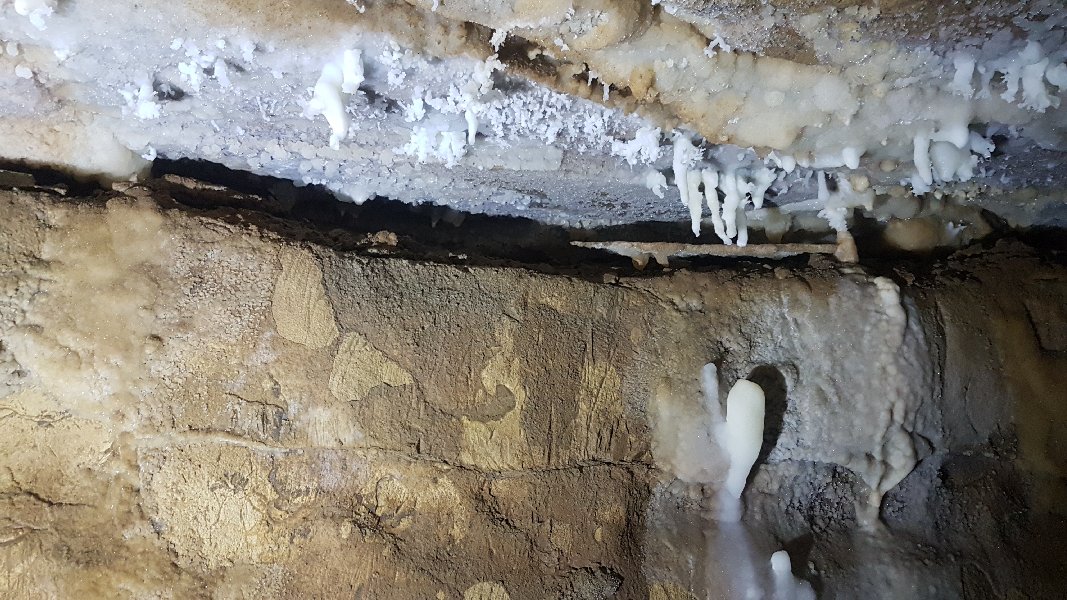 The next set of formations in the alcove.
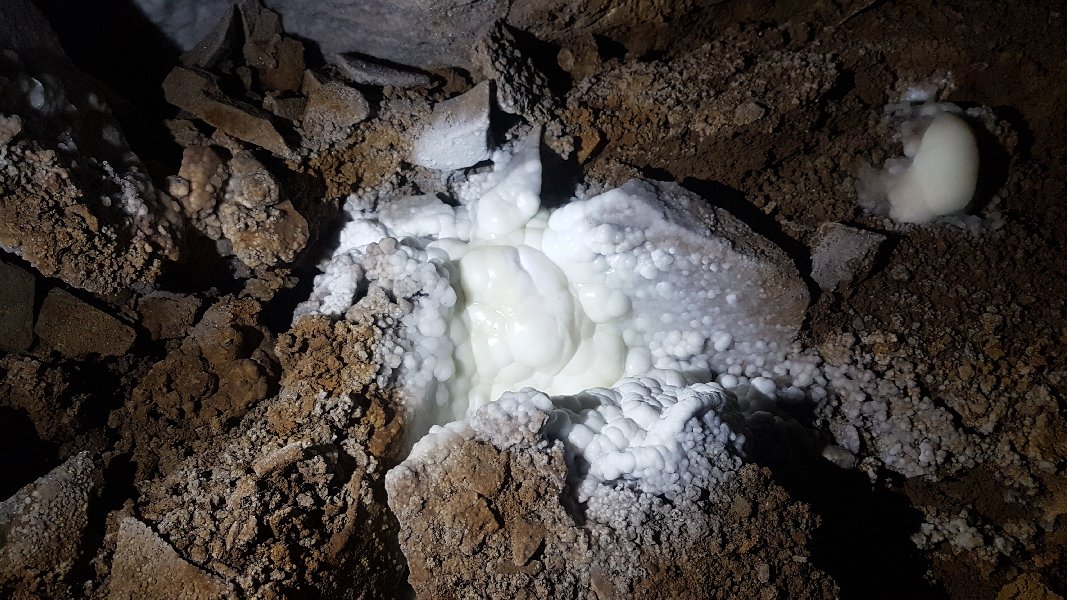 Stalagmite formation below it.
 When I had visited previously, I had seen some gaps into an aven beside these enormous boulders at the end of the alcove. On this trip, we set to work undermining the largest boulder. When we had started, the floor was level with the bottom of the boulder. Pete put in the effort to clear the floor, and losen the solidly cemented walls. I would then drag the heavy rocks and debris back to the main chamber, as well as reaching into the gap, and tickling the smaller chockstones which jammed against the sides of the large boulder. Somehow managing to avoid having them smash into my face.
Lighting by Tarquin and Pete
When I had visited previously, I had seen some gaps into an aven beside these enormous boulders at the end of the alcove. On this trip, we set to work undermining the largest boulder. When we had started, the floor was level with the bottom of the boulder. Pete put in the effort to clear the floor, and losen the solidly cemented walls. I would then drag the heavy rocks and debris back to the main chamber, as well as reaching into the gap, and tickling the smaller chockstones which jammed against the sides of the large boulder. Somehow managing to avoid having them smash into my face.
Lighting by Tarquin and Pete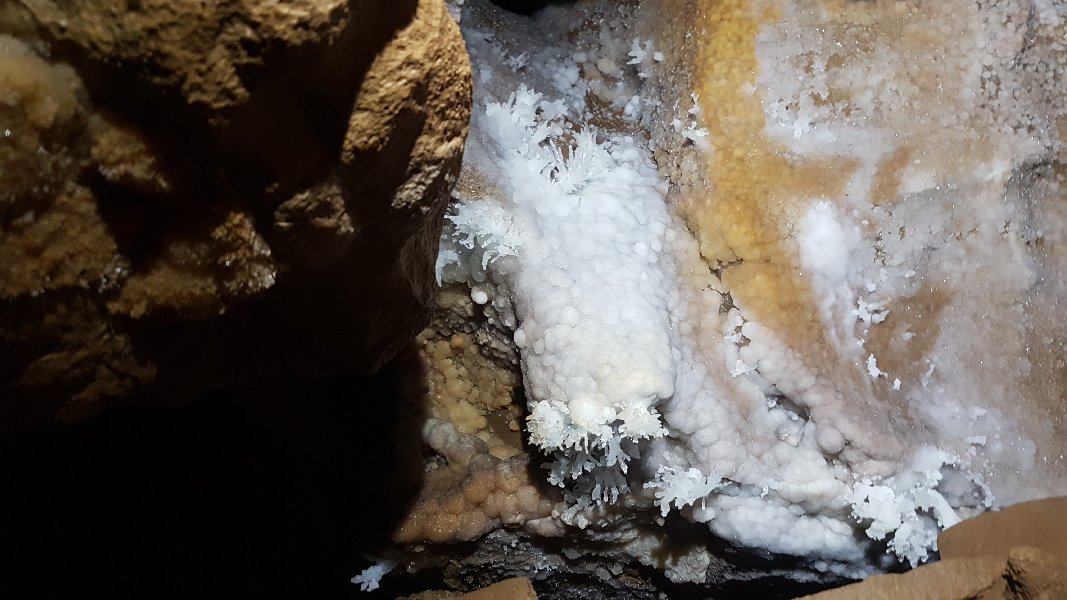 The biggest boulder dropped, causing another large rock beside it to land on top of it instead. The new position exposed some new anthodites, which were photographed as we expected them to be destroyed when the rock fell.
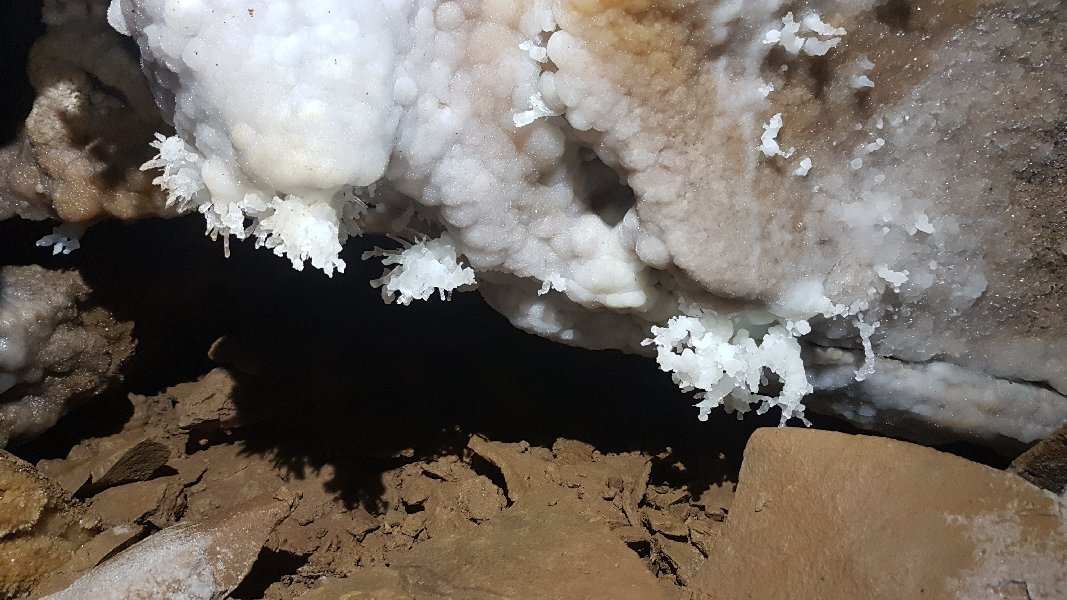 Newly exposed anthodites.
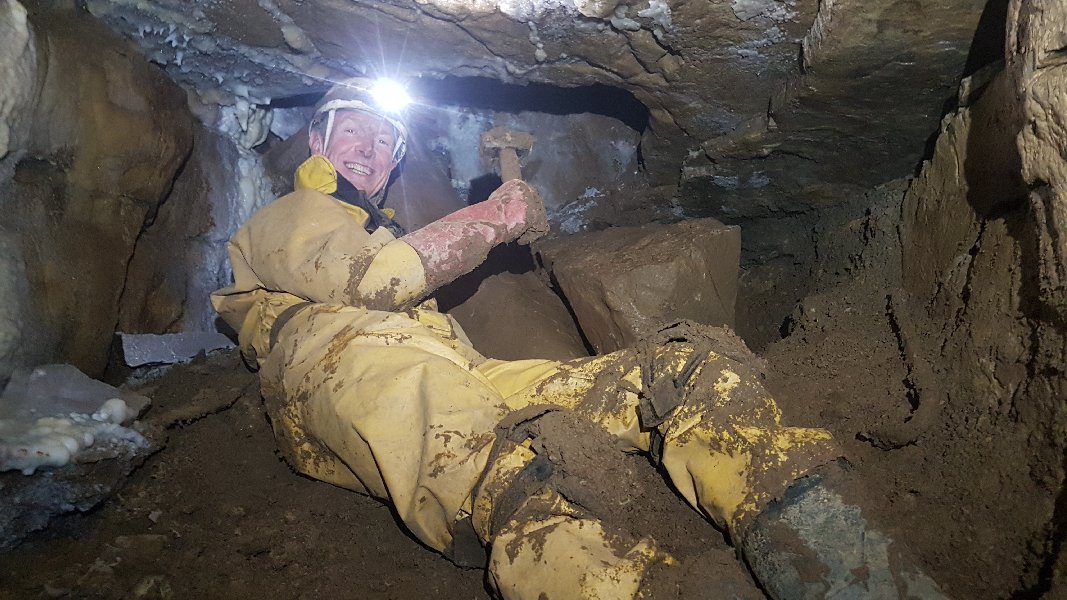 Very careful planning paid off, and the two boulders dropped into the undermined space, perfectly avoiding all of the formations. We had our breakthrough.
Lighting by Tarquin and Pete
Very careful planning paid off, and the two boulders dropped into the undermined space, perfectly avoiding all of the formations. We had our breakthrough.
Lighting by Tarquin and Pete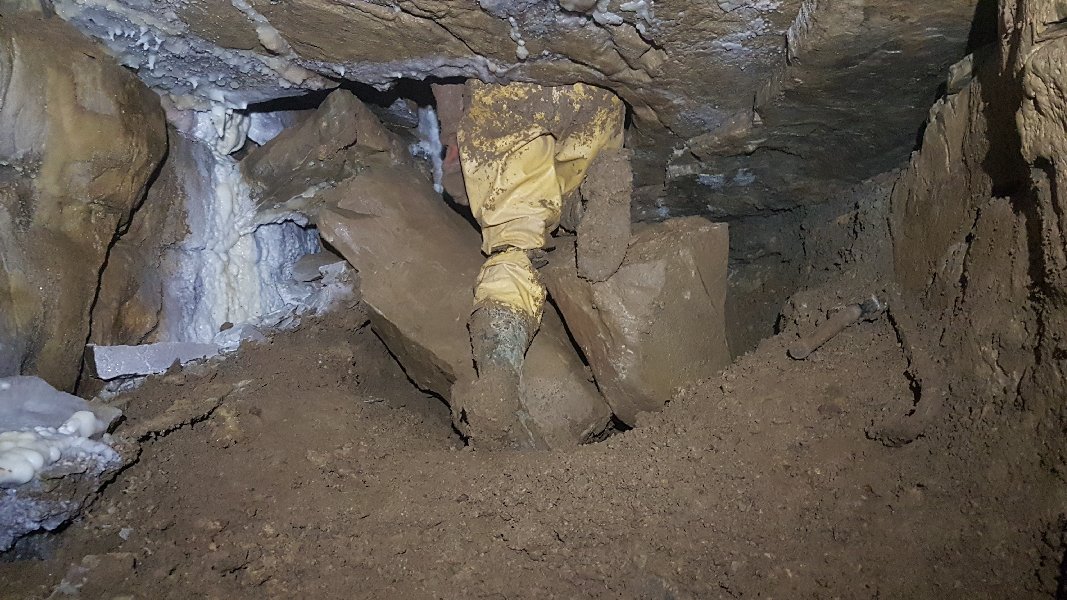 Passing the breakthrough into the newly exposed aven. The size of the boulders can be seen here, with the larger one being about half a tonne.
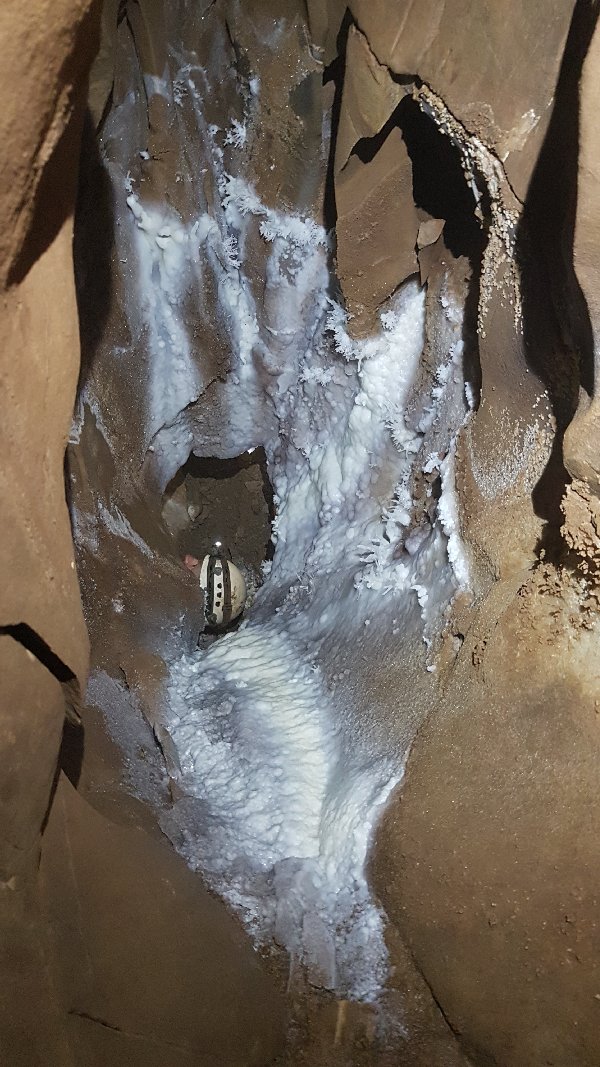 Sadly our new extension closed down after a total of 8 metres, ending in a series of mud-filled alcoves. However, the anthodites could now be seen much more easily from above without risking damage to the formations.
Lighting by Tarquin and Pete
Sadly our new extension closed down after a total of 8 metres, ending in a series of mud-filled alcoves. However, the anthodites could now be seen much more easily from above without risking damage to the formations.
Lighting by Tarquin and Pete