Dan-yr-Ogof Dali's Delight trips 19/08/2018 and 25/11/2018
Because of all the convoluted routes through this series, it took two separate trips to learn all of them. The second trip was done in two loops through the series, just to pick up some remaining branches - a few still remain unvisited. The pictures here are presented in logical order instead.
Unless otherwise stated, camera, setups, lighting, edits and gallery effects by Tarquin. Modelling and lighting at various points will be Neil Conde, Steve Pa, Izzy Cooper, Grace Chu, Phil Knight and Gareth Smith.
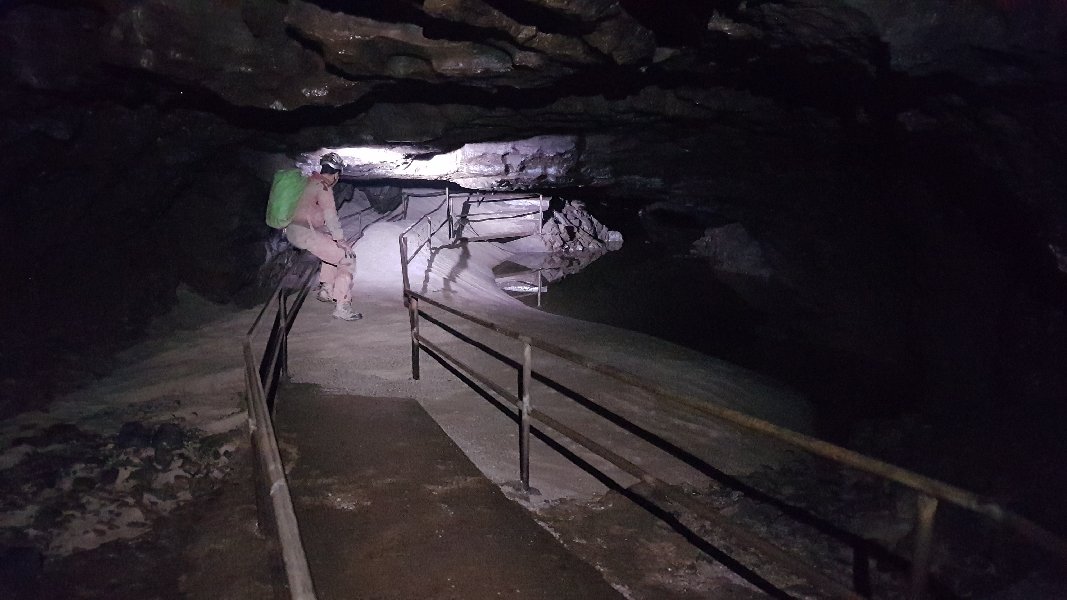
 There had been some pretty severe flooding before our second trip, and Lake 1 had changed completely. The walkway normally has the stream flowing a foot or so below it, with the walkway being a bridge. Instead, the lake had been shrunk to half its normal size, with the walkway buried under sand. Lake 3 had also changed, with the normally shallow left wall being deep at the start of the lake. The sandbank had moved into the middle of the lake instead. The wider section of Lake 3 was the same as normal.
Modelling by Gareth, lighting by Tarquin and Gareth
There had been some pretty severe flooding before our second trip, and Lake 1 had changed completely. The walkway normally has the stream flowing a foot or so below it, with the walkway being a bridge. Instead, the lake had been shrunk to half its normal size, with the walkway buried under sand. Lake 3 had also changed, with the normally shallow left wall being deep at the start of the lake. The sandbank had moved into the middle of the lake instead. The wider section of Lake 3 was the same as normal.
Modelling by Gareth, lighting by Tarquin and Gareth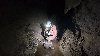 Thixotropic Passage had also been modified, with large amounts of the mudbanks damaged by the water. Here, the conservation officer is checking to see whether the fallen parts also contained any worm colonies. Amazingly though, Mazeways was accessible after the recent flooding, due to the unexpectedly low water during our visit.
Modelling by Phil, lighting by Tarquin and Phil
Thixotropic Passage had also been modified, with large amounts of the mudbanks damaged by the water. Here, the conservation officer is checking to see whether the fallen parts also contained any worm colonies. Amazingly though, Mazeways was accessible after the recent flooding, due to the unexpectedly low water during our visit.
Modelling by Phil, lighting by Tarquin and Phil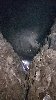 The climb up into Dali's Delight from The Abyss, which is around 60 feet (20 metres) high. It is free-climbable - but far too slippery to risk it - but an SRT rope is always in place. The leader will usually free climb using a top jammer (prusiking ascender) for protection, then rig a ladder and use the SRT rope as a belay line.
Modelling by Gareth and Phil, lighting by Tarquin, Gareth and Phil
The climb up into Dali's Delight from The Abyss, which is around 60 feet (20 metres) high. It is free-climbable - but far too slippery to risk it - but an SRT rope is always in place. The leader will usually free climb using a top jammer (prusiking ascender) for protection, then rig a ladder and use the SRT rope as a belay line.
Modelling by Gareth and Phil, lighting by Tarquin, Gareth and Phil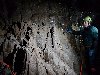 Spiked and fluted rocks in Dali's Delight. These might be expected underneath a tall Yorkshire pitch, but seem out of place below a relatively small aven here.
Modelling by Neil, lighting by Izzy
Spiked and fluted rocks in Dali's Delight. These might be expected underneath a tall Yorkshire pitch, but seem out of place below a relatively small aven here.
Modelling by Neil, lighting by Izzy At this point, a side crawl to the left passes three ways above (via two very tricky avens) and to the right into the side of a giant dry pitch. This will be mentioned later. The crawl ends at a platform overlooking a second giant pitch with a waterfall, the Chamber Pot. Rocks thrown from here fall for 3 seconds, suggesting a depth of some 45 metres below. The ceiling is far above, with the Chamber Pot Series some 25 metres up (which also appears to connect with the top of the dry pitch, providing the usual route into that series). Even allowing for timing errors and approximations, this would make it one of the largest pitches in Wales.
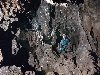 Dali's Delight is named because of the surreal rotten-looking rock formations, reminiscent of something from a Salvador Dali painting.
Modelling by Neil, lighting by Izzy, Steve and Grace
Dali's Delight is named because of the surreal rotten-looking rock formations, reminiscent of something from a Salvador Dali painting.
Modelling by Neil, lighting by Izzy, Steve and Grace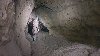 Several holes in the floor drop into a short fragment of old phreas, ending at a mud dig in its more promising direction.
Modelling by Phil, lighting by Tarquin, Gareth and Phil
Several holes in the floor drop into a short fragment of old phreas, ending at a mud dig in its more promising direction.
Modelling by Phil, lighting by Tarquin, Gareth and Phil The other end appears to be a dead end, with some attractive mud formations below an aven back up to the main level.
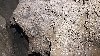 Beside the mud formations is a committing route through a choke leading to a ledge in a large chamber below the dry pitch mentioned earlier.
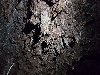 Rock formations back up in the main level.
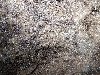 Glistening rock.
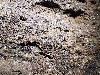 Glistening rock.
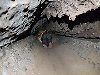 The passage then becomes The Maze. On the left, two passages lead to Tubeways. On the right, a passage heads off on its own, turning into a tube running above Tubeways. It ends at a climb down into Tubeways, which cannot be reversed.
Modelling by Izzy and Steve, lighting by Tarquin, Izzy and Steve
The passage then becomes The Maze. On the left, two passages lead to Tubeways. On the right, a passage heads off on its own, turning into a tube running above Tubeways. It ends at a climb down into Tubeways, which cannot be reversed.
Modelling by Izzy and Steve, lighting by Tarquin, Izzy and Steve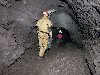 The two routes to Tubeways unite at a steep slope down, and Tubeways starts as a relatively large phreas, with dark walls that suck in any light shone on them.
Modelling by Steve and Izzy, lighting by Tarquin, Steve and Izzy
The two routes to Tubeways unite at a steep slope down, and Tubeways starts as a relatively large phreas, with dark walls that suck in any light shone on them.
Modelling by Steve and Izzy, lighting by Tarquin, Steve and Izzy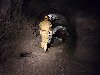 Tubeways ends at an aven, where a climb up reaches an aven series and a tight pitch which drops to a very small streamway. A small inlet just before the aven reaches a very loose choke.
Modelling by Steve and Izzy, lighting by Tarquin, Steve and Izzy
Tubeways ends at an aven, where a climb up reaches an aven series and a tight pitch which drops to a very small streamway. A small inlet just before the aven reaches a very loose choke.
Modelling by Steve and Izzy, lighting by Tarquin, Steve and Izzy Where the two Tubeways routes join, another short side passage has a small passage in its floor, which pops into the side of this enormous chamber. The floor is a deep crater. Through the large eyehole ahead is another chamber; the bottom of the dry pitch mentioned earlier. At the bottom of the crater, a very slippery and awkward climb up reaches a narrow passage leading into the floor of the pitch. From the bottom of the pitch, a hole in one wall provides a climb up to the large eyehole ledge, where the mud formations route enters (at the left edge of the eyehole ledge seen here).
Modelling by Steve, lighting by Tarquin and Steve
Where the two Tubeways routes join, another short side passage has a small passage in its floor, which pops into the side of this enormous chamber. The floor is a deep crater. Through the large eyehole ahead is another chamber; the bottom of the dry pitch mentioned earlier. At the bottom of the crater, a very slippery and awkward climb up reaches a narrow passage leading into the floor of the pitch. From the bottom of the pitch, a hole in one wall provides a climb up to the large eyehole ledge, where the mud formations route enters (at the left edge of the eyehole ledge seen here).
Modelling by Steve, lighting by Tarquin and Steve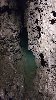 At the bottom of the crater (which floods to a depth of at least 4 metres in severe floods) is a climb up into a rift. This leads to a climb down into a rift which rapidly drops into a sump. This sump leads to Mazeways Two, and Mazeways One via The Bridge.
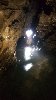 Half way down the climb, a series of side passages - all of which are oxbows to each other - reaches a very narrow, snatchy streamway, which has no obvious outflow. Upstream passes through this duck, where it is possible to keep your head dry. However, trying to do so caused my camera box to be broken open by the rock, soaking the camera.
Modelling by Gareth, lighting by Tarquin and Gareth
Half way down the climb, a series of side passages - all of which are oxbows to each other - reaches a very narrow, snatchy streamway, which has no obvious outflow. Upstream passes through this duck, where it is possible to keep your head dry. However, trying to do so caused my camera box to be broken open by the rock, soaking the camera.
Modelling by Gareth, lighting by Tarquin and Gareth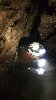 It may be easier to treat it like a sump, and not try to keep your head dry.
Modelling by Gareth, lighting by Tarquin and Gareth
It may be easier to treat it like a sump, and not try to keep your head dry.
Modelling by Gareth, lighting by Tarquin and Gareth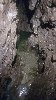 Upstream reaches a sump which has never been passed. The source of the water is not known, but it could easily be the water from the Great North Road - the flow seems about right. A dry climb above it quickly reaches a dead end.
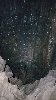 From the bottom of the dry pitch, a crawling sized passage leads on, soon breaking into the side of the Chamber Pot, still a few metres from the floor.
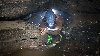 The crawl continues beyond it for some distance.
Modelling by Phil, lighting by Tarquin, Phil and Gareth
The crawl continues beyond it for some distance.
Modelling by Phil, lighting by Tarquin, Phil and Gareth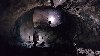 The crawl suddenly ends at a slope up into the huge A2 Chamber, a very dramatically big space considering the size of everything else around it.
Modelling by Gareth and Phil, lighting by Tarquin, Gareth and Phil
The crawl suddenly ends at a slope up into the huge A2 Chamber, a very dramatically big space considering the size of everything else around it.
Modelling by Gareth and Phil, lighting by Tarquin, Gareth and Phil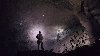 The chamber is really an immense passage, but it chokes before it can get started. The choke is in a similar position to the choke in Hangar passage, but at a lower level, and in line with a sharp corner in Thixotropic Passage. It is far underground, but the choke contains surface rocks, so the prospects seem very slim indeed. Side passages on one side all choke, with their streams flowing back out through the crawl. The crawl end of A2 chamber sits very close to a sediment-filled alcove at the end of The Abyss, near The Camel, which could explain why this passage is here.
Modelling by Gareth and Phil, lighting by Tarquin, Gareth and Phil
The chamber is really an immense passage, but it chokes before it can get started. The choke is in a similar position to the choke in Hangar passage, but at a lower level, and in line with a sharp corner in Thixotropic Passage. It is far underground, but the choke contains surface rocks, so the prospects seem very slim indeed. Side passages on one side all choke, with their streams flowing back out through the crawl. The crawl end of A2 chamber sits very close to a sediment-filled alcove at the end of The Abyss, near The Camel, which could explain why this passage is here.
Modelling by Gareth and Phil, lighting by Tarquin, Gareth and Phil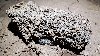 Rock covered with fossils in A2 Chamber.
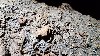 Details of the fossils.
 A miserable, wet crawl starting beside the other crawl leads out from A2 chamber, ending at a 5 metre pitch down into The Abyss, in the wall of a rift right next to The Camel. From below, it is invisible, even when you know where to look. The pitch relies on ancient spit bolts, hangers and maillons which look like they have been there since the dawn of time. A third hanger was showing definite signs of metal fatigue.
Modelling by Gareth and Phil, lighting by Tarquin, Gareth and Phil
A miserable, wet crawl starting beside the other crawl leads out from A2 chamber, ending at a 5 metre pitch down into The Abyss, in the wall of a rift right next to The Camel. From below, it is invisible, even when you know where to look. The pitch relies on ancient spit bolts, hangers and maillons which look like they have been there since the dawn of time. A third hanger was showing definite signs of metal fatigue.
Modelling by Gareth and Phil, lighting by Tarquin, Gareth and Phil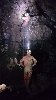 We rigged the pitch as a pull-through, using a rope that we had found in the cave (totally safe, right?). We used 2 bolts, just in case one gave way, though I am pretty sure that the second one was more for psychological support - if the first one failed, the shock load would almost certainly have broken the second as well. But hey, we're all here, so it must have been all right. I would recommend that other visitors avoid using the existing hardware, since it is not maintained.
Modelling by Gareth and Phil, lighting by Tarquin, Gareth and Phil
We rigged the pitch as a pull-through, using a rope that we had found in the cave (totally safe, right?). We used 2 bolts, just in case one gave way, though I am pretty sure that the second one was more for psychological support - if the first one failed, the shock load would almost certainly have broken the second as well. But hey, we're all here, so it must have been all right. I would recommend that other visitors avoid using the existing hardware, since it is not maintained.
Modelling by Gareth and Phil, lighting by Tarquin, Gareth and Phil
 There had been some pretty severe flooding before our second trip, and Lake 1 had changed completely. The walkway normally has the stream flowing a foot or so below it, with the walkway being a bridge. Instead, the lake had been shrunk to half its normal size, with the walkway buried under sand. Lake 3 had also changed, with the normally shallow left wall being deep at the start of the lake. The sandbank had moved into the middle of the lake instead. The wider section of Lake 3 was the same as normal.
Modelling by Gareth, lighting by Tarquin and Gareth
There had been some pretty severe flooding before our second trip, and Lake 1 had changed completely. The walkway normally has the stream flowing a foot or so below it, with the walkway being a bridge. Instead, the lake had been shrunk to half its normal size, with the walkway buried under sand. Lake 3 had also changed, with the normally shallow left wall being deep at the start of the lake. The sandbank had moved into the middle of the lake instead. The wider section of Lake 3 was the same as normal.
Modelling by Gareth, lighting by Tarquin and Gareth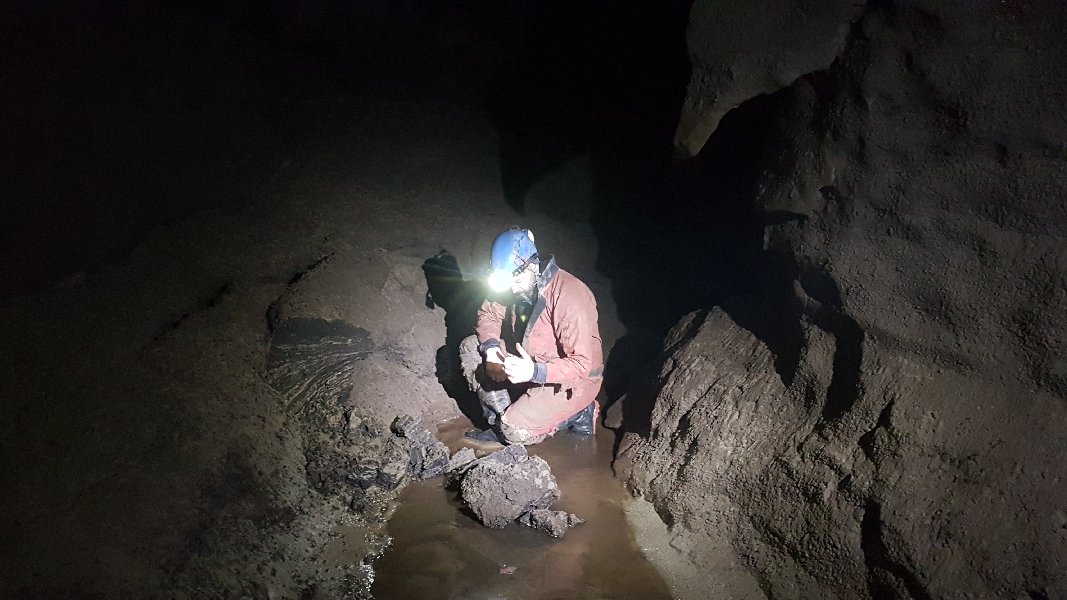 Thixotropic Passage had also been modified, with large amounts of the mudbanks damaged by the water. Here, the conservation officer is checking to see whether the fallen parts also contained any worm colonies. Amazingly though, Mazeways was accessible after the recent flooding, due to the unexpectedly low water during our visit.
Modelling by Phil, lighting by Tarquin and Phil
Thixotropic Passage had also been modified, with large amounts of the mudbanks damaged by the water. Here, the conservation officer is checking to see whether the fallen parts also contained any worm colonies. Amazingly though, Mazeways was accessible after the recent flooding, due to the unexpectedly low water during our visit.
Modelling by Phil, lighting by Tarquin and Phil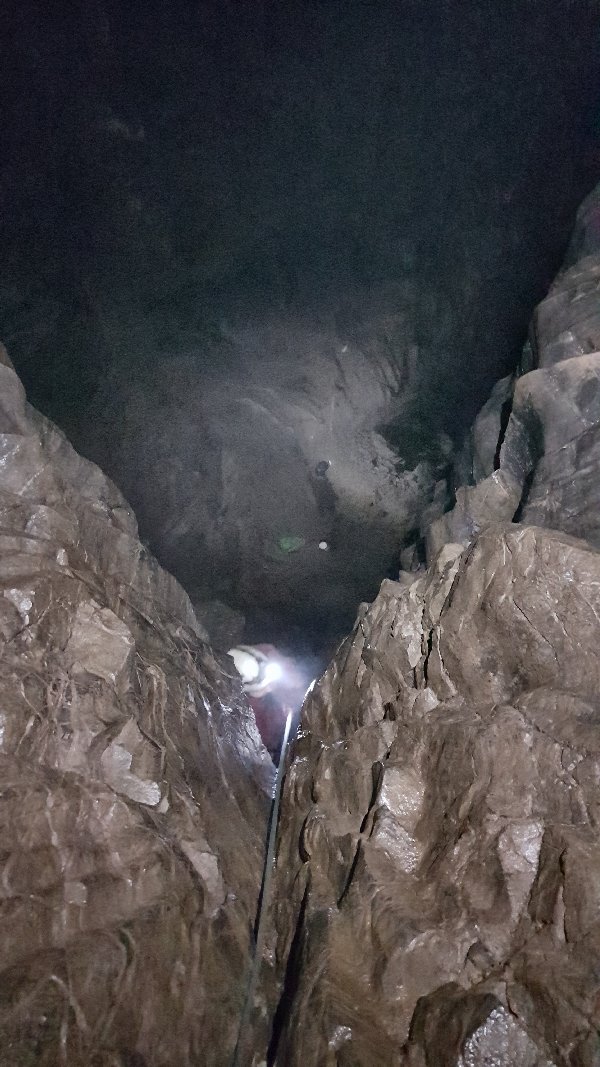 The climb up into Dali's Delight from The Abyss, which is around 60 feet (20 metres) high. It is free-climbable - but far too slippery to risk it - but an SRT rope is always in place. The leader will usually free climb using a top jammer (prusiking ascender) for protection, then rig a ladder and use the SRT rope as a belay line.
Modelling by Gareth and Phil, lighting by Tarquin, Gareth and Phil
The climb up into Dali's Delight from The Abyss, which is around 60 feet (20 metres) high. It is free-climbable - but far too slippery to risk it - but an SRT rope is always in place. The leader will usually free climb using a top jammer (prusiking ascender) for protection, then rig a ladder and use the SRT rope as a belay line.
Modelling by Gareth and Phil, lighting by Tarquin, Gareth and Phil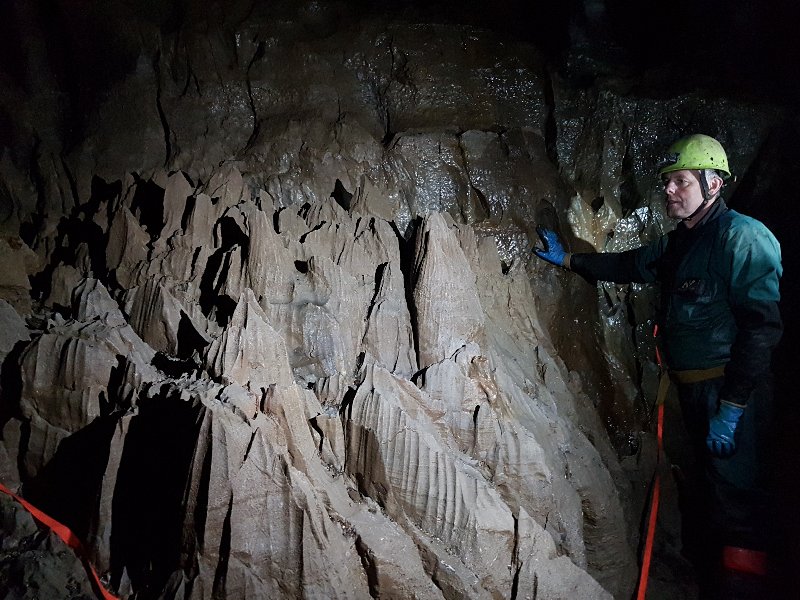 Spiked and fluted rocks in Dali's Delight. These might be expected underneath a tall Yorkshire pitch, but seem out of place below a relatively small aven here.
Modelling by Neil, lighting by Izzy
Spiked and fluted rocks in Dali's Delight. These might be expected underneath a tall Yorkshire pitch, but seem out of place below a relatively small aven here.
Modelling by Neil, lighting by Izzy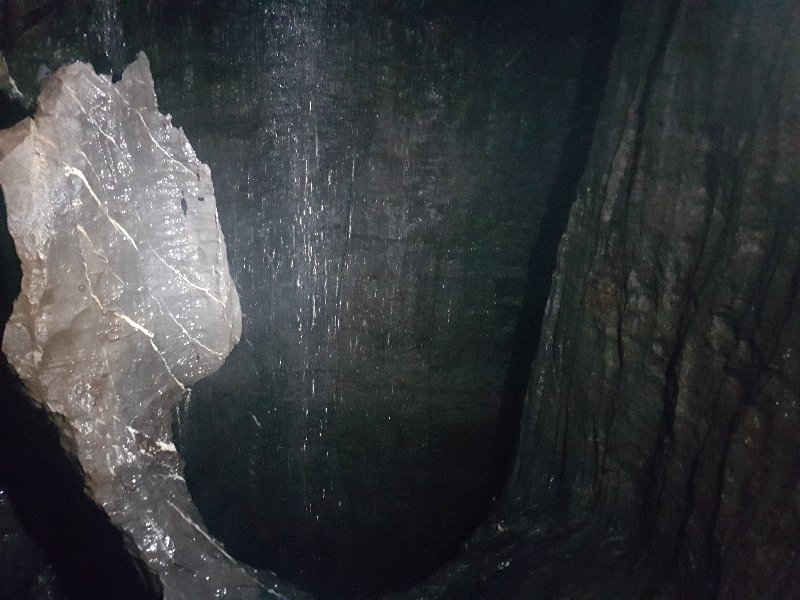 At this point, a side crawl to the left passes three ways above (via two very tricky avens) and to the right into the side of a giant dry pitch. This will be mentioned later. The crawl ends at a platform overlooking a second giant pitch with a waterfall, the Chamber Pot. Rocks thrown from here fall for 3 seconds, suggesting a depth of some 45 metres below. The ceiling is far above, with the Chamber Pot Series some 25 metres up (which also appears to connect with the top of the dry pitch, providing the usual route into that series). Even allowing for timing errors and approximations, this would make it one of the largest pitches in Wales.
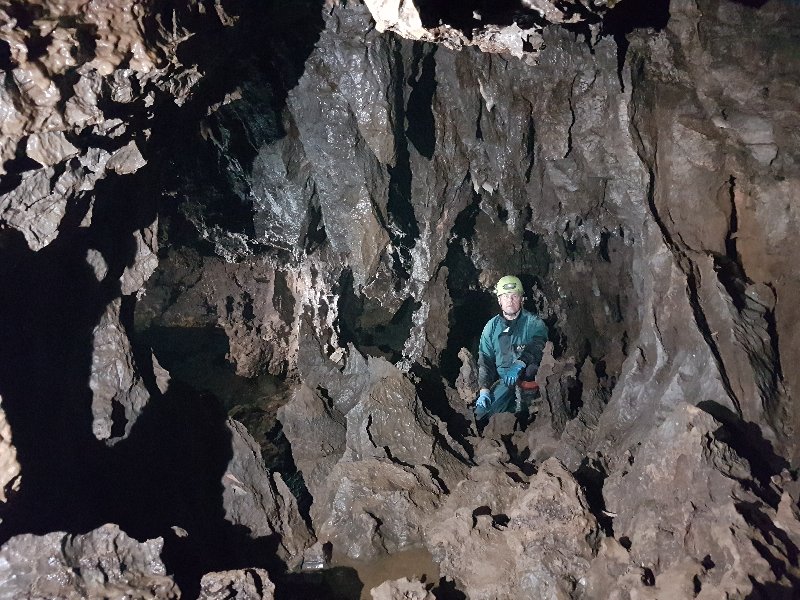 Dali's Delight is named because of the surreal rotten-looking rock formations, reminiscent of something from a Salvador Dali painting.
Modelling by Neil, lighting by Izzy, Steve and Grace
Dali's Delight is named because of the surreal rotten-looking rock formations, reminiscent of something from a Salvador Dali painting.
Modelling by Neil, lighting by Izzy, Steve and Grace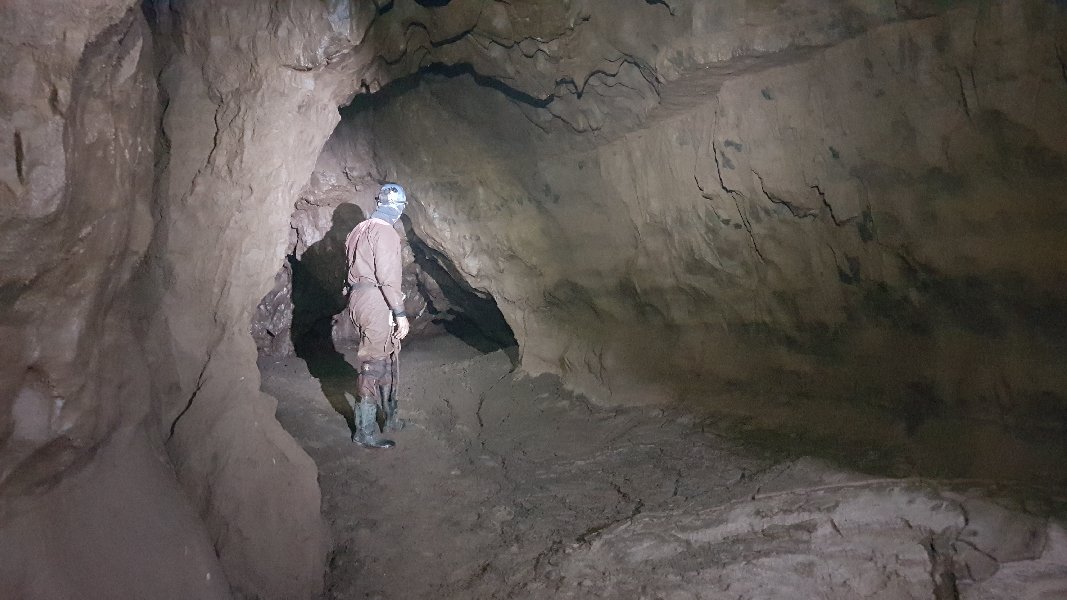 Several holes in the floor drop into a short fragment of old phreas, ending at a mud dig in its more promising direction.
Modelling by Phil, lighting by Tarquin, Gareth and Phil
Several holes in the floor drop into a short fragment of old phreas, ending at a mud dig in its more promising direction.
Modelling by Phil, lighting by Tarquin, Gareth and Phil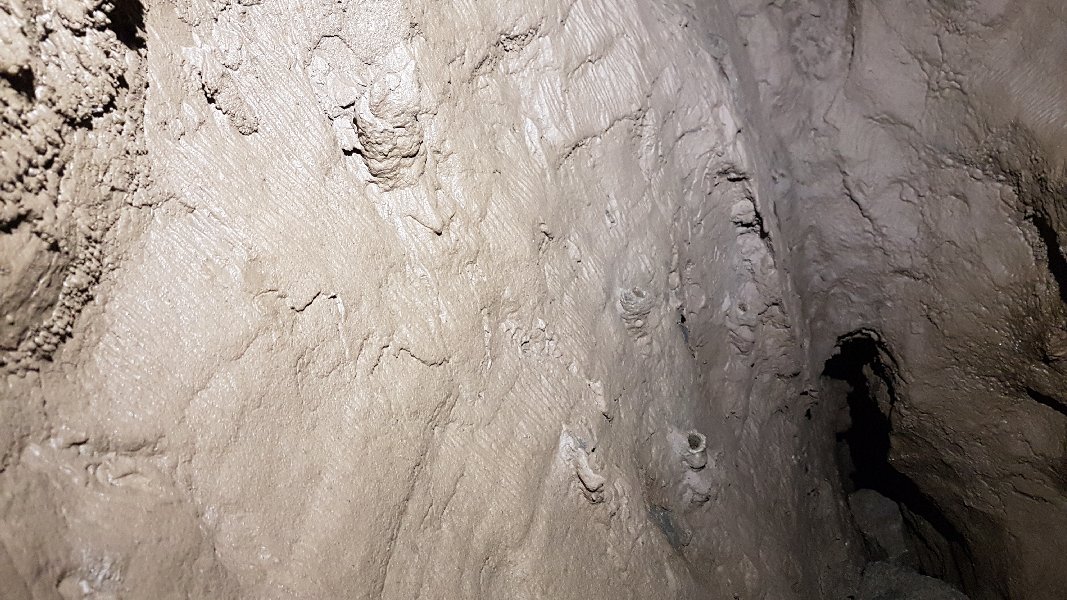 The other end appears to be a dead end, with some attractive mud formations below an aven back up to the main level.
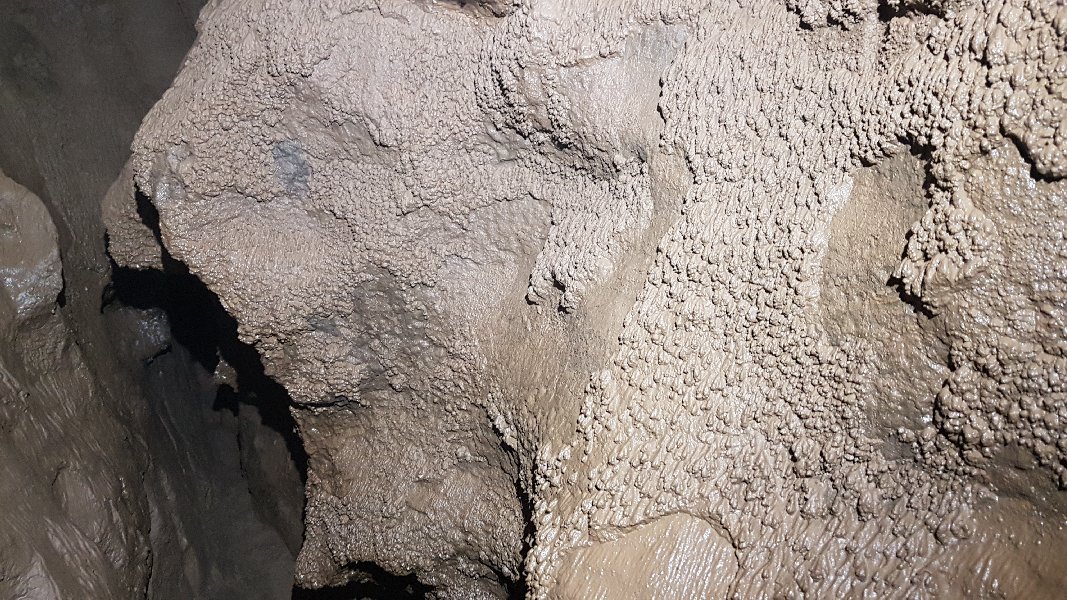 Beside the mud formations is a committing route through a choke leading to a ledge in a large chamber below the dry pitch mentioned earlier.
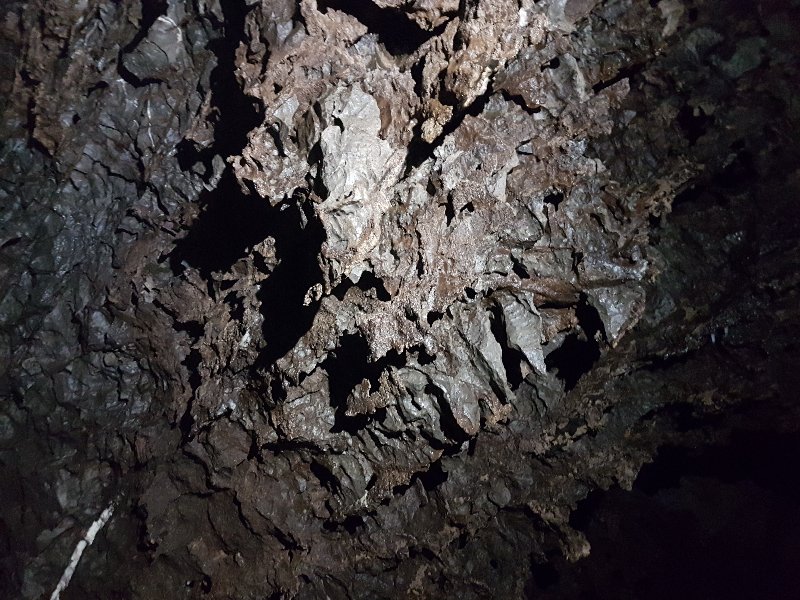 Rock formations back up in the main level.
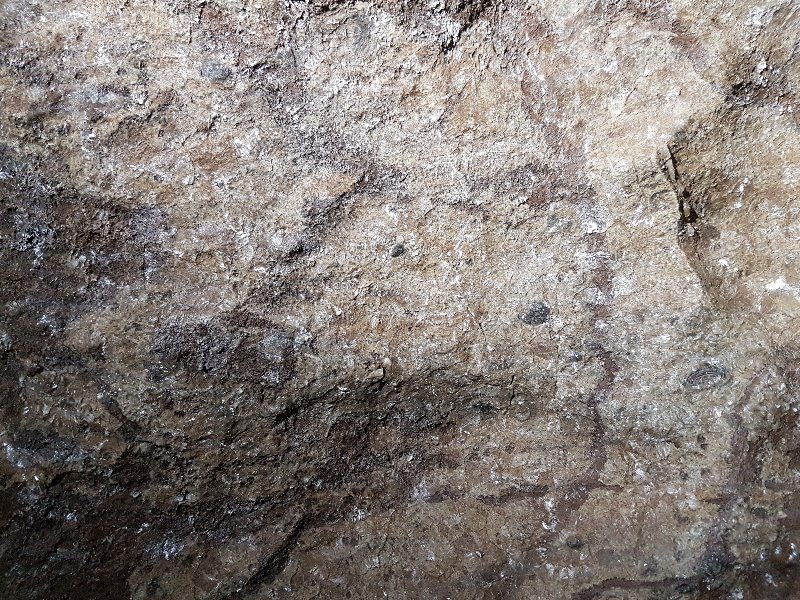 Glistening rock.
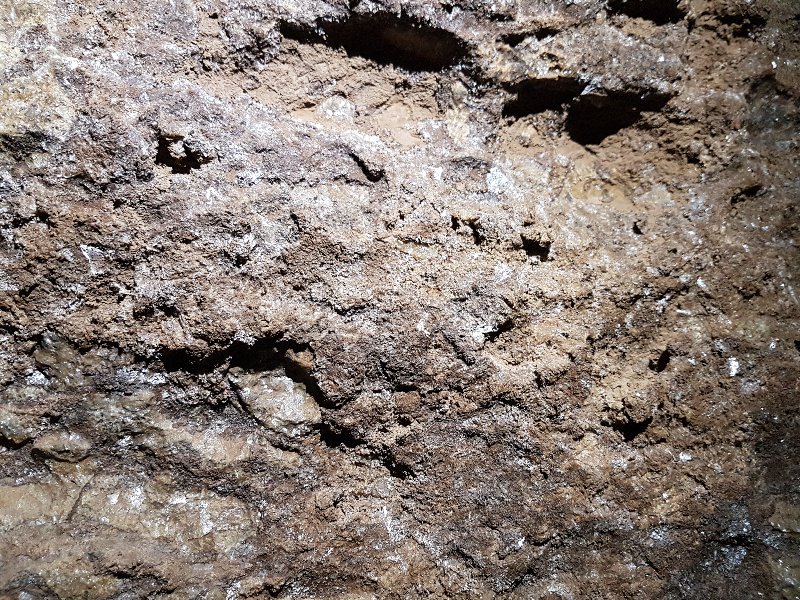 Glistening rock.
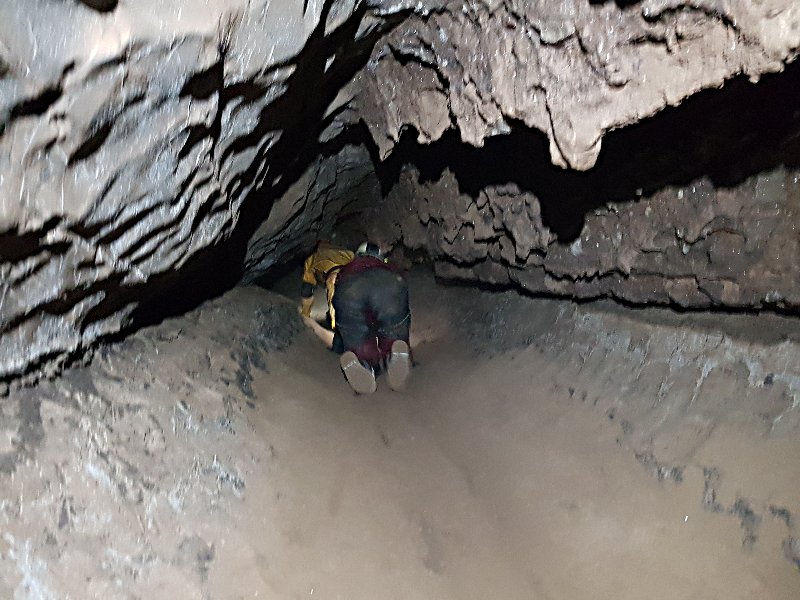 The passage then becomes The Maze. On the left, two passages lead to Tubeways. On the right, a passage heads off on its own, turning into a tube running above Tubeways. It ends at a climb down into Tubeways, which cannot be reversed.
Modelling by Izzy and Steve, lighting by Tarquin, Izzy and Steve
The passage then becomes The Maze. On the left, two passages lead to Tubeways. On the right, a passage heads off on its own, turning into a tube running above Tubeways. It ends at a climb down into Tubeways, which cannot be reversed.
Modelling by Izzy and Steve, lighting by Tarquin, Izzy and Steve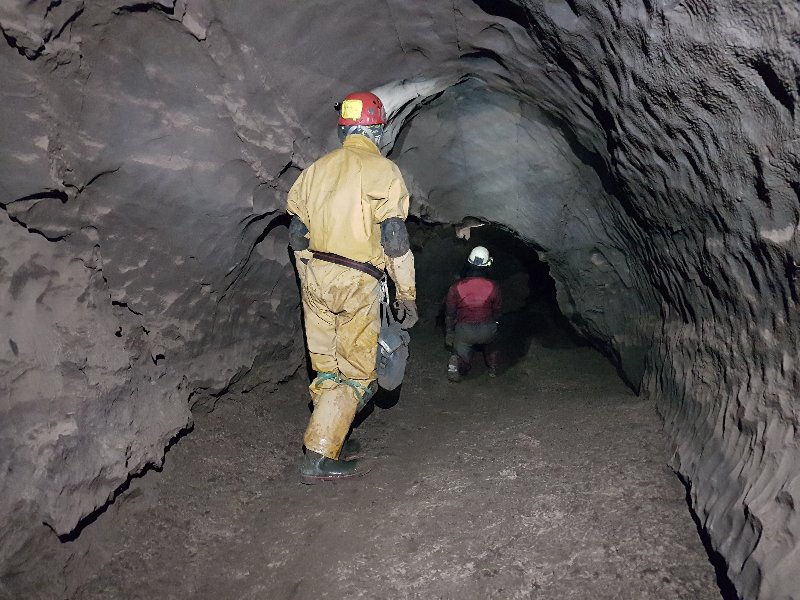 The two routes to Tubeways unite at a steep slope down, and Tubeways starts as a relatively large phreas, with dark walls that suck in any light shone on them.
Modelling by Steve and Izzy, lighting by Tarquin, Steve and Izzy
The two routes to Tubeways unite at a steep slope down, and Tubeways starts as a relatively large phreas, with dark walls that suck in any light shone on them.
Modelling by Steve and Izzy, lighting by Tarquin, Steve and Izzy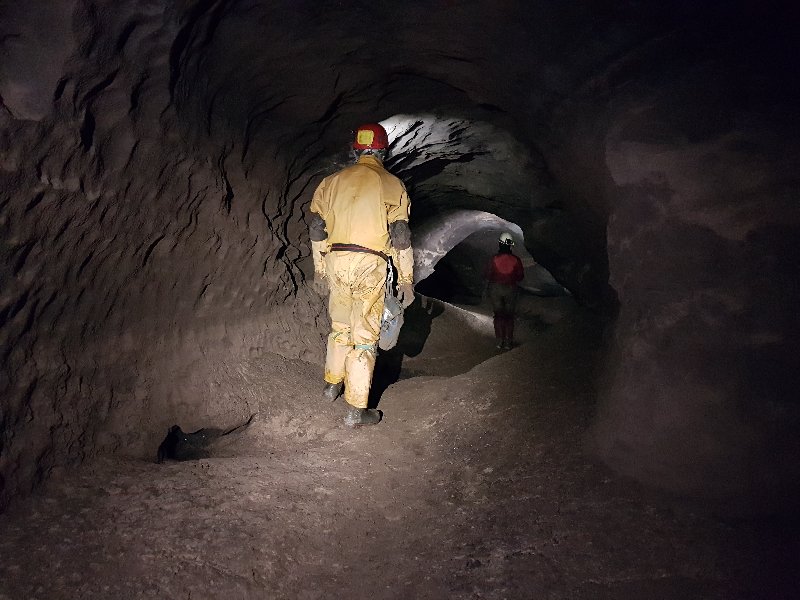 Tubeways ends at an aven, where a climb up reaches an aven series and a tight pitch which drops to a very small streamway. A small inlet just before the aven reaches a very loose choke.
Modelling by Steve and Izzy, lighting by Tarquin, Steve and Izzy
Tubeways ends at an aven, where a climb up reaches an aven series and a tight pitch which drops to a very small streamway. A small inlet just before the aven reaches a very loose choke.
Modelling by Steve and Izzy, lighting by Tarquin, Steve and Izzy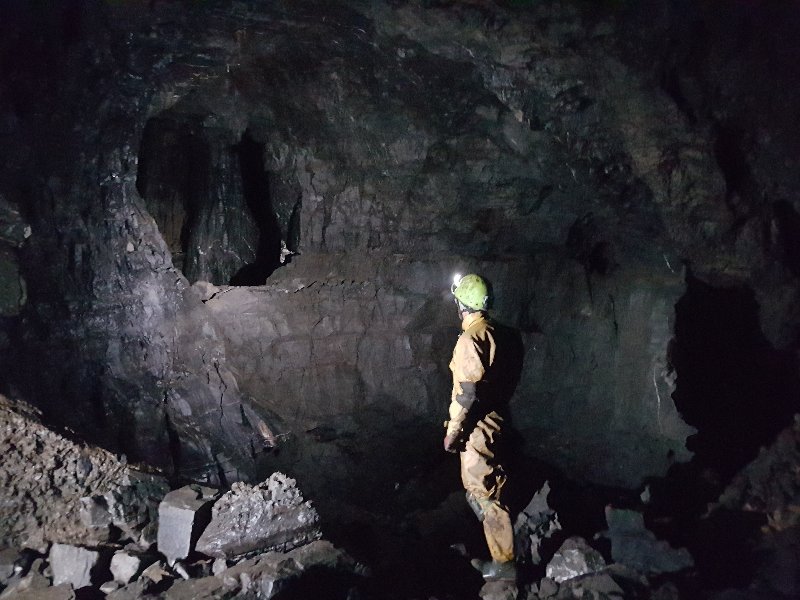 Where the two Tubeways routes join, another short side passage has a small passage in its floor, which pops into the side of this enormous chamber. The floor is a deep crater. Through the large eyehole ahead is another chamber; the bottom of the dry pitch mentioned earlier. At the bottom of the crater, a very slippery and awkward climb up reaches a narrow passage leading into the floor of the pitch. From the bottom of the pitch, a hole in one wall provides a climb up to the large eyehole ledge, where the mud formations route enters (at the left edge of the eyehole ledge seen here).
Modelling by Steve, lighting by Tarquin and Steve
Where the two Tubeways routes join, another short side passage has a small passage in its floor, which pops into the side of this enormous chamber. The floor is a deep crater. Through the large eyehole ahead is another chamber; the bottom of the dry pitch mentioned earlier. At the bottom of the crater, a very slippery and awkward climb up reaches a narrow passage leading into the floor of the pitch. From the bottom of the pitch, a hole in one wall provides a climb up to the large eyehole ledge, where the mud formations route enters (at the left edge of the eyehole ledge seen here).
Modelling by Steve, lighting by Tarquin and Steve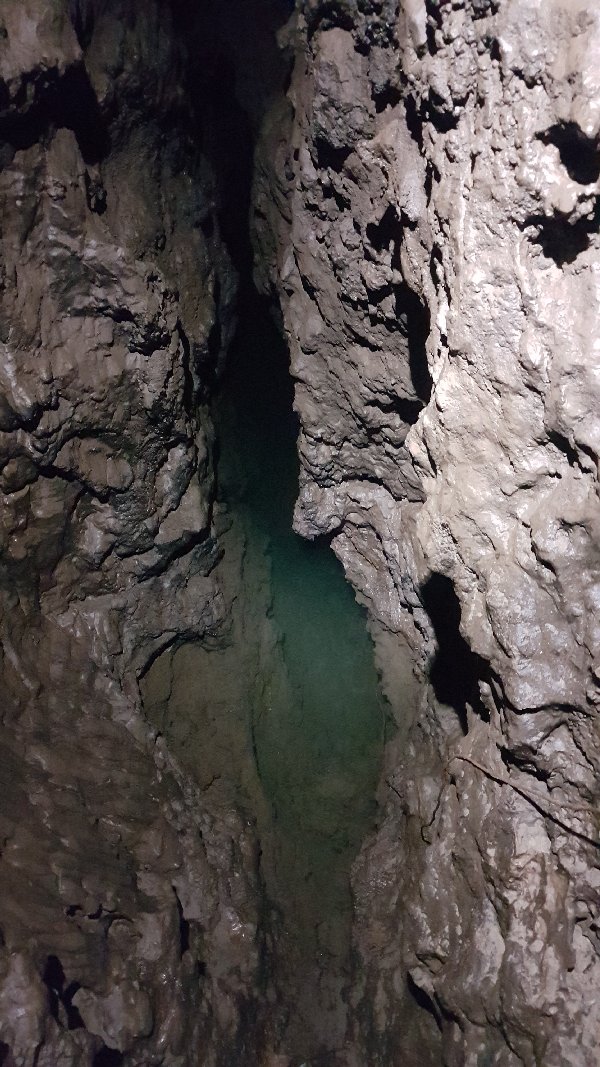 At the bottom of the crater (which floods to a depth of at least 4 metres in severe floods) is a climb up into a rift. This leads to a climb down into a rift which rapidly drops into a sump. This sump leads to Mazeways Two, and Mazeways One via The Bridge.
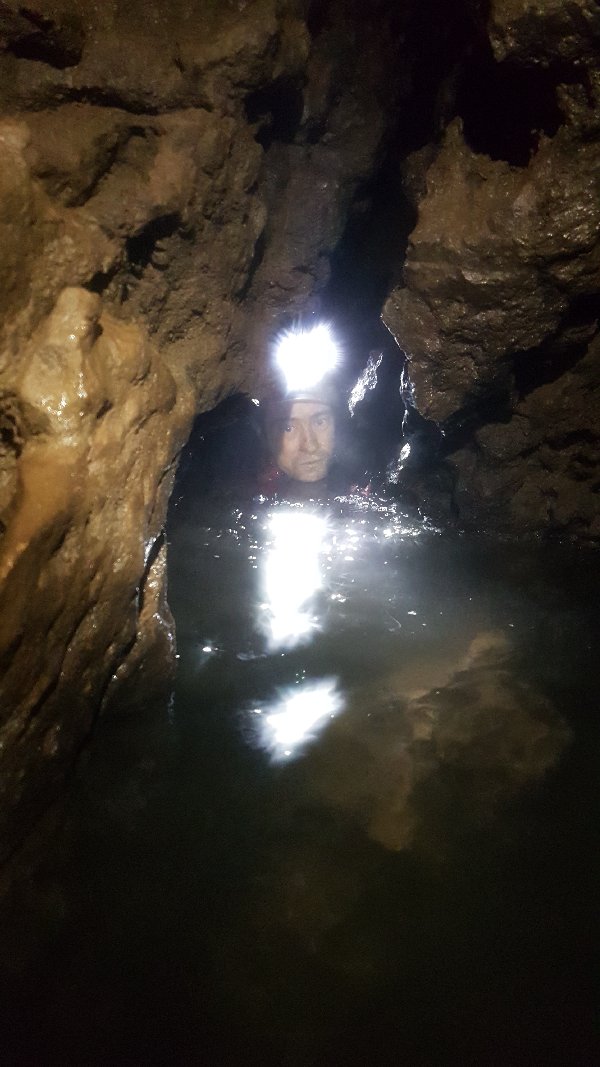 Half way down the climb, a series of side passages - all of which are oxbows to each other - reaches a very narrow, snatchy streamway, which has no obvious outflow. Upstream passes through this duck, where it is possible to keep your head dry. However, trying to do so caused my camera box to be broken open by the rock, soaking the camera.
Modelling by Gareth, lighting by Tarquin and Gareth
Half way down the climb, a series of side passages - all of which are oxbows to each other - reaches a very narrow, snatchy streamway, which has no obvious outflow. Upstream passes through this duck, where it is possible to keep your head dry. However, trying to do so caused my camera box to be broken open by the rock, soaking the camera.
Modelling by Gareth, lighting by Tarquin and Gareth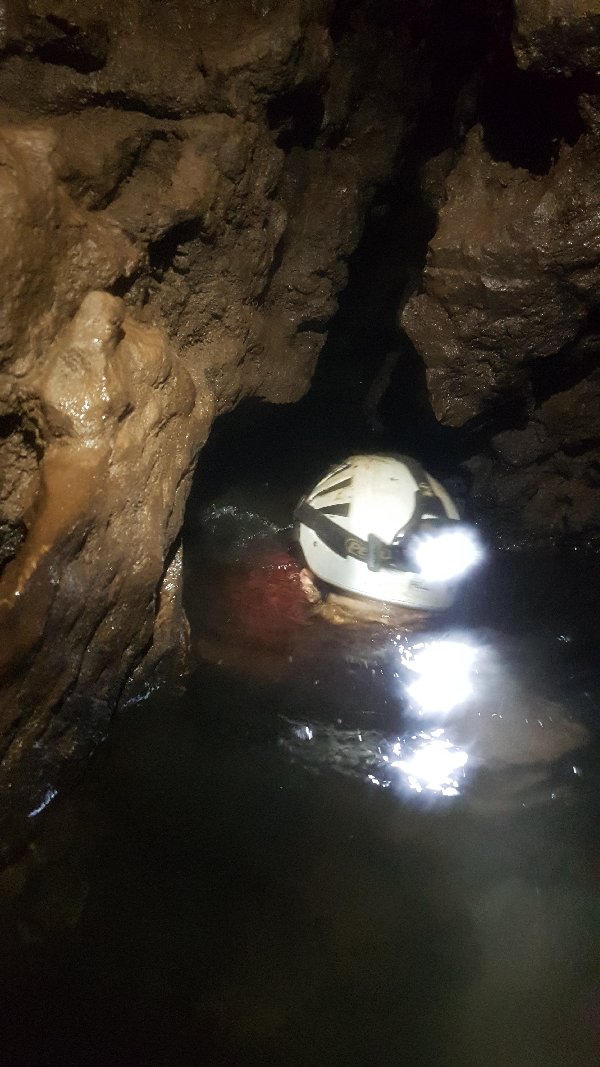 It may be easier to treat it like a sump, and not try to keep your head dry.
Modelling by Gareth, lighting by Tarquin and Gareth
It may be easier to treat it like a sump, and not try to keep your head dry.
Modelling by Gareth, lighting by Tarquin and Gareth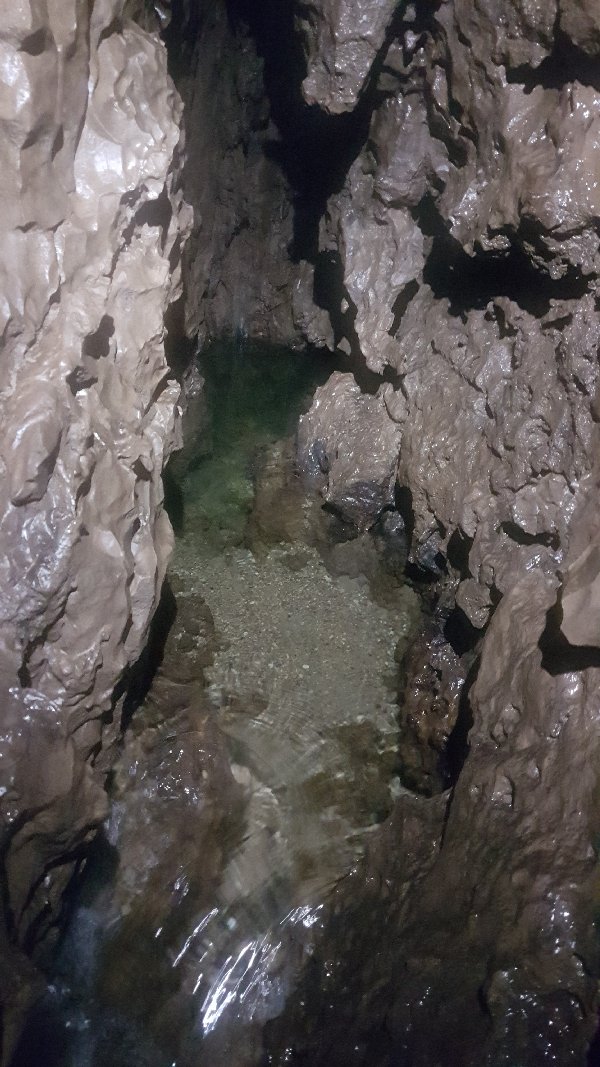 Upstream reaches a sump which has never been passed. The source of the water is not known, but it could easily be the water from the Great North Road - the flow seems about right. A dry climb above it quickly reaches a dead end.
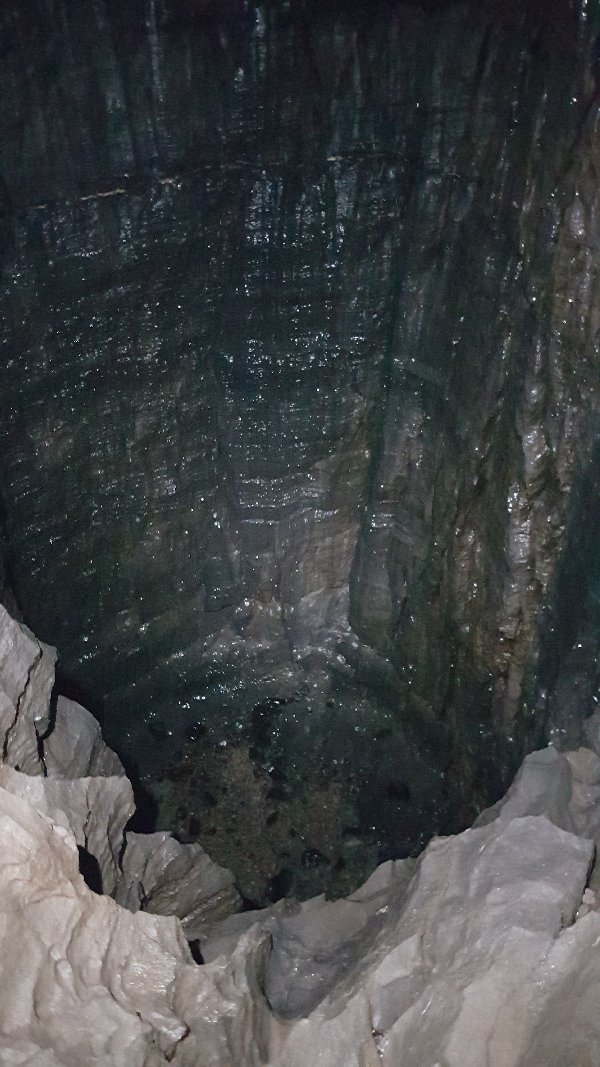 From the bottom of the dry pitch, a crawling sized passage leads on, soon breaking into the side of the Chamber Pot, still a few metres from the floor.
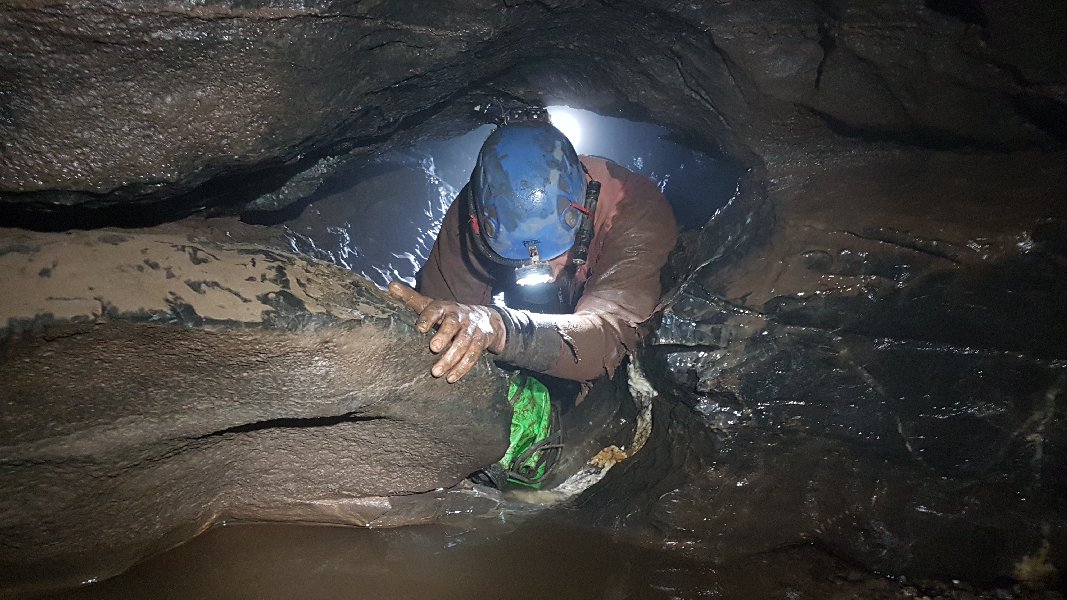 The crawl continues beyond it for some distance.
Modelling by Phil, lighting by Tarquin, Phil and Gareth
The crawl continues beyond it for some distance.
Modelling by Phil, lighting by Tarquin, Phil and Gareth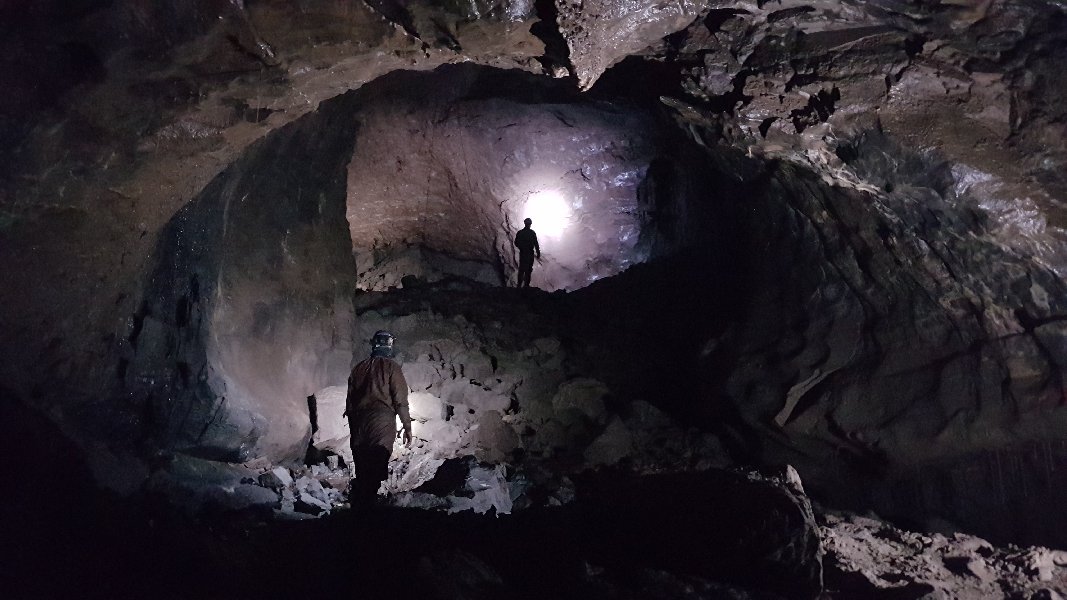 The crawl suddenly ends at a slope up into the huge A2 Chamber, a very dramatically big space considering the size of everything else around it.
Modelling by Gareth and Phil, lighting by Tarquin, Gareth and Phil
The crawl suddenly ends at a slope up into the huge A2 Chamber, a very dramatically big space considering the size of everything else around it.
Modelling by Gareth and Phil, lighting by Tarquin, Gareth and Phil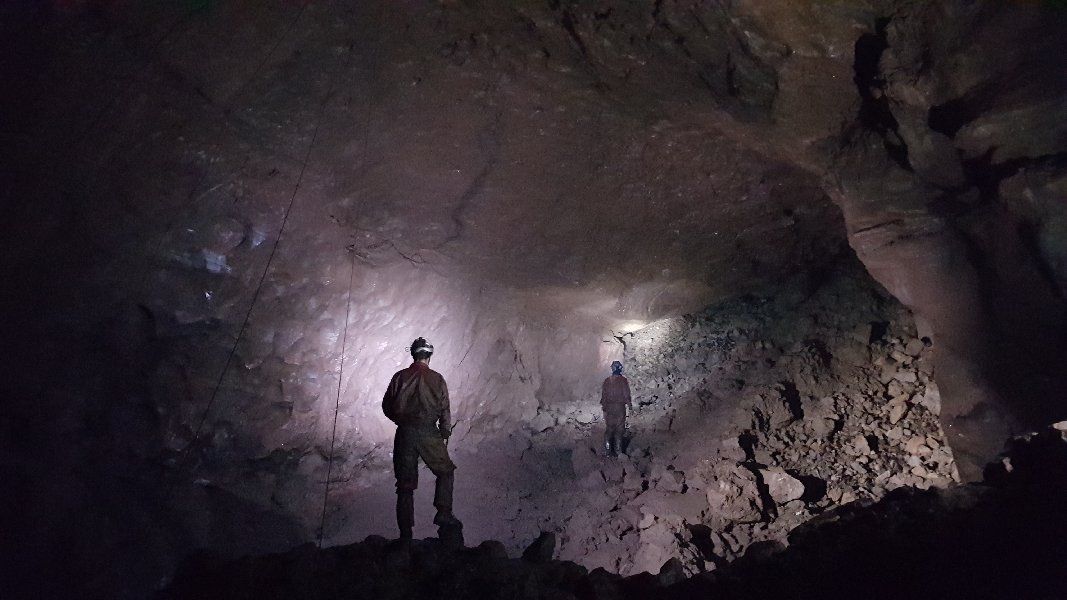 The chamber is really an immense passage, but it chokes before it can get started. The choke is in a similar position to the choke in Hangar passage, but at a lower level, and in line with a sharp corner in Thixotropic Passage. It is far underground, but the choke contains surface rocks, so the prospects seem very slim indeed. Side passages on one side all choke, with their streams flowing back out through the crawl. The crawl end of A2 chamber sits very close to a sediment-filled alcove at the end of The Abyss, near The Camel, which could explain why this passage is here.
Modelling by Gareth and Phil, lighting by Tarquin, Gareth and Phil
The chamber is really an immense passage, but it chokes before it can get started. The choke is in a similar position to the choke in Hangar passage, but at a lower level, and in line with a sharp corner in Thixotropic Passage. It is far underground, but the choke contains surface rocks, so the prospects seem very slim indeed. Side passages on one side all choke, with their streams flowing back out through the crawl. The crawl end of A2 chamber sits very close to a sediment-filled alcove at the end of The Abyss, near The Camel, which could explain why this passage is here.
Modelling by Gareth and Phil, lighting by Tarquin, Gareth and Phil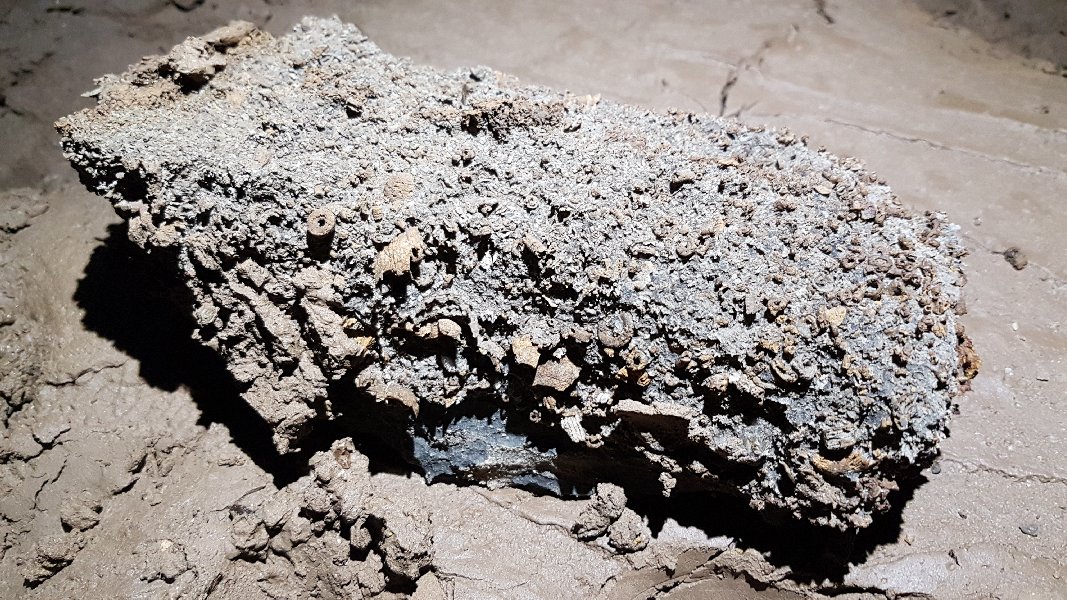 Rock covered with fossils in A2 Chamber.
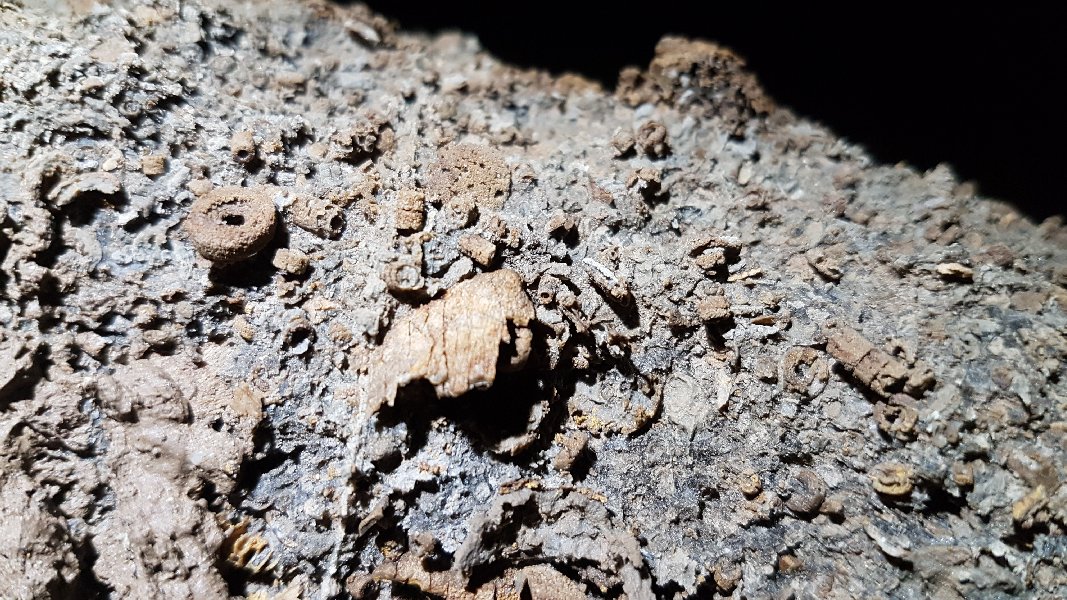 Details of the fossils.
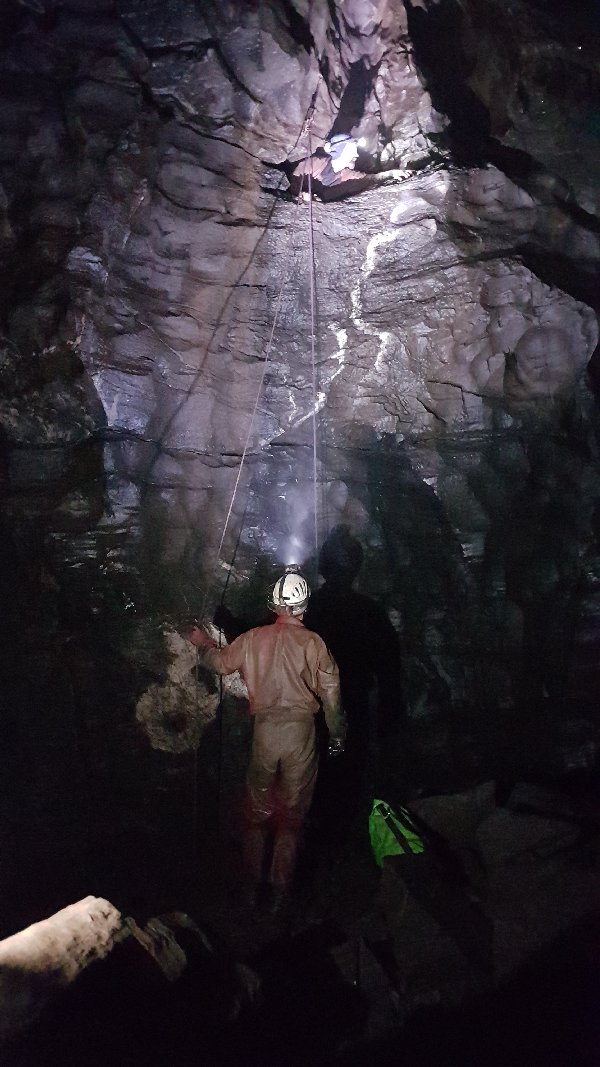 A miserable, wet crawl starting beside the other crawl leads out from A2 chamber, ending at a 5 metre pitch down into The Abyss, in the wall of a rift right next to The Camel. From below, it is invisible, even when you know where to look. The pitch relies on ancient spit bolts, hangers and maillons which look like they have been there since the dawn of time. A third hanger was showing definite signs of metal fatigue.
Modelling by Gareth and Phil, lighting by Tarquin, Gareth and Phil
A miserable, wet crawl starting beside the other crawl leads out from A2 chamber, ending at a 5 metre pitch down into The Abyss, in the wall of a rift right next to The Camel. From below, it is invisible, even when you know where to look. The pitch relies on ancient spit bolts, hangers and maillons which look like they have been there since the dawn of time. A third hanger was showing definite signs of metal fatigue.
Modelling by Gareth and Phil, lighting by Tarquin, Gareth and Phil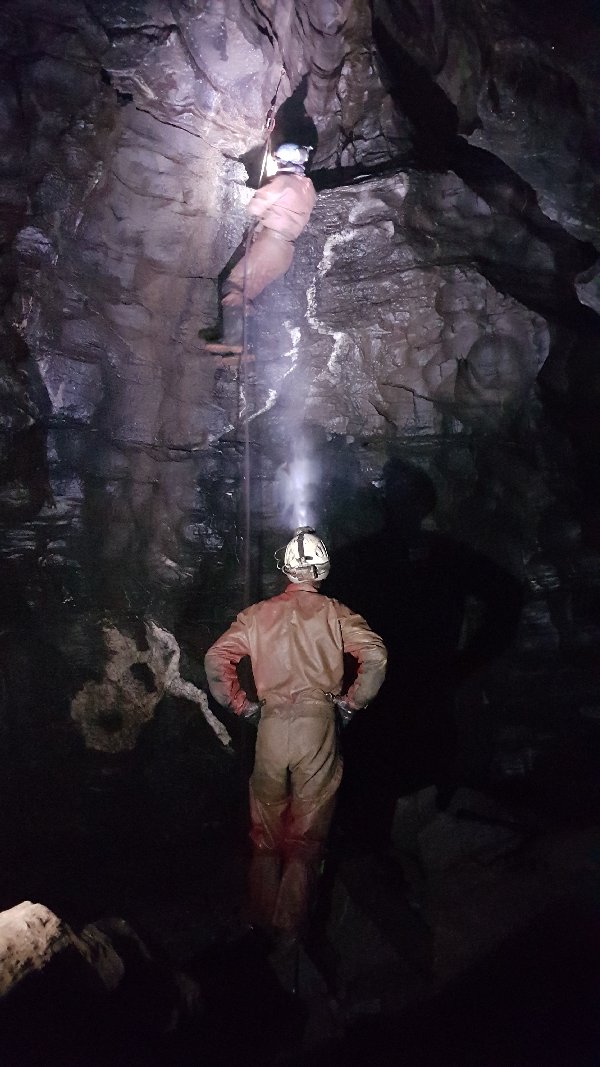 We rigged the pitch as a pull-through, using a rope that we had found in the cave (totally safe, right?). We used 2 bolts, just in case one gave way, though I am pretty sure that the second one was more for psychological support - if the first one failed, the shock load would almost certainly have broken the second as well. But hey, we're all here, so it must have been all right. I would recommend that other visitors avoid using the existing hardware, since it is not maintained.
Modelling by Gareth and Phil, lighting by Tarquin, Gareth and Phil
We rigged the pitch as a pull-through, using a rope that we had found in the cave (totally safe, right?). We used 2 bolts, just in case one gave way, though I am pretty sure that the second one was more for psychological support - if the first one failed, the shock load would almost certainly have broken the second as well. But hey, we're all here, so it must have been all right. I would recommend that other visitors avoid using the existing hardware, since it is not maintained.
Modelling by Gareth and Phil, lighting by Tarquin, Gareth and Phil