Ogof Draenen Aces High trip 02/04/2022
Unless otherwise stated, camera, setups, lighting, edits and gallery effects by Tarquin. Modelling and lighting at various points will be Pete Bolt and John Roe.
Aces High is a part of the extensive Realm of Baron von Carno series, and is unlikely to become a tourist destination, since it is yet another phreatic maze, without any grand passages or stupendous formations. However, it has an incredible amount of mud formations, and some of the most substantial cryostal deposits in the entire cave (surpassed perhaps only by War Of The Worlds). This trip was used to write this part of the the description, and takes over where our previous trip left off. We therefore visited a lot of side passages that you would ignore on a normal caving trip.
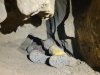 Just after the dig where Aces High was connected to The Realm Of Baron Von Carno passage's side passage, the second crawl looks intimidating, but it is actually just a narrow crawl where you have to lie on your side.
Modelling by John
Just after the dig where Aces High was connected to The Realm Of Baron Von Carno passage's side passage, the second crawl looks intimidating, but it is actually just a narrow crawl where you have to lie on your side.
Modelling by John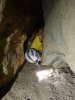 Not particularly hard.
Modelling by Pete, lighting by Tarquin and Pete
Not particularly hard.
Modelling by Pete, lighting by Tarquin and Pete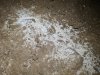 The cryostal begins in ernest after the climb down to the first junction. This patch has had a lot of feet landing on it, but don't worry, there is plenty more.
 At the first junction, we start into the first side passage, to the right. This would typically be visited only by mistake on the way out. Most of it is a narrow rift requiring walking or crawling, but this memorable section requires a unique manoeuvre.
Modelling by John, lighting by Tarquin, John and Pete
At the first junction, we start into the first side passage, to the right. This would typically be visited only by mistake on the way out. Most of it is a narrow rift requiring walking or crawling, but this memorable section requires a unique manoeuvre.
Modelling by John, lighting by Tarquin, John and Pete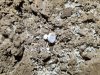 Cryostal in the side passage, with characteristic half-cups.
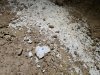 Cryostal at the end of the side passage.
 At the junction, to the left is the way on, and the survey of Aces High shows it incredibly narrow, like it would be a lengthy squeeze. It is a normal small crawl, becoming hands and knees sized for most of its length. It is not a squeeze.
Modelling by John, lighting by Tarquin and John
At the junction, to the left is the way on, and the survey of Aces High shows it incredibly narrow, like it would be a lengthy squeeze. It is a normal small crawl, becoming hands and knees sized for most of its length. It is not a squeeze.
Modelling by John, lighting by Tarquin and John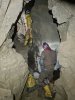 The crawl ends at a junction with a tall rift. The crawl can be seen emerging from the right wall here, and the picture is looking into the longest of the side passages in the series. The side passage, like all passages in Aces High, does not have a name, but starts off as a choice between upper and lower levels of the same rift, which both end up in the same place. The main way on to what I call the "wide loop" is behind the camera.
Modelling by John and Pete, lighting by Tarquin, John and Pete
The crawl ends at a junction with a tall rift. The crawl can be seen emerging from the right wall here, and the picture is looking into the longest of the side passages in the series. The side passage, like all passages in Aces High, does not have a name, but starts off as a choice between upper and lower levels of the same rift, which both end up in the same place. The main way on to what I call the "wide loop" is behind the camera.
Modelling by John and Pete, lighting by Tarquin, John and Pete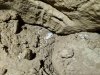 Cryostal at the junction.
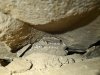 Cryostal at the junction.
 Cryostal at the junction.
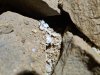 Cryostal at the junction.
 Cryostal at the junction.
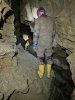 We started off down the side passage, which soon dropped into a much more substantial canyon-style passage, which immediately reminded me of The Stream Of Running Commentary, which is because it is indeed a continuation of that passage. At this point, it is completely dry. Behind the camera, the passage ends abruptly at a choke, but a large chamber can be seen between rocks above. This is much more safely reached elsewhere, and is not worth trying to dig.
Modelling by John and Pete, lighting by Tarquin, John and Pete
We started off down the side passage, which soon dropped into a much more substantial canyon-style passage, which immediately reminded me of The Stream Of Running Commentary, which is because it is indeed a continuation of that passage. At this point, it is completely dry. Behind the camera, the passage ends abruptly at a choke, but a large chamber can be seen between rocks above. This is much more safely reached elsewhere, and is not worth trying to dig.
Modelling by John and Pete, lighting by Tarquin, John and Pete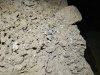 The passage is absolutely covered with incredible mud formations, mostly the fluffy/bobbly textured mud. Liberally strewn everywhere are cryostal deposits in the mud. It is impossible to get through here without walking on some of the deposits, and the passage had not been taped, so we just stepped in the footprints of the previous explorers. What is odd is that the mud texture and cryostal are both clearly formed by ice, but there is almost no evidence of ice-age breakdown, which would also normally be seen.
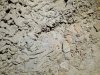 Drip splash mud formation.
 Awesome drip splash mud formation, with cryostal pieces protecting the mud, creating mini hoodoos (mud towers). This picture is aligned correctly; the formation is on a surface that has tipped over. This sits at the junction with a side passage which is the source of the stream, and could really do with being taped off, as it is in a very vulnerable position. Sadly, we did not have any conservation tape to hand at this point.
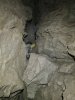 After the side passage joins, there is a choice of continuing up ahead, or down the rift in the floor. The rift gains the stream, but cannot be followed all the way, so the way to the end of the passage is at ceiling level.
Modelling by John, lighting by Tarquin and John
After the side passage joins, there is a choice of continuing up ahead, or down the rift in the floor. The rift gains the stream, but cannot be followed all the way, so the way to the end of the passage is at ceiling level.
Modelling by John, lighting by Tarquin and John The passage then suddenly shrinks, and again the rift in the floor cannot be used. The only route that works is the low bedding ahead-left at ceiling level.
Modelling by John and Pete, lighting by Tarquin, John and Pete
The passage then suddenly shrinks, and again the rift in the floor cannot be used. The only route that works is the low bedding ahead-left at ceiling level.
Modelling by John and Pete, lighting by Tarquin, John and Pete The bedding ends at a squeeze, which is tight but not ridiculous.
Modelling by John
The bedding ends at a squeeze, which is tight but not ridiculous.
Modelling by John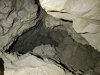 The squeeze emerges over the top of a 6 metre deep pit, and requires an uncomfortable head-first traverse, while your legs are still in the bedding. The pit is blind upstream, but downstream, the passage continues either at ceiling level, or part way down the pit.
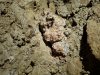 Crystals at ceiling level.
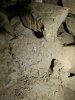 The cryostal deposits still continue.
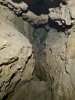 The passage ends (at all levels) at a very terminal choke. This is separated from The Stream Of Running Commentary's end by about 15 metres, and there is very little prospect for a connection.
 Drip pockets in the side passage that is the source of the stream. These are in the branch that forms an oxbow back up to an earlier part of the canyon-style passage.
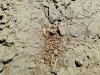 Skeletal remains in the floor of the side passage. There is not much left to help identify the species, but there appear to be the separated lower jaws of a rodent, probably a mouse. This is a very, very long way underground indeed for a mouse; the passage is about 80 metres and at least 3 rock layers below surface, and about 400 metres horizontally from the nearest likely entrance location. The closest piece of limestone hillside is about 55 metres higher, and 180 metres away. 55 metres is enough for 4 or 5 developmental levels in this cave, about the same as the Entrance Series. The entire Realm Of Baron Von Carno series is only about 200 metres across. That mouse must have been on an epic adventure.
Modelling by roving rodent Rodney's resting remains
Skeletal remains in the floor of the side passage. There is not much left to help identify the species, but there appear to be the separated lower jaws of a rodent, probably a mouse. This is a very, very long way underground indeed for a mouse; the passage is about 80 metres and at least 3 rock layers below surface, and about 400 metres horizontally from the nearest likely entrance location. The closest piece of limestone hillside is about 55 metres higher, and 180 metres away. 55 metres is enough for 4 or 5 developmental levels in this cave, about the same as the Entrance Series. The entire Realm Of Baron Von Carno series is only about 200 metres across. That mouse must have been on an epic adventure.
Modelling by roving rodent Rodney's resting remains The chamber in the side passage, where the water is first seen.
Modelling by John, lighting by Tarquin and John
The chamber in the side passage, where the water is first seen.
Modelling by John, lighting by Tarquin and John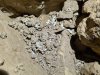 Cryostal in the chamber.
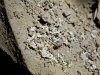 Cryostal in the chamber.
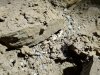 Cryostal in the chamber.
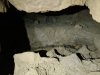 The water enters from an undercut. This has an aven above it, but we did not notice it. Maybe that is how the mouse got in.
Lighting by Tarquin and John
The water enters from an undercut. This has an aven above it, but we did not notice it. Maybe that is how the mouse got in.
Lighting by Tarquin and John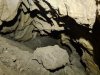 The downstream passage is low, passing under a rock that swings quite alarmingly when touched. It ends at a mud choke. The water is next seen in the earlier rifts. There is an aven above here with a short side passage.
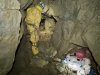 All the way back in the main way on (that was to the left at the junction mentioned much earlier), it immediately reaches a crawl under a wall (seen on the right here) to another junction, the start of what I call the "wide loop", because once again, it does not have a proper name of its own. To the right (seen ahead here) is the way to the most impressive part of Aces High, but the way on through Aces High is to the left (behind the camera). The pictures in this gallery are presented as if the most impressive part is being visited first.
Modelling by Pete and John, lighting by Tarquin, Pete and John
All the way back in the main way on (that was to the left at the junction mentioned much earlier), it immediately reaches a crawl under a wall (seen on the right here) to another junction, the start of what I call the "wide loop", because once again, it does not have a proper name of its own. To the right (seen ahead here) is the way to the most impressive part of Aces High, but the way on through Aces High is to the left (behind the camera). The pictures in this gallery are presented as if the most impressive part is being visited first.
Modelling by Pete and John, lighting by Tarquin, Pete and John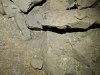 Cryostal at the junction.
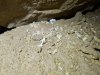 Cryostal at the junction.
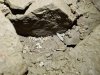 Cryostal at the junction.
 Cryostal in the passage leading to the most impressive part of Aces High.
 Cryostal in the passage.
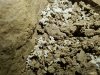 Cryostal in the passage.
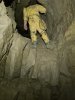 The climb up to the chamber.
Modelling by Pete, lighting by Tarquin and Pete
The climb up to the chamber.
Modelling by Pete, lighting by Tarquin and Pete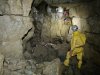 The passage ends at a climb down (seen on the distant right) into the largest chamber in Aces High. Under the archway seen ahead is a visual connection down into the earlier canyon-style passage. Roof tubes ahead end quickly. A large passage is behind the camera. Down to the right here, hidden behind rocks, is the way into an oxbow series.
Modelling by Pete and John, lighting by Tarquin, Pete and John
The passage ends at a climb down (seen on the distant right) into the largest chamber in Aces High. Under the archway seen ahead is a visual connection down into the earlier canyon-style passage. Roof tubes ahead end quickly. A large passage is behind the camera. Down to the right here, hidden behind rocks, is the way into an oxbow series.
Modelling by Pete and John, lighting by Tarquin, Pete and John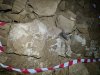 The chamber contains a very large cryostal deposit.
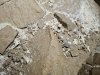 Cryostal in the chamber.
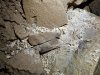 Cryostal in the chamber.
 Cryostal in the chamber.
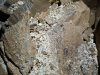 Cryostal in the chamber. The largest beads are about 1 cm across.
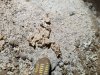 Cryostal in the chamber, with a finger for scale.
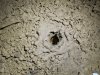 Deep drip pocket in the large passage.
 Ochre coated crust on the wall, looking like wind-sculpted sandstone.
 The large passage quickly becomes a comfortable rift.
Modelling by Pete, lighting by Tarquin and Pete
The large passage quickly becomes a comfortable rift.
Modelling by Pete, lighting by Tarquin and Pete The rift passes two taped-off oxbows, each of which has a fine cracked mud floor, and an outdated sign saying that the passage has not been surveyed or taped.
Lighting by Tarquin and John
The rift passes two taped-off oxbows, each of which has a fine cracked mud floor, and an outdated sign saying that the passage has not been surveyed or taped.
Lighting by Tarquin and John Cryostal and textured mud formations in the rift.
 Cryostal in the rift.
 Cryostal in the rift.
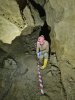 Stained mud flow in the rift. Beyond here, the rift becomes muddy and rather unstable.
Modelling by John, lighting by Tarquin and John
Stained mud flow in the rift. Beyond here, the rift becomes muddy and rather unstable.
Modelling by John, lighting by Tarquin and John One side of the passage has a choke made up from millstone grit rocks. This is the cap rock that should, at this part of the mountain, be three layers of rock up (Llanelly Shales, Dowlais Limestone, Millstone Grit/Twrch Sandstone). However, this side of Aces High runs along a fault which eliminates the Dowlais Limestone, and it seems it has also allowed the millstone grit to get into the Gilwern Oolite. Perhaps this is how the mouse got in.
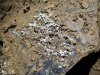 Cryostal at the choke.
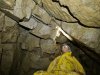 The passage continues to a tiny chamber with a horribly unstable ceiling. The seemingly solid slab on the right is also a hanging boulder, and so are the boulders above the camera.
Modelling by Pete, lighting by Tarquin and Pete
The passage continues to a tiny chamber with a horribly unstable ceiling. The seemingly solid slab on the right is also a hanging boulder, and so are the boulders above the camera.
Modelling by Pete, lighting by Tarquin and Pete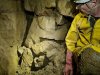 Slickensides (scratches created by the movement of a fault, horizontal in this case) in a shattered rock pillar. These are at an odd bearing, about 45° away from the plane of the main fault, which runs parallel to the large passage.
Modelling by Pete, lighting by Tarquin and Pete
Slickensides (scratches created by the movement of a fault, horizontal in this case) in a shattered rock pillar. These are at an odd bearing, about 45° away from the plane of the main fault, which runs parallel to the large passage.
Modelling by Pete, lighting by Tarquin and Pete In the floor of the tiny chamber is a slot squeeze down into a narrow rift, which forms part of the wide loop. However, it is absolutely not worth using as a route, and the loop is best ignored.
Modelling by John, lighting by Tarquin and John
In the floor of the tiny chamber is a slot squeeze down into a narrow rift, which forms part of the wide loop. However, it is absolutely not worth using as a route, and the loop is best ignored.
Modelling by John, lighting by Tarquin and John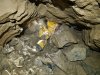 The way into the oxbow series descends a rubble slope, hiding it from view above.
Modelling by Pete, lighting by Tarquin, Pete and John
The way into the oxbow series descends a rubble slope, hiding it from view above.
Modelling by Pete, lighting by Tarquin, Pete and John The slope drops into a surprisingly large canyon passage, which is once again a continuation of The Stream Of Running Commentary (again without a stream). It was very clear that almost nobody had ever visited this passage, as there was just a single set of footprints, and almost no disturbance at all to the pristine mud formations. We used the same footprints to get along the passage.
Modelling by Pete and John, lighting by Tarquin, Pete and John
The slope drops into a surprisingly large canyon passage, which is once again a continuation of The Stream Of Running Commentary (again without a stream). It was very clear that almost nobody had ever visited this passage, as there was just a single set of footprints, and almost no disturbance at all to the pristine mud formations. We used the same footprints to get along the passage.
Modelling by Pete and John, lighting by Tarquin, Pete and John Cryostal in the canyon passage.
 Cryostal in the canyon passage.
 Cryostal in the canyon passage.
 Cryostal in the canyon passage.
 Cryostal in the canyon passage.
 A side passage to the right oxbowed to the earlier taped-off passages with cracked mud. The view was much better from here, but the lack of conservation tape was an issue, so we retrieved a roll that we had found in a previous passage, and added a taped route into here, following the existing footprints. We then added some taping back down the canyon passage as well, and several of the earlier cryostal deposits.
Modelling by Pete, lighting by Tarquin and Pete
A side passage to the right oxbowed to the earlier taped-off passages with cracked mud. The view was much better from here, but the lack of conservation tape was an issue, so we retrieved a roll that we had found in a previous passage, and added a taped route into here, following the existing footprints. We then added some taping back down the canyon passage as well, and several of the earlier cryostal deposits.
Modelling by Pete, lighting by Tarquin and Pete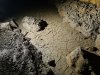 Beautiful cracked mud in the oxbows.
Lighting by Pete
Beautiful cracked mud in the oxbows.
Lighting by Pete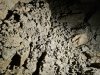 Textured mud in the oxbows.
 Drip pockets.
 Drip splash.
 Cryostal in the oxbows.
 After the connection to the oxbows, the canyon becomes narrower.
Modelling by John, lighting by Tarquin and John
After the connection to the oxbows, the canyon becomes narrower.
Modelling by John, lighting by Tarquin and John Cryostal in the canyon.
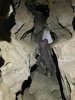 The canyon. There are several cryostal deposits on the floor, but fortunately, this passage is unlikely to ever see much traffic. The mud formations are ice-formed on the ledges, and more recent flooding surge marks at floor level.
Modelling by John, lighting by Tarquin and John
The canyon. There are several cryostal deposits on the floor, but fortunately, this passage is unlikely to ever see much traffic. The mud formations are ice-formed on the ledges, and more recent flooding surge marks at floor level.
Modelling by John, lighting by Tarquin and John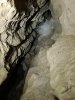 After a corner, the passage soon becomes too narrow, with a visual connection up into the narrow rift's squeeze mentioned earlier. The lean of the rift is quite pronounced here, and would appear to be a fault which is not shown on the geological maps. In order to avoid damaging the surge mark mud formations, we stopped at the corner.
Lighting by Tarquin and John
After a corner, the passage soon becomes too narrow, with a visual connection up into the narrow rift's squeeze mentioned earlier. The lean of the rift is quite pronounced here, and would appear to be a fault which is not shown on the geological maps. In order to avoid damaging the surge mark mud formations, we stopped at the corner.
Lighting by Tarquin and John Back at the start of the wide loop, the main way on through Aces High is a tall passage ahead-left.
Modelling by Pete, lighting by Tarquin and Pete
Back at the start of the wide loop, the main way on through Aces High is a tall passage ahead-left.
Modelling by Pete, lighting by Tarquin and Pete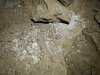 The main route is absolutely full of cryostal deposits. We added conservation tape to several of these after taking the pictures.
 Cryostal in the main route.
 Cryostal in the main route.
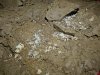 Another cryostal deposit.
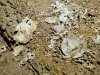 Detail of the cryostal.
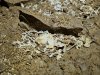 Detail of the cryostal.
 A superb cryostal deposit in a large alcove.
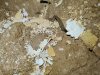 Detail of the cryostal.
 Detail of the cryostal.
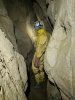 A narrow section of the passage, where you can either crawl below a rock bridge, or squeeze above it.
Modelling by Pete, lighting by Tarquin and Pete
A narrow section of the passage, where you can either crawl below a rock bridge, or squeeze above it.
Modelling by Pete, lighting by Tarquin and Pete Nodules on the wall of the passage.
Modelling by Pete's PVC
Nodules on the wall of the passage.
Modelling by Pete's PVC Heavily crystallised nodule. The actual composition is not known, but some of them look like chert.
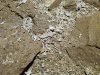 Another cryostal deposit, just before another crawl. This one actually divides the passage, and needs to be carefully stepped over.
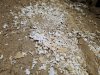 Cryostal.
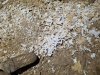 Cryostal.
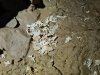 Cryostal.
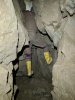 The passage emerges from the crawl (seen on the left here) and turns sharp right (behind the camera). On the corner is a climb up into a narrow rift, which is the way on to the smaller loop. It is very easy to miss this junction.
Modelling by John, lighting by Tarquin and John
The passage emerges from the crawl (seen on the left here) and turns sharp right (behind the camera). On the corner is a climb up into a narrow rift, which is the way on to the smaller loop. It is very easy to miss this junction.
Modelling by John, lighting by Tarquin and John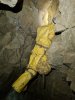 Ignoring the climb, the passage immediately turns left again, and there is another climb above into a roof rift. The climb is relatively easy on the way up, but may need a spotter on the way down.
Modelling by Pete, lighting by Tarquin and Pete
Ignoring the climb, the passage immediately turns left again, and there is another climb above into a roof rift. The climb is relatively easy on the way up, but may need a spotter on the way down.
Modelling by Pete, lighting by Tarquin and Pete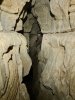 The passage at the top is the narrow rift from the other side of the wide loop. It is quite awkward, and is not recommended as a route.
Modelling by John, lighting by Tarquin and John
The passage at the top is the narrow rift from the other side of the wide loop. It is quite awkward, and is not recommended as a route.
Modelling by John, lighting by Tarquin and John Continuing past both climbs, the passage passes through an eyehole. If you see this, you went too far!
Modelling by John, lighting by Tarquin and John
Continuing past both climbs, the passage passes through an eyehole. If you see this, you went too far!
Modelling by John, lighting by Tarquin and John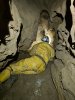 The passage then ends at a dig.
Modelling by Pete, lighting by Tarquin and Pete
The passage then ends at a dig.
Modelling by Pete, lighting by Tarquin and Pete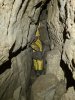 The way to the smaller loop, above the climb, starts with this drop down into a narrow rift.
Modelling by Pete, lighting by Tarquin and Pete
The way to the smaller loop, above the climb, starts with this drop down into a narrow rift.
Modelling by Pete, lighting by Tarquin and Pete It quickly enlarges. There appears to be a short side passage here.
Modelling by Pete, lighting by Tarquin and Pete
It quickly enlarges. There appears to be a short side passage here.
Modelling by Pete, lighting by Tarquin and Pete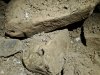 Cryostal in the wide bit.
 At a T-junction, where the way on is to the right, the side passage to the left contains these mud formations.
 Mud formations in the side passage.
 Cryostal in the side passage.
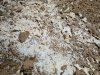 Cryostal in the side passage.
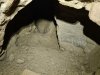 The side passage branches, with this crawl to a dig through a low arch ahead.
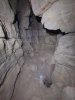 In the right branch, a dig up enters the floor of this chamber.
 Textured mud in the chamber. There appeared to only have been a single set of footprints in the mud, so I stepped in the same spots.
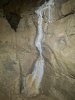 Stal flow in the chamber. The rift beside it is too tight.
 The main way on reaches a chamber, with the way on to the smaller loop (seen on the left here) to the right, and a side rift (behind the camera) to the left.
Modelling by Pete and John, lighting by Tarquin, Pete and John
The main way on reaches a chamber, with the way on to the smaller loop (seen on the left here) to the right, and a side rift (behind the camera) to the left.
Modelling by Pete and John, lighting by Tarquin, Pete and John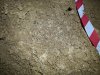 Cryostal in the chamber.
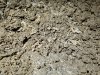 Cryostal in the chamber.
 The side rift to the left also has a little cryostal.
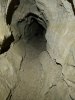 The side rift ascends a climb, and becomes a crawling sized tube that abruptly ends.
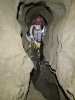 The passage leading to the smaller loop.
Modelling by John, lighting by Tarquin and John
The passage leading to the smaller loop.
Modelling by John, lighting by Tarquin and John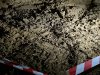 Mud formations in an oxbow to the main route.
Lighting by Pete and John
Mud formations in an oxbow to the main route.
Lighting by Pete and John Mud formations in the oxbow.
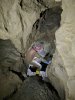 The passage ends at a junction, the start of the smaller loop. Immediately ahead is this pitch, dropping down into a side passage from The Red Baron. This is the original route into Aces High, but was originally rigged from the far side. Traversing over this hole should not be done without protection, but there are no belays on this side.
Modelling by John, lighting by Tarquin and John
The passage ends at a junction, the start of the smaller loop. Immediately ahead is this pitch, dropping down into a side passage from The Red Baron. This is the original route into Aces High, but was originally rigged from the far side. Traversing over this hole should not be done without protection, but there are no belays on this side.
Modelling by John, lighting by Tarquin and John Cryostal at the head of the pitch.
 At the junction, the way on around the loop is to the left, then immediately right into this sandy crawl. (To the left was the other end of the oxbow, which has a side rift to its right, which ends up in a dead-end crawl.)
Modelling by Pete, lighting by Tarquin and Pete
At the junction, the way on around the loop is to the left, then immediately right into this sandy crawl. (To the left was the other end of the oxbow, which has a side rift to its right, which ends up in a dead-end crawl.)
Modelling by Pete, lighting by Tarquin and Pete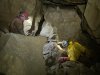 The sandy crawl ends at a junction with this enormous poised boulder. The crawl is seen on the right here. Behind the camera is a very tight side passage that soon ends. To the left of this picture is the longest of the loop's side passages. Behind the boulder is a deep crater, with the way around the loop being under the right side of the boulder, along a bouldery ledge above the crater.
Modelling by John and Pete, lighting by Tarquin, John and Pete
The sandy crawl ends at a junction with this enormous poised boulder. The crawl is seen on the right here. Behind the camera is a very tight side passage that soon ends. To the left of this picture is the longest of the loop's side passages. Behind the boulder is a deep crater, with the way around the loop being under the right side of the boulder, along a bouldery ledge above the crater.
Modelling by John and Pete, lighting by Tarquin, John and Pete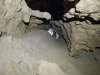 The longest side passage passes through a wriggle under a flake, and soon ends at a choke. This sits directly below a side passage in The Last Post.
Modelling by John, lighting by Tarquin and John
The longest side passage passes through a wriggle under a flake, and soon ends at a choke. This sits directly below a side passage in The Last Post.
Modelling by John, lighting by Tarquin and John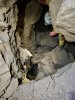 The crater is quite deep, but the bottom of it is blind. It ends over the end of the side passage from The Red Baron. There is also a side passage hidden above it, which passes over a too-tight hole dropping into a visible passage, before ending too tight beyond the hole. The hole does not appear to enter a known passage.
Modelling by Pete, lighting by Tarquin and Pete
The crater is quite deep, but the bottom of it is blind. It ends over the end of the side passage from The Red Baron. There is also a side passage hidden above it, which passes over a too-tight hole dropping into a visible passage, before ending too tight beyond the hole. The hole does not appear to enter a known passage.
Modelling by Pete, lighting by Tarquin and Pete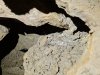 Cryostal part way down the crater.
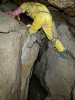 Beyond the crater, the passage splits into lower and upper routes. The lower one ends, but the upper one, above boulders, turns right into a low passage.
Modelling by Pete, lighting by Tarquin and Pete
Beyond the crater, the passage splits into lower and upper routes. The lower one ends, but the upper one, above boulders, turns right into a low passage.
Modelling by Pete, lighting by Tarquin and Pete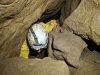 It then passes through a squeeze, which is technically entertaining, but not particularly tight.
Modelling by Pete, lighting by Tarquin and Pete
It then passes through a squeeze, which is technically entertaining, but not particularly tight.
Modelling by Pete, lighting by Tarquin and Pete The passage continues as a low bedding. Where it suddenly enlarges, three passages on the left all end quickly.
Modelling by John, lighting by Tarquin and John
The passage continues as a low bedding. Where it suddenly enlarges, three passages on the left all end quickly.
Modelling by John, lighting by Tarquin and John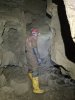 The bedding ends at a large passage, with the way on around the loop to the right.
Modelling by John, lighting by Tarquin and John
The bedding ends at a large passage, with the way on around the loop to the right.
Modelling by John, lighting by Tarquin and John The passage then drops down the 8 metre pitch to The Red Baron's side passage. This is the side that was originally bolted (the spits are horribly rusted), and is how Aces High was originally explored. Sadly, this pitch means that a round trip via The Red Baron is now unlikely to happen, as bringing in rope or ladder equipment to this point would be too much effort, and retrieving it would be difficult. The pitch would also need new anchors to be installed. Although it might be possible to traverse over the pitch, it should be stressed that a rope should be used to make this safer, and it is best to just return through the squeeze. There was no evidence of the original explorers traversing over the hole.
 Just after the dig where Aces High was connected to The Realm Of Baron Von Carno passage's side passage, the second crawl looks intimidating, but it is actually just a narrow crawl where you have to lie on your side.
Modelling by John
Just after the dig where Aces High was connected to The Realm Of Baron Von Carno passage's side passage, the second crawl looks intimidating, but it is actually just a narrow crawl where you have to lie on your side.
Modelling by John Not particularly hard.
Modelling by Pete, lighting by Tarquin and Pete
Not particularly hard.
Modelling by Pete, lighting by Tarquin and Pete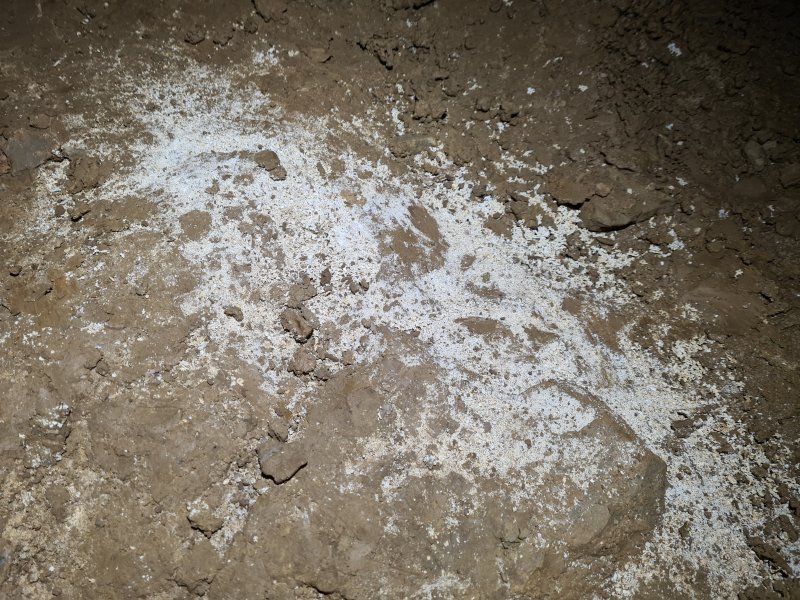 The cryostal begins in ernest after the climb down to the first junction. This patch has had a lot of feet landing on it, but don't worry, there is plenty more.
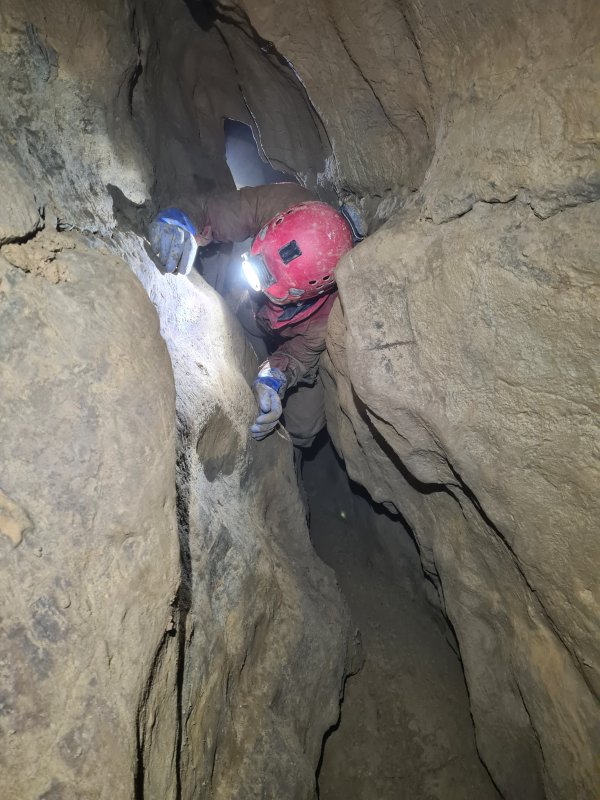 At the first junction, we start into the first side passage, to the right. This would typically be visited only by mistake on the way out. Most of it is a narrow rift requiring walking or crawling, but this memorable section requires a unique manoeuvre.
Modelling by John, lighting by Tarquin, John and Pete
At the first junction, we start into the first side passage, to the right. This would typically be visited only by mistake on the way out. Most of it is a narrow rift requiring walking or crawling, but this memorable section requires a unique manoeuvre.
Modelling by John, lighting by Tarquin, John and Pete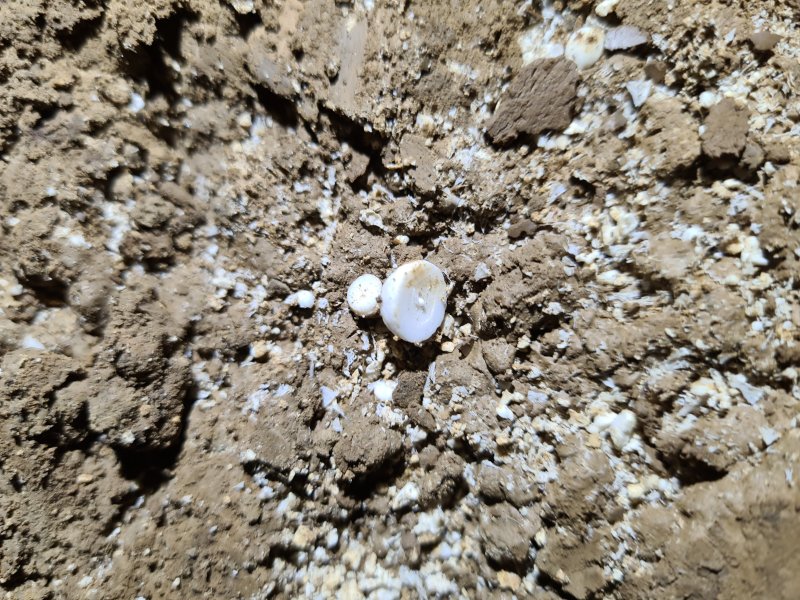 Cryostal in the side passage, with characteristic half-cups.
 Cryostal at the end of the side passage.
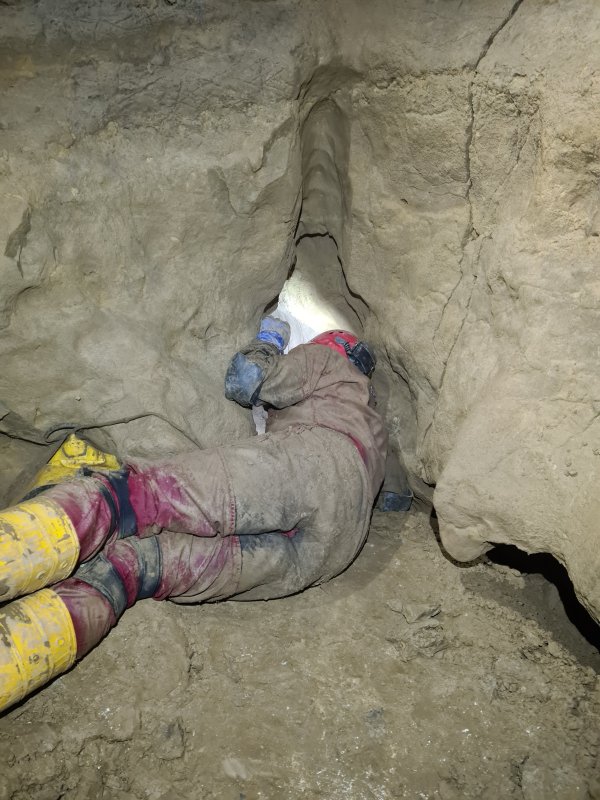 At the junction, to the left is the way on, and the survey of Aces High shows it incredibly narrow, like it would be a lengthy squeeze. It is a normal small crawl, becoming hands and knees sized for most of its length. It is not a squeeze.
Modelling by John, lighting by Tarquin and John
At the junction, to the left is the way on, and the survey of Aces High shows it incredibly narrow, like it would be a lengthy squeeze. It is a normal small crawl, becoming hands and knees sized for most of its length. It is not a squeeze.
Modelling by John, lighting by Tarquin and John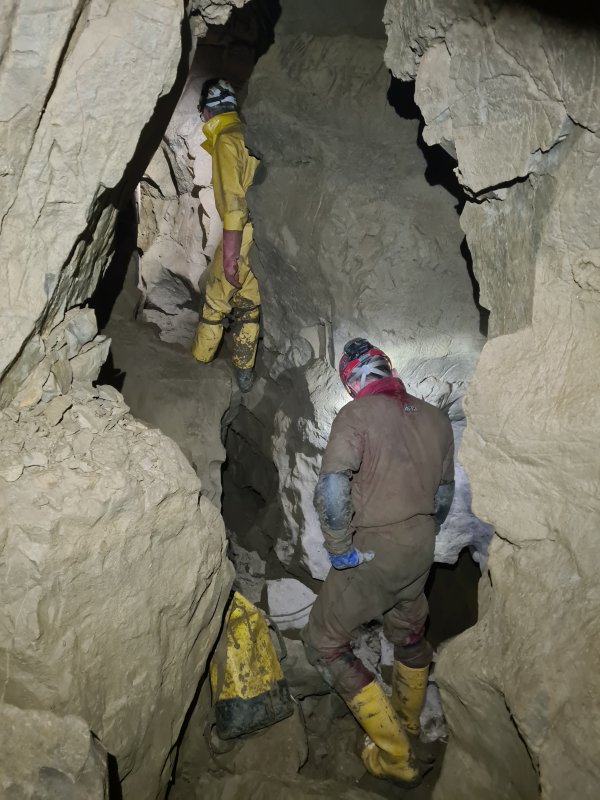 The crawl ends at a junction with a tall rift. The crawl can be seen emerging from the right wall here, and the picture is looking into the longest of the side passages in the series. The side passage, like all passages in Aces High, does not have a name, but starts off as a choice between upper and lower levels of the same rift, which both end up in the same place. The main way on to what I call the "wide loop" is behind the camera.
Modelling by John and Pete, lighting by Tarquin, John and Pete
The crawl ends at a junction with a tall rift. The crawl can be seen emerging from the right wall here, and the picture is looking into the longest of the side passages in the series. The side passage, like all passages in Aces High, does not have a name, but starts off as a choice between upper and lower levels of the same rift, which both end up in the same place. The main way on to what I call the "wide loop" is behind the camera.
Modelling by John and Pete, lighting by Tarquin, John and Pete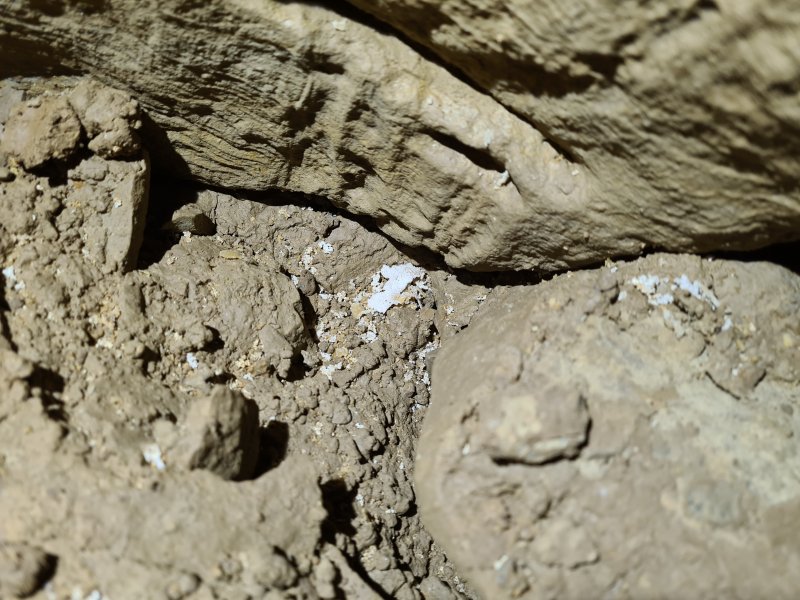 Cryostal at the junction.
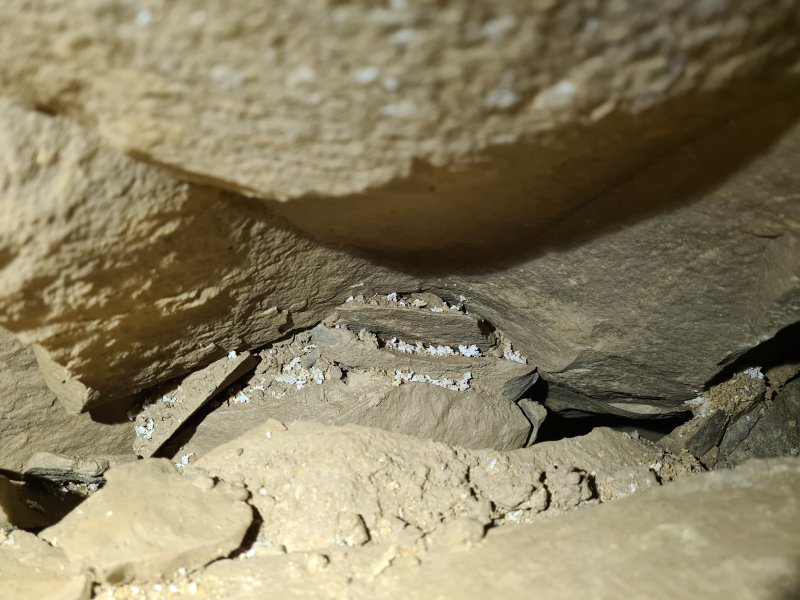 Cryostal at the junction.
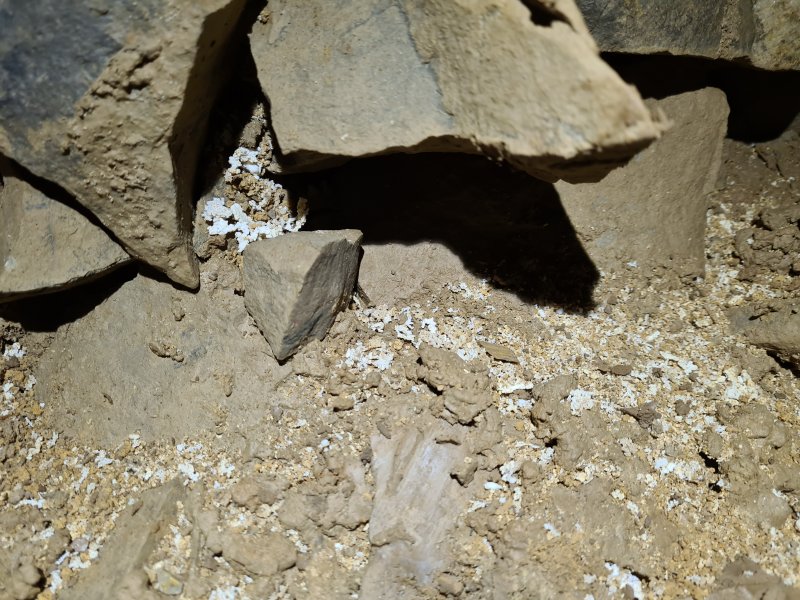 Cryostal at the junction.
 Cryostal at the junction.
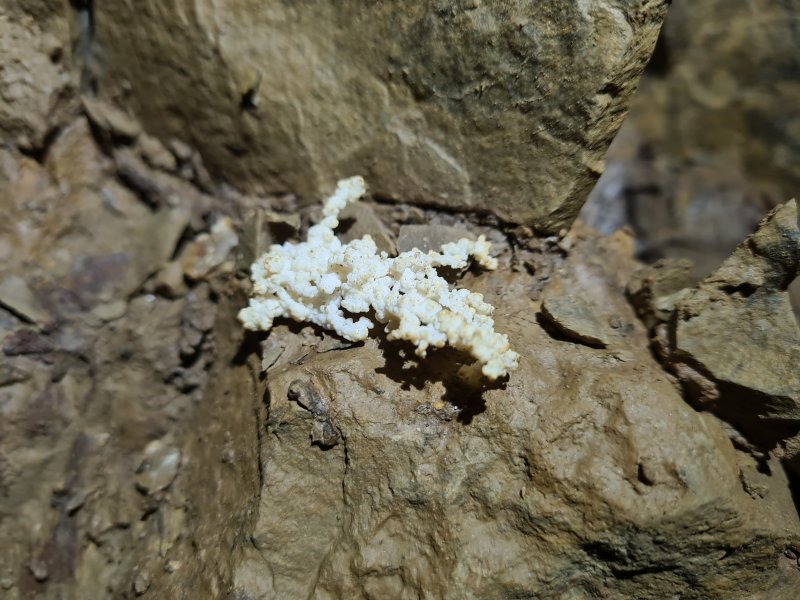 Cryostal at the junction.
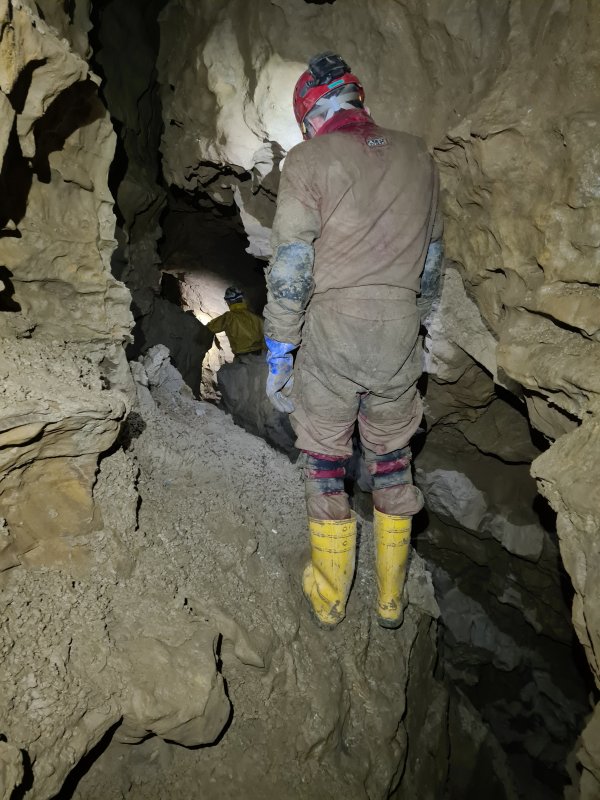 We started off down the side passage, which soon dropped into a much more substantial canyon-style passage, which immediately reminded me of The Stream Of Running Commentary, which is because it is indeed a continuation of that passage. At this point, it is completely dry. Behind the camera, the passage ends abruptly at a choke, but a large chamber can be seen between rocks above. This is much more safely reached elsewhere, and is not worth trying to dig.
Modelling by John and Pete, lighting by Tarquin, John and Pete
We started off down the side passage, which soon dropped into a much more substantial canyon-style passage, which immediately reminded me of The Stream Of Running Commentary, which is because it is indeed a continuation of that passage. At this point, it is completely dry. Behind the camera, the passage ends abruptly at a choke, but a large chamber can be seen between rocks above. This is much more safely reached elsewhere, and is not worth trying to dig.
Modelling by John and Pete, lighting by Tarquin, John and Pete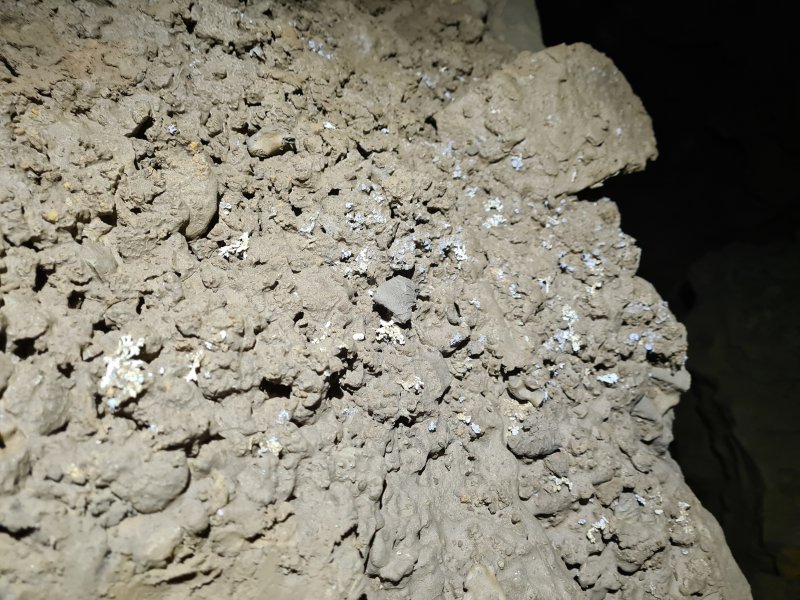 The passage is absolutely covered with incredible mud formations, mostly the fluffy/bobbly textured mud. Liberally strewn everywhere are cryostal deposits in the mud. It is impossible to get through here without walking on some of the deposits, and the passage had not been taped, so we just stepped in the footprints of the previous explorers. What is odd is that the mud texture and cryostal are both clearly formed by ice, but there is almost no evidence of ice-age breakdown, which would also normally be seen.
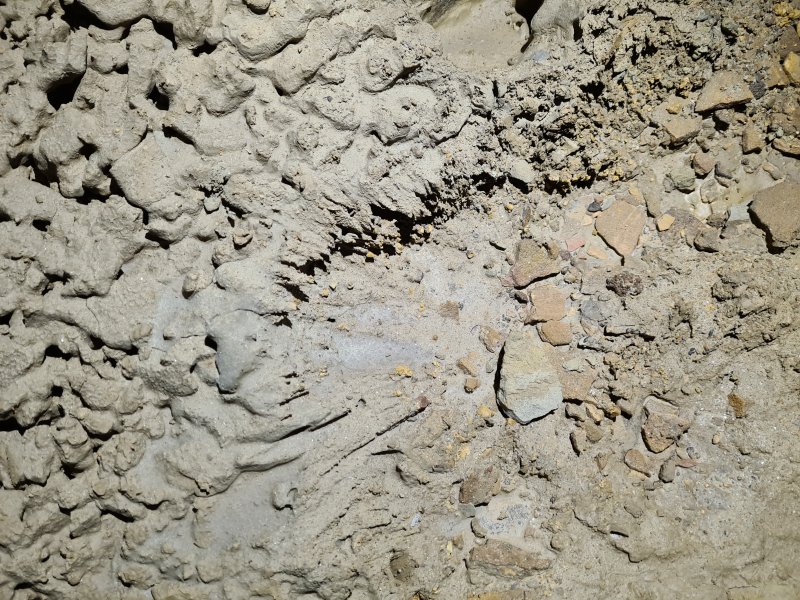 Drip splash mud formation.
 Awesome drip splash mud formation, with cryostal pieces protecting the mud, creating mini hoodoos (mud towers). This picture is aligned correctly; the formation is on a surface that has tipped over. This sits at the junction with a side passage which is the source of the stream, and could really do with being taped off, as it is in a very vulnerable position. Sadly, we did not have any conservation tape to hand at this point.
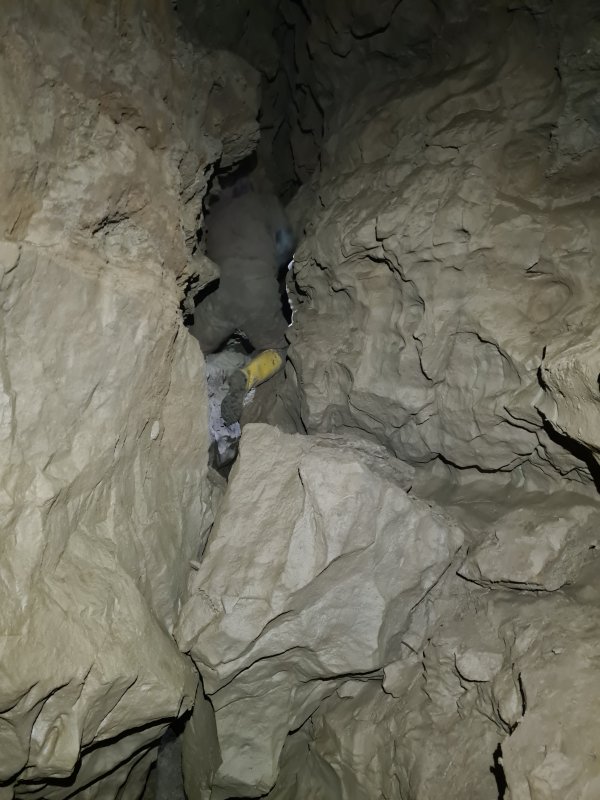 After the side passage joins, there is a choice of continuing up ahead, or down the rift in the floor. The rift gains the stream, but cannot be followed all the way, so the way to the end of the passage is at ceiling level.
Modelling by John, lighting by Tarquin and John
After the side passage joins, there is a choice of continuing up ahead, or down the rift in the floor. The rift gains the stream, but cannot be followed all the way, so the way to the end of the passage is at ceiling level.
Modelling by John, lighting by Tarquin and John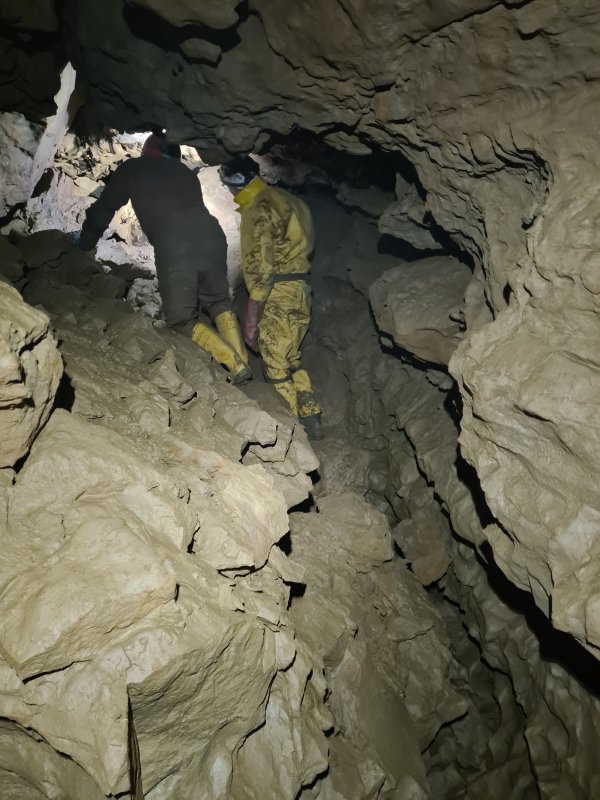 The passage then suddenly shrinks, and again the rift in the floor cannot be used. The only route that works is the low bedding ahead-left at ceiling level.
Modelling by John and Pete, lighting by Tarquin, John and Pete
The passage then suddenly shrinks, and again the rift in the floor cannot be used. The only route that works is the low bedding ahead-left at ceiling level.
Modelling by John and Pete, lighting by Tarquin, John and Pete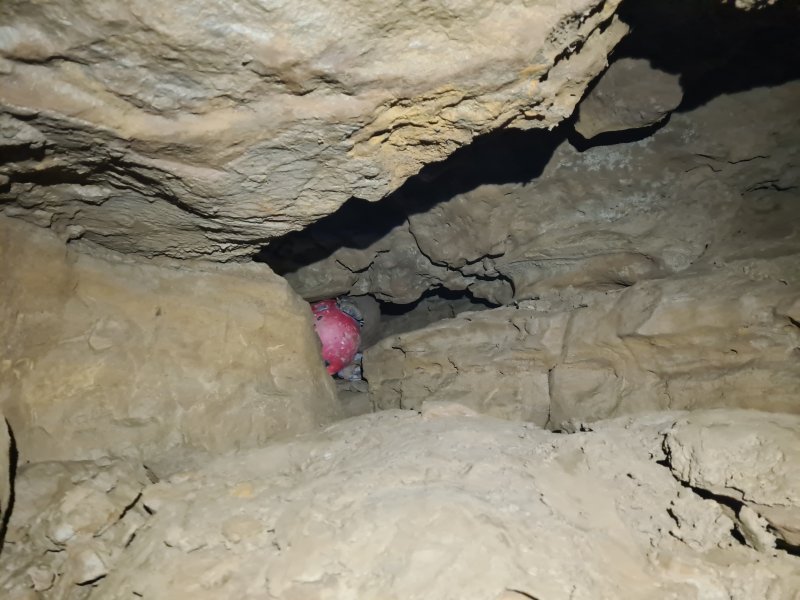 The bedding ends at a squeeze, which is tight but not ridiculous.
Modelling by John
The bedding ends at a squeeze, which is tight but not ridiculous.
Modelling by John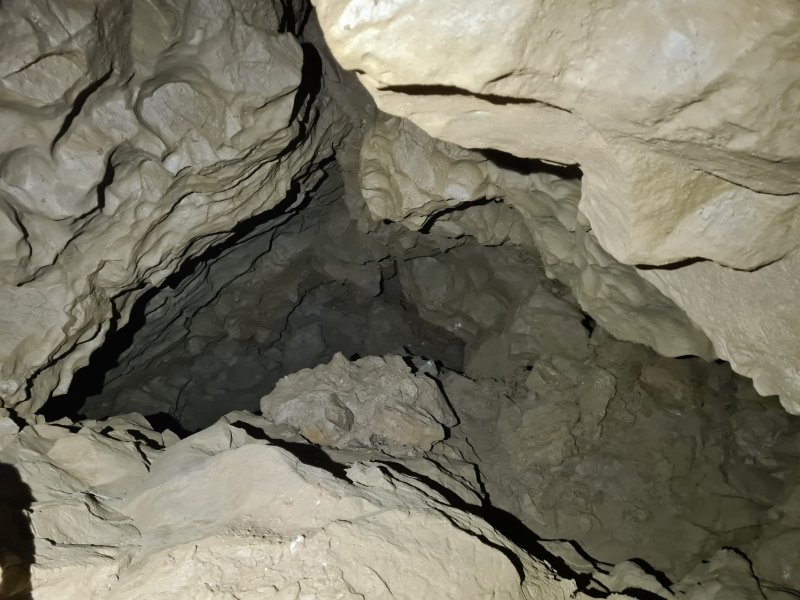 The squeeze emerges over the top of a 6 metre deep pit, and requires an uncomfortable head-first traverse, while your legs are still in the bedding. The pit is blind upstream, but downstream, the passage continues either at ceiling level, or part way down the pit.
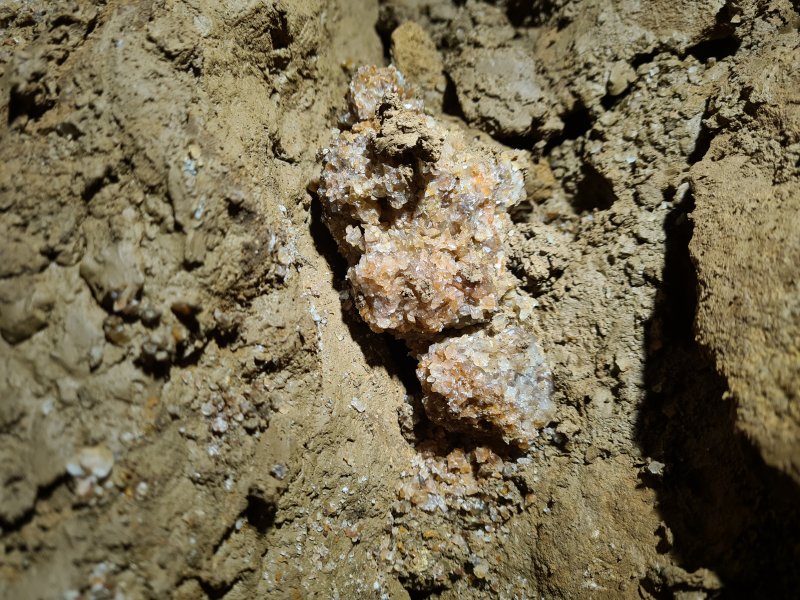 Crystals at ceiling level.
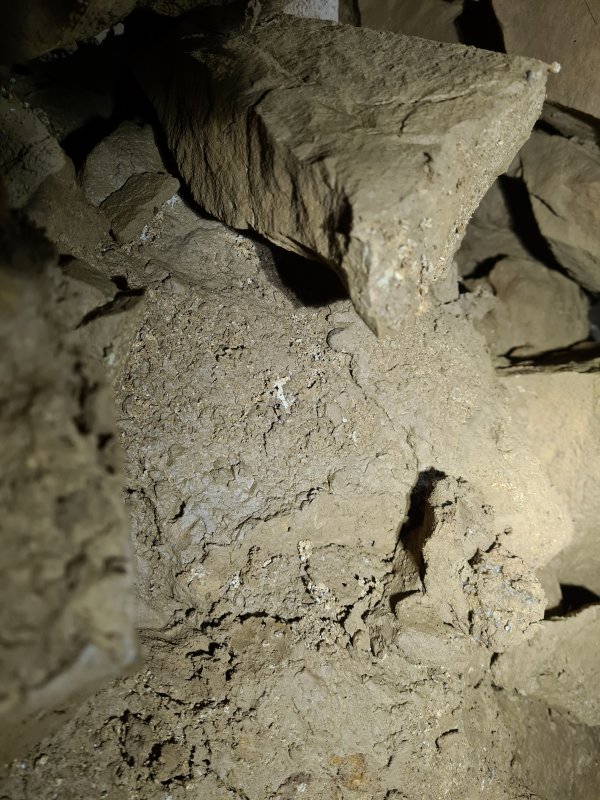 The cryostal deposits still continue.
 The passage ends (at all levels) at a very terminal choke. This is separated from The Stream Of Running Commentary's end by about 15 metres, and there is very little prospect for a connection.
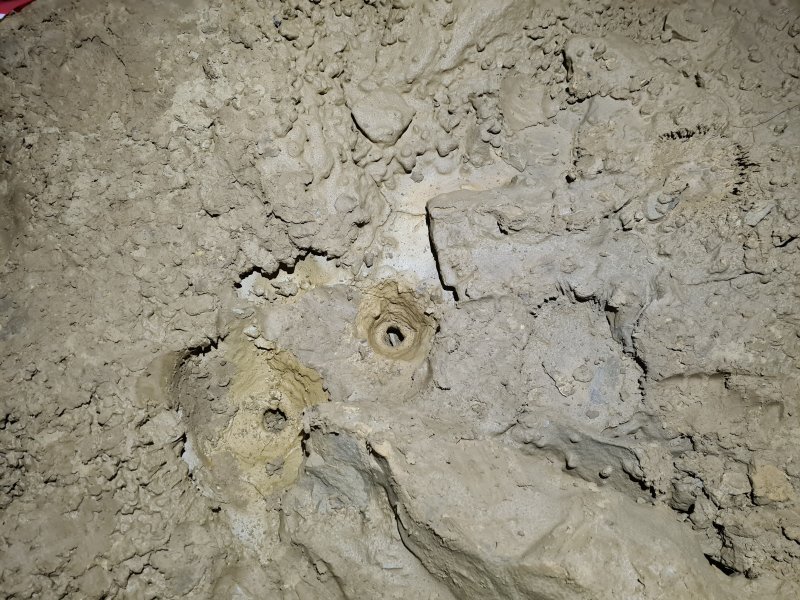 Drip pockets in the side passage that is the source of the stream. These are in the branch that forms an oxbow back up to an earlier part of the canyon-style passage.
 Skeletal remains in the floor of the side passage. There is not much left to help identify the species, but there appear to be the separated lower jaws of a rodent, probably a mouse. This is a very, very long way underground indeed for a mouse; the passage is about 80 metres and at least 3 rock layers below surface, and about 400 metres horizontally from the nearest likely entrance location. The closest piece of limestone hillside is about 55 metres higher, and 180 metres away. 55 metres is enough for 4 or 5 developmental levels in this cave, about the same as the Entrance Series. The entire Realm Of Baron Von Carno series is only about 200 metres across. That mouse must have been on an epic adventure.
Modelling by roving rodent Rodney's resting remains
Skeletal remains in the floor of the side passage. There is not much left to help identify the species, but there appear to be the separated lower jaws of a rodent, probably a mouse. This is a very, very long way underground indeed for a mouse; the passage is about 80 metres and at least 3 rock layers below surface, and about 400 metres horizontally from the nearest likely entrance location. The closest piece of limestone hillside is about 55 metres higher, and 180 metres away. 55 metres is enough for 4 or 5 developmental levels in this cave, about the same as the Entrance Series. The entire Realm Of Baron Von Carno series is only about 200 metres across. That mouse must have been on an epic adventure.
Modelling by roving rodent Rodney's resting remains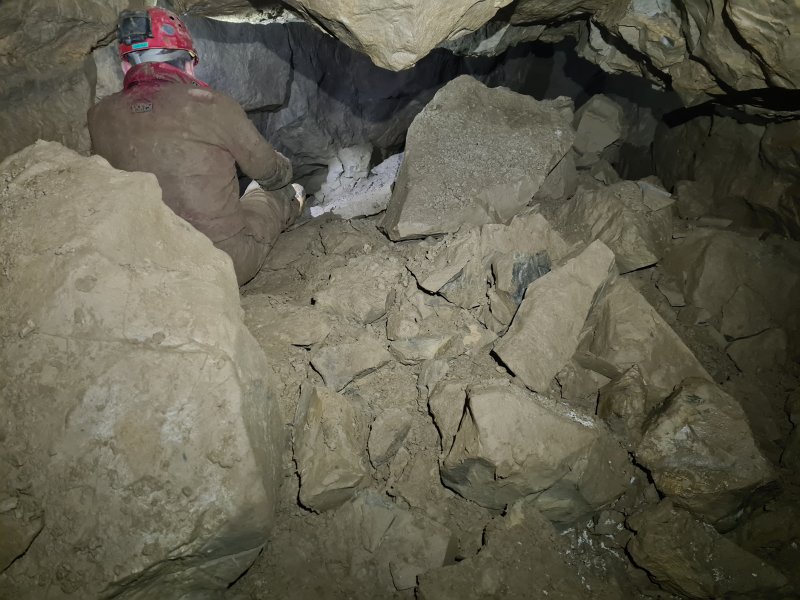 The chamber in the side passage, where the water is first seen.
Modelling by John, lighting by Tarquin and John
The chamber in the side passage, where the water is first seen.
Modelling by John, lighting by Tarquin and John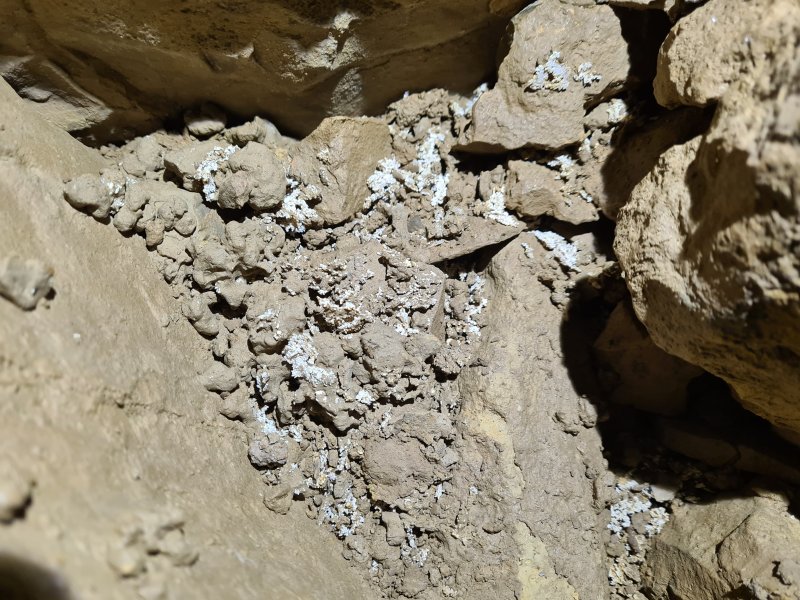 Cryostal in the chamber.
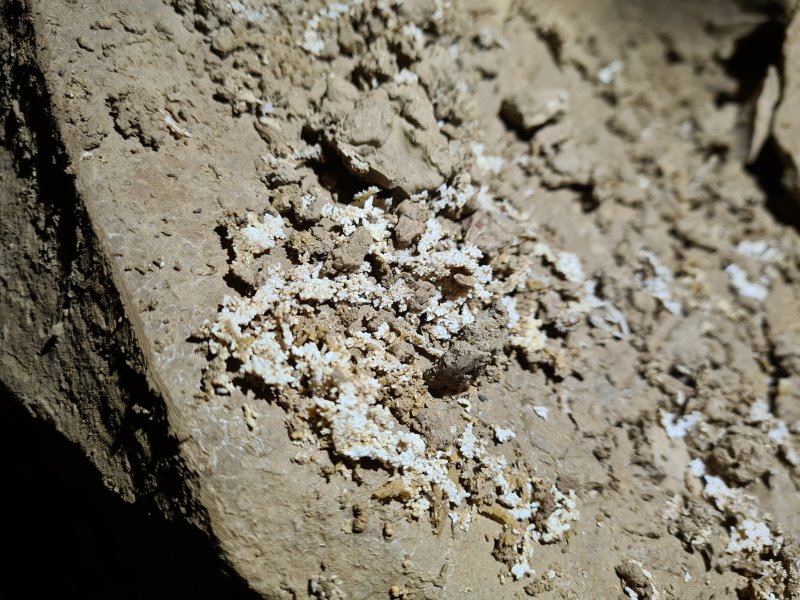 Cryostal in the chamber.
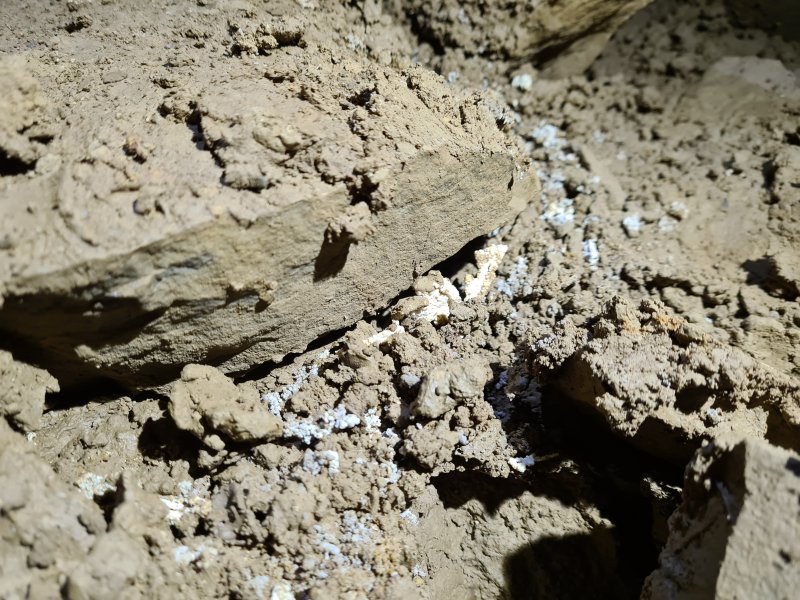 Cryostal in the chamber.
 The water enters from an undercut. This has an aven above it, but we did not notice it. Maybe that is how the mouse got in.
Lighting by Tarquin and John
The water enters from an undercut. This has an aven above it, but we did not notice it. Maybe that is how the mouse got in.
Lighting by Tarquin and John The downstream passage is low, passing under a rock that swings quite alarmingly when touched. It ends at a mud choke. The water is next seen in the earlier rifts. There is an aven above here with a short side passage.
 All the way back in the main way on (that was to the left at the junction mentioned much earlier), it immediately reaches a crawl under a wall (seen on the right here) to another junction, the start of what I call the "wide loop", because once again, it does not have a proper name of its own. To the right (seen ahead here) is the way to the most impressive part of Aces High, but the way on through Aces High is to the left (behind the camera). The pictures in this gallery are presented as if the most impressive part is being visited first.
Modelling by Pete and John, lighting by Tarquin, Pete and John
All the way back in the main way on (that was to the left at the junction mentioned much earlier), it immediately reaches a crawl under a wall (seen on the right here) to another junction, the start of what I call the "wide loop", because once again, it does not have a proper name of its own. To the right (seen ahead here) is the way to the most impressive part of Aces High, but the way on through Aces High is to the left (behind the camera). The pictures in this gallery are presented as if the most impressive part is being visited first.
Modelling by Pete and John, lighting by Tarquin, Pete and John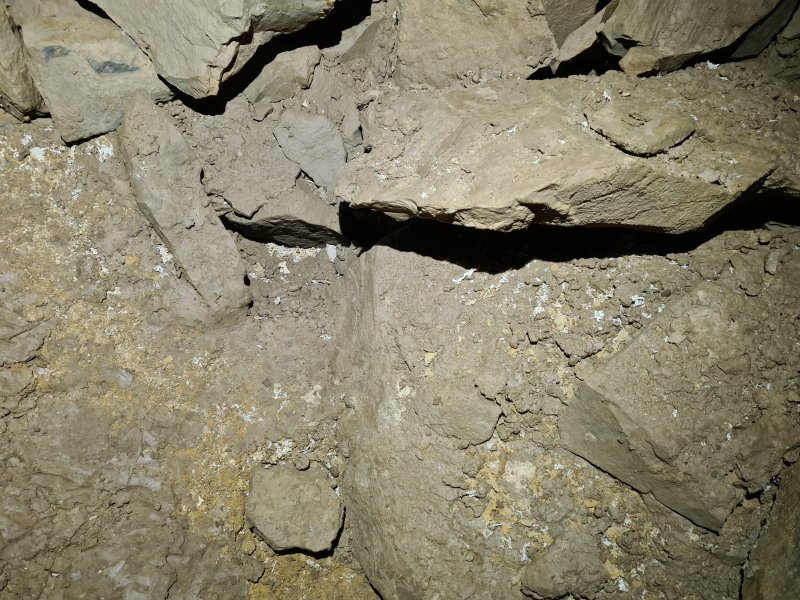 Cryostal at the junction.
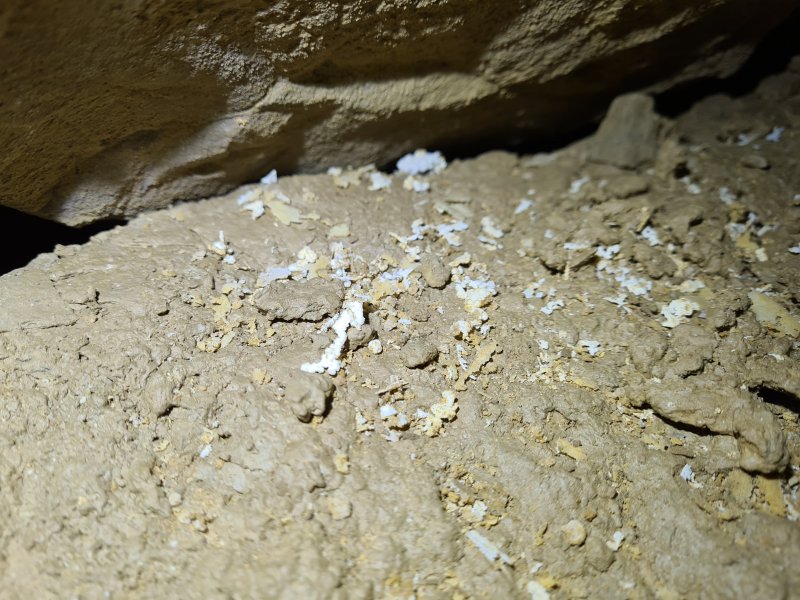 Cryostal at the junction.
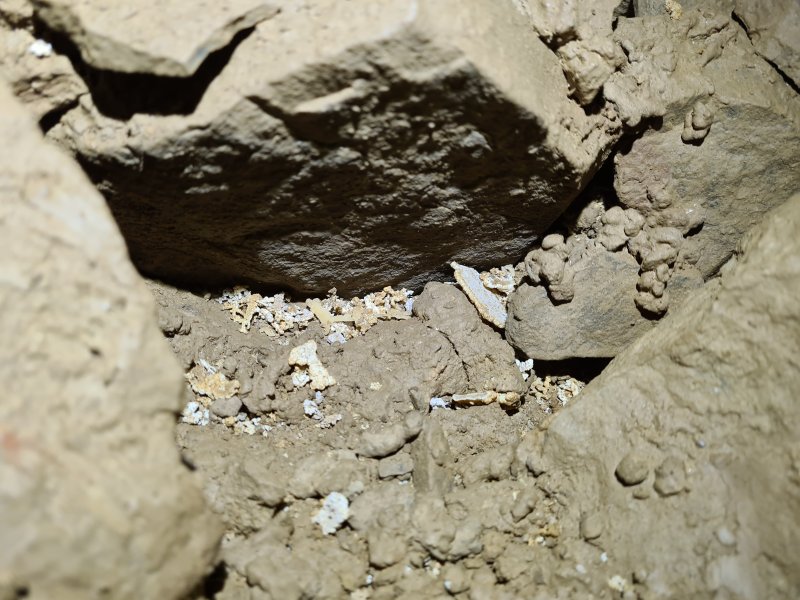 Cryostal at the junction.
 Cryostal in the passage leading to the most impressive part of Aces High.
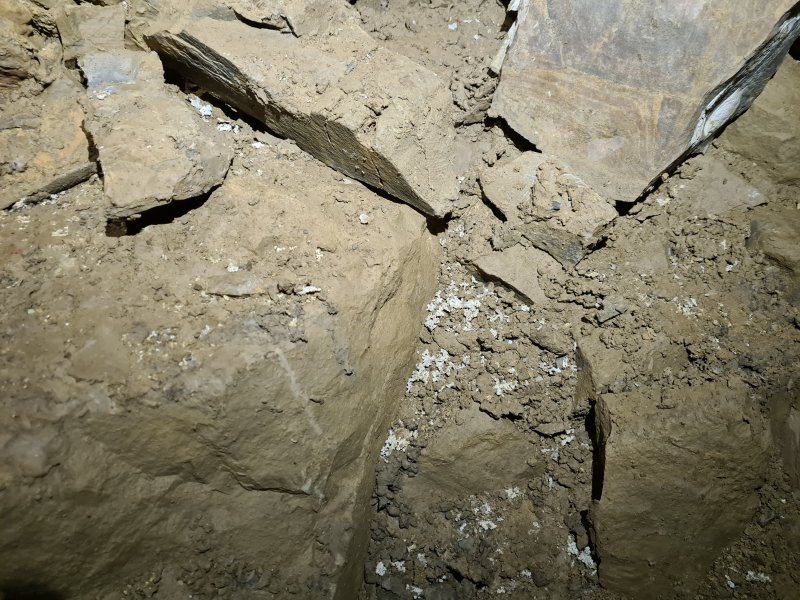 Cryostal in the passage.
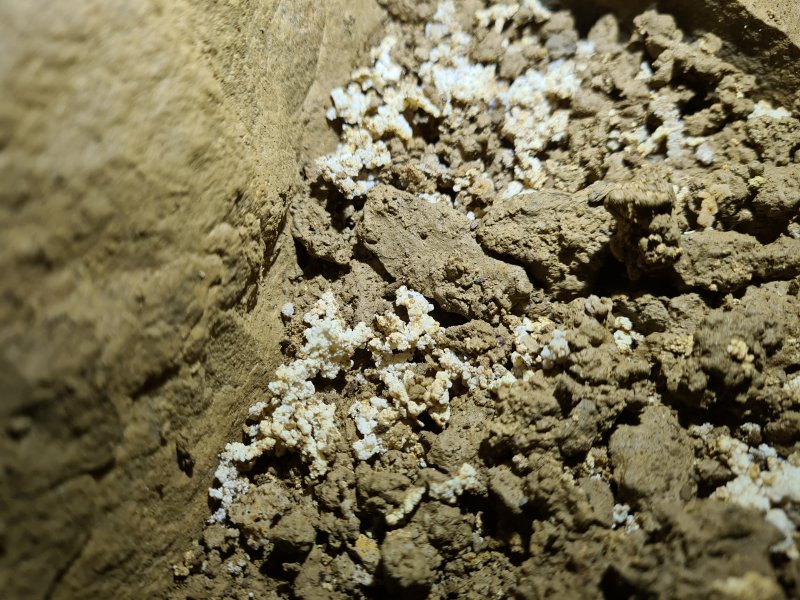 Cryostal in the passage.
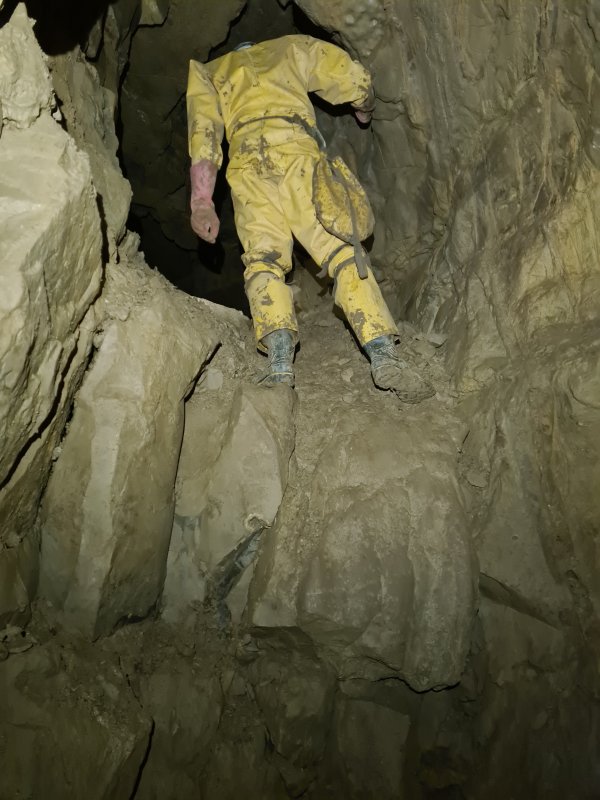 The climb up to the chamber.
Modelling by Pete, lighting by Tarquin and Pete
The climb up to the chamber.
Modelling by Pete, lighting by Tarquin and Pete The passage ends at a climb down (seen on the distant right) into the largest chamber in Aces High. Under the archway seen ahead is a visual connection down into the earlier canyon-style passage. Roof tubes ahead end quickly. A large passage is behind the camera. Down to the right here, hidden behind rocks, is the way into an oxbow series.
Modelling by Pete and John, lighting by Tarquin, Pete and John
The passage ends at a climb down (seen on the distant right) into the largest chamber in Aces High. Under the archway seen ahead is a visual connection down into the earlier canyon-style passage. Roof tubes ahead end quickly. A large passage is behind the camera. Down to the right here, hidden behind rocks, is the way into an oxbow series.
Modelling by Pete and John, lighting by Tarquin, Pete and John The chamber contains a very large cryostal deposit.
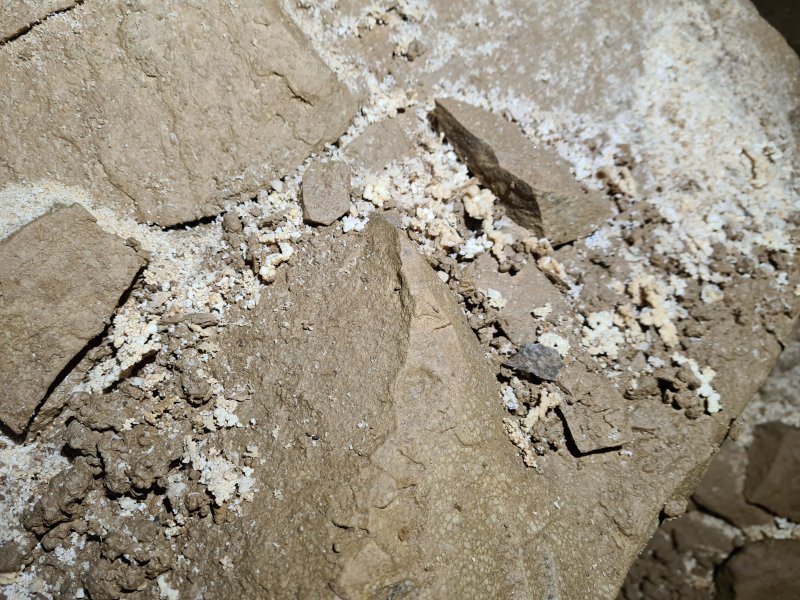 Cryostal in the chamber.
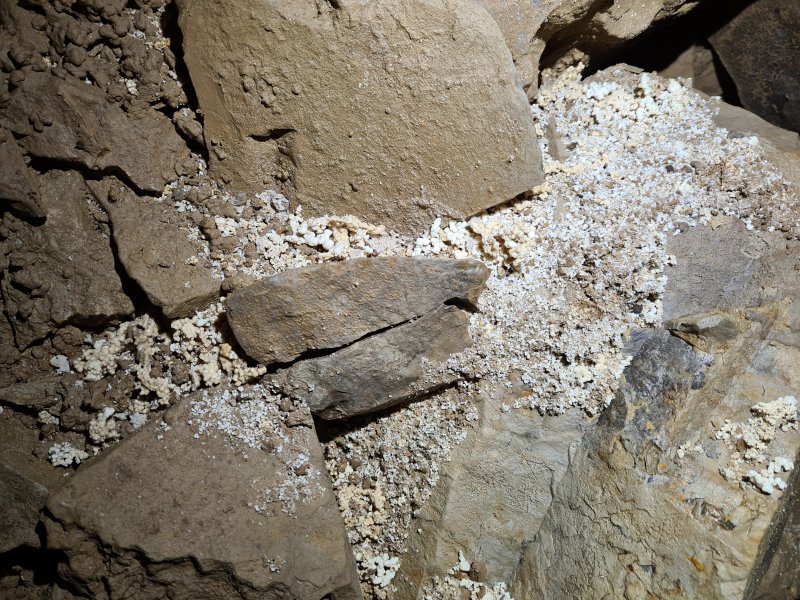 Cryostal in the chamber.
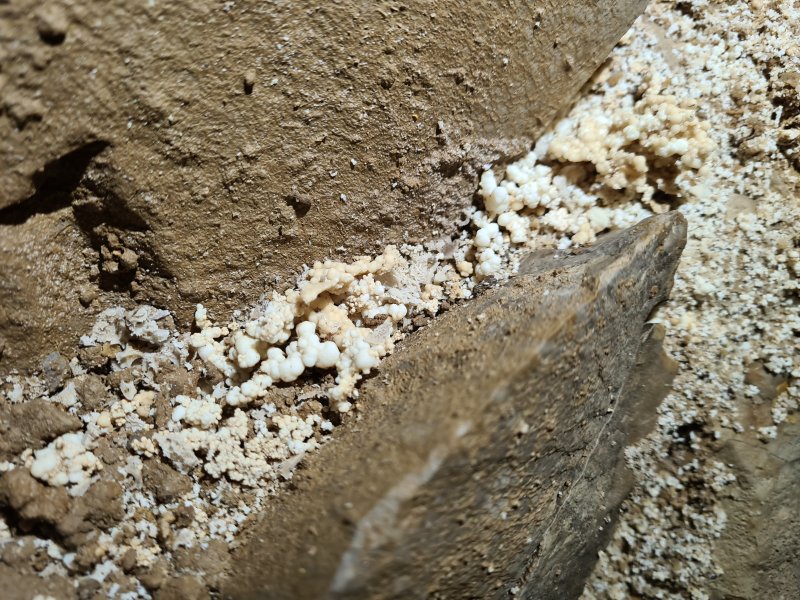 Cryostal in the chamber.
 Cryostal in the chamber. The largest beads are about 1 cm across.
 Cryostal in the chamber, with a finger for scale.
 Deep drip pocket in the large passage.
 Ochre coated crust on the wall, looking like wind-sculpted sandstone.
 The large passage quickly becomes a comfortable rift.
Modelling by Pete, lighting by Tarquin and Pete
The large passage quickly becomes a comfortable rift.
Modelling by Pete, lighting by Tarquin and Pete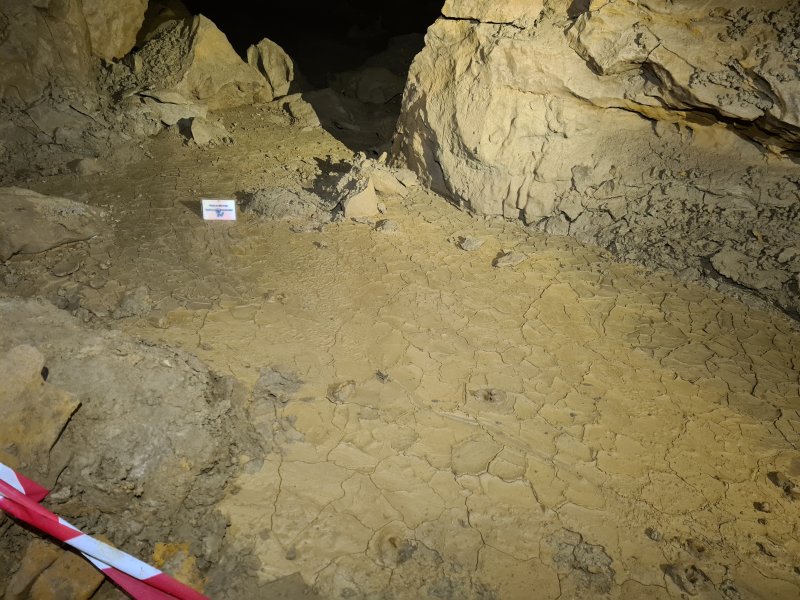 The rift passes two taped-off oxbows, each of which has a fine cracked mud floor, and an outdated sign saying that the passage has not been surveyed or taped.
Lighting by Tarquin and John
The rift passes two taped-off oxbows, each of which has a fine cracked mud floor, and an outdated sign saying that the passage has not been surveyed or taped.
Lighting by Tarquin and John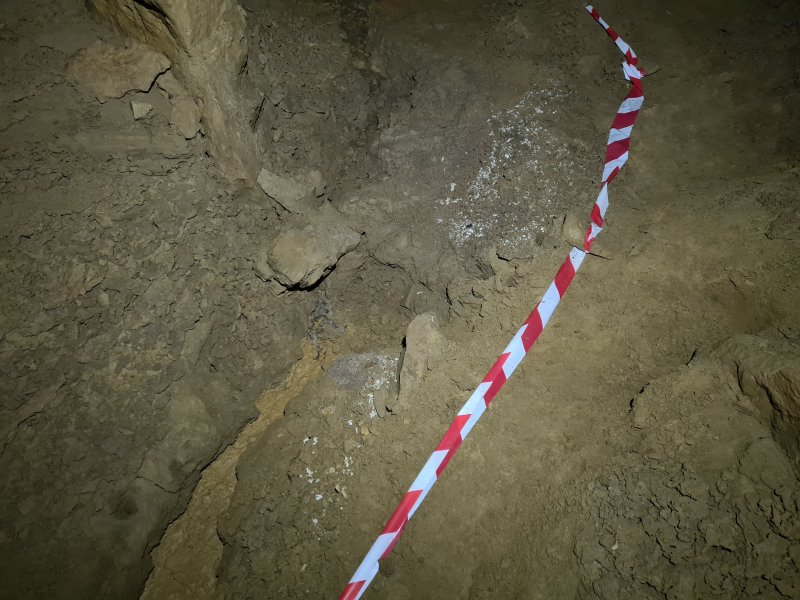 Cryostal and textured mud formations in the rift.
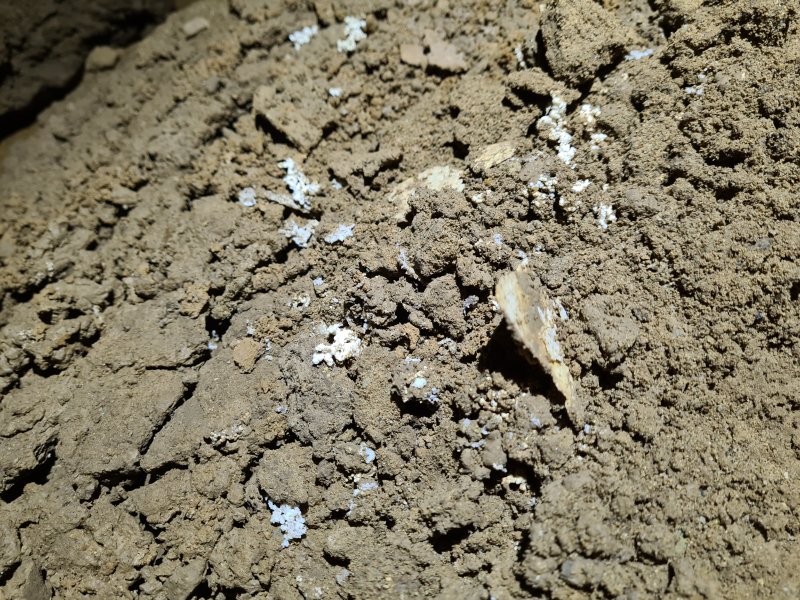 Cryostal in the rift.
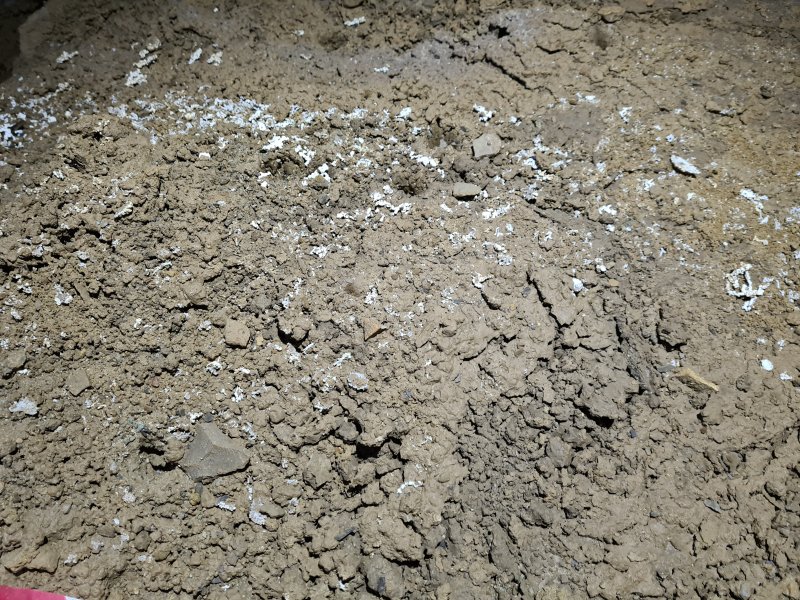 Cryostal in the rift.
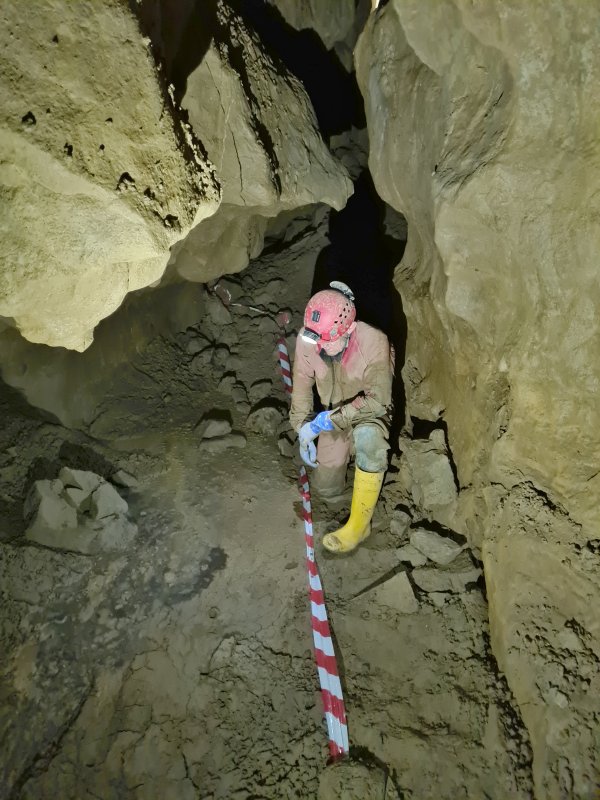 Stained mud flow in the rift. Beyond here, the rift becomes muddy and rather unstable.
Modelling by John, lighting by Tarquin and John
Stained mud flow in the rift. Beyond here, the rift becomes muddy and rather unstable.
Modelling by John, lighting by Tarquin and John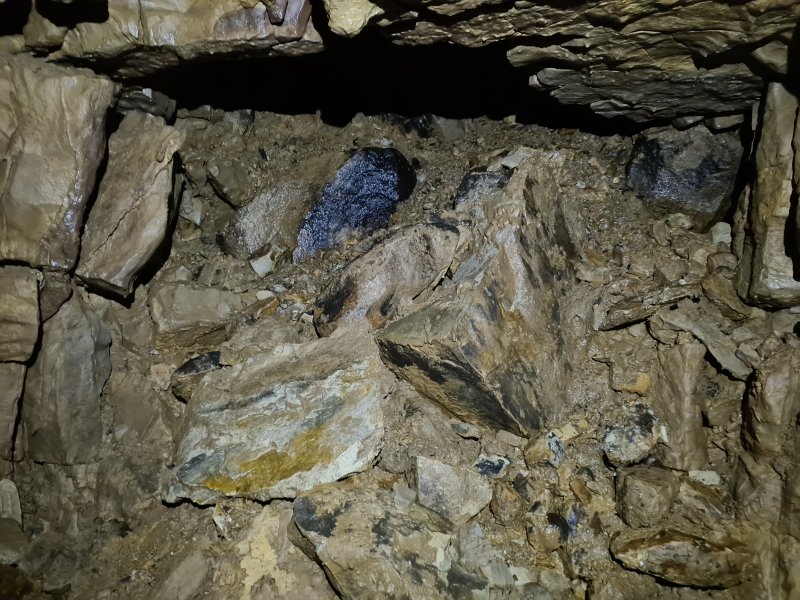 One side of the passage has a choke made up from millstone grit rocks. This is the cap rock that should, at this part of the mountain, be three layers of rock up (Llanelly Shales, Dowlais Limestone, Millstone Grit/Twrch Sandstone). However, this side of Aces High runs along a fault which eliminates the Dowlais Limestone, and it seems it has also allowed the millstone grit to get into the Gilwern Oolite. Perhaps this is how the mouse got in.
 Cryostal at the choke.
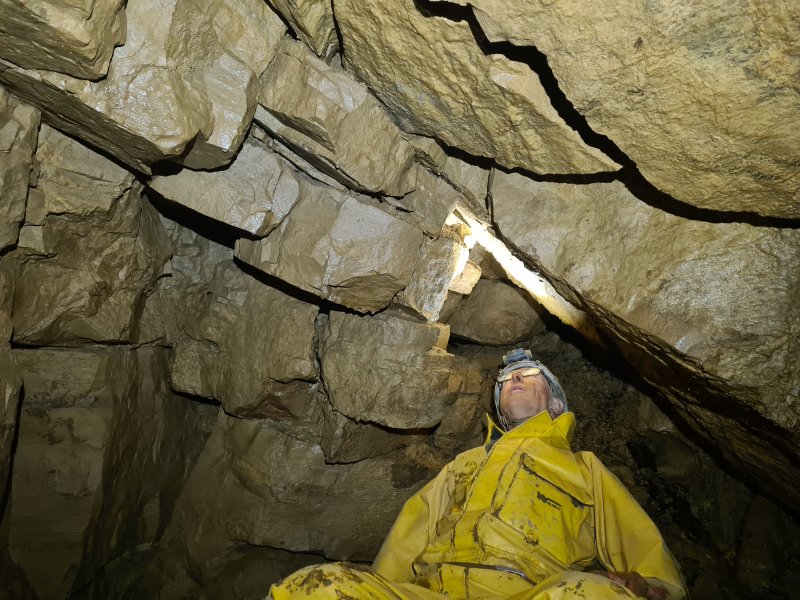 The passage continues to a tiny chamber with a horribly unstable ceiling. The seemingly solid slab on the right is also a hanging boulder, and so are the boulders above the camera.
Modelling by Pete, lighting by Tarquin and Pete
The passage continues to a tiny chamber with a horribly unstable ceiling. The seemingly solid slab on the right is also a hanging boulder, and so are the boulders above the camera.
Modelling by Pete, lighting by Tarquin and Pete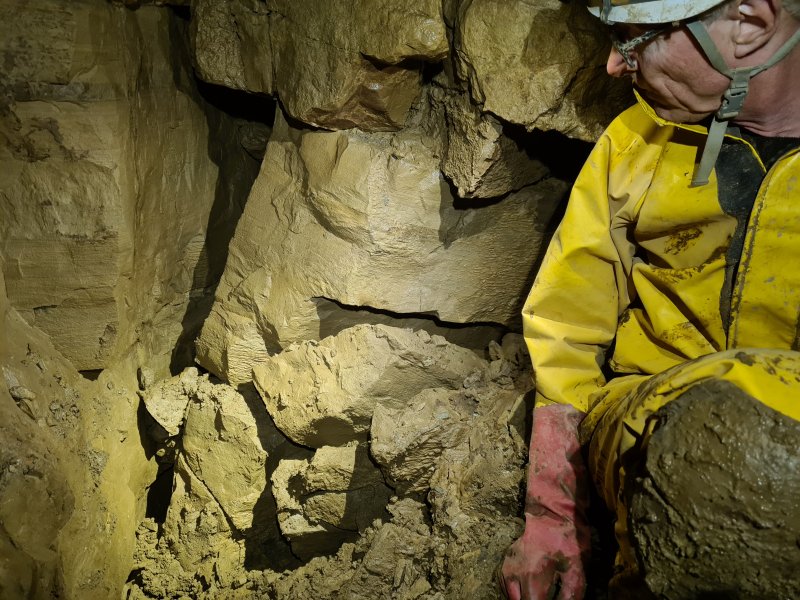 Slickensides (scratches created by the movement of a fault, horizontal in this case) in a shattered rock pillar. These are at an odd bearing, about 45° away from the plane of the main fault, which runs parallel to the large passage.
Modelling by Pete, lighting by Tarquin and Pete
Slickensides (scratches created by the movement of a fault, horizontal in this case) in a shattered rock pillar. These are at an odd bearing, about 45° away from the plane of the main fault, which runs parallel to the large passage.
Modelling by Pete, lighting by Tarquin and Pete In the floor of the tiny chamber is a slot squeeze down into a narrow rift, which forms part of the wide loop. However, it is absolutely not worth using as a route, and the loop is best ignored.
Modelling by John, lighting by Tarquin and John
In the floor of the tiny chamber is a slot squeeze down into a narrow rift, which forms part of the wide loop. However, it is absolutely not worth using as a route, and the loop is best ignored.
Modelling by John, lighting by Tarquin and John The way into the oxbow series descends a rubble slope, hiding it from view above.
Modelling by Pete, lighting by Tarquin, Pete and John
The way into the oxbow series descends a rubble slope, hiding it from view above.
Modelling by Pete, lighting by Tarquin, Pete and John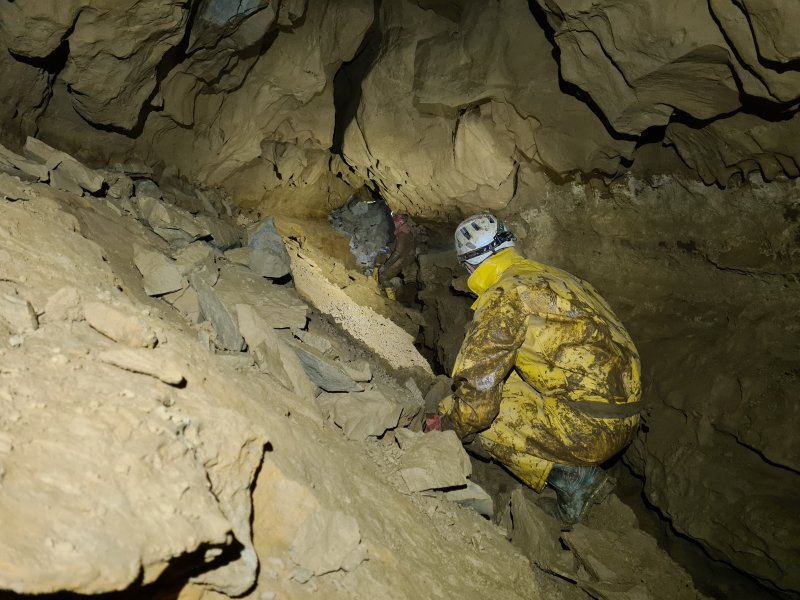 The slope drops into a surprisingly large canyon passage, which is once again a continuation of The Stream Of Running Commentary (again without a stream). It was very clear that almost nobody had ever visited this passage, as there was just a single set of footprints, and almost no disturbance at all to the pristine mud formations. We used the same footprints to get along the passage.
Modelling by Pete and John, lighting by Tarquin, Pete and John
The slope drops into a surprisingly large canyon passage, which is once again a continuation of The Stream Of Running Commentary (again without a stream). It was very clear that almost nobody had ever visited this passage, as there was just a single set of footprints, and almost no disturbance at all to the pristine mud formations. We used the same footprints to get along the passage.
Modelling by Pete and John, lighting by Tarquin, Pete and John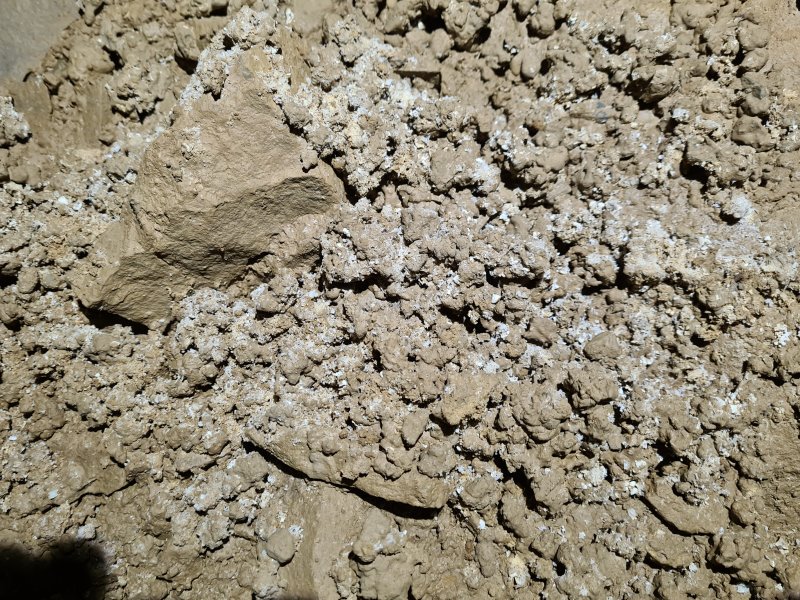 Cryostal in the canyon passage.
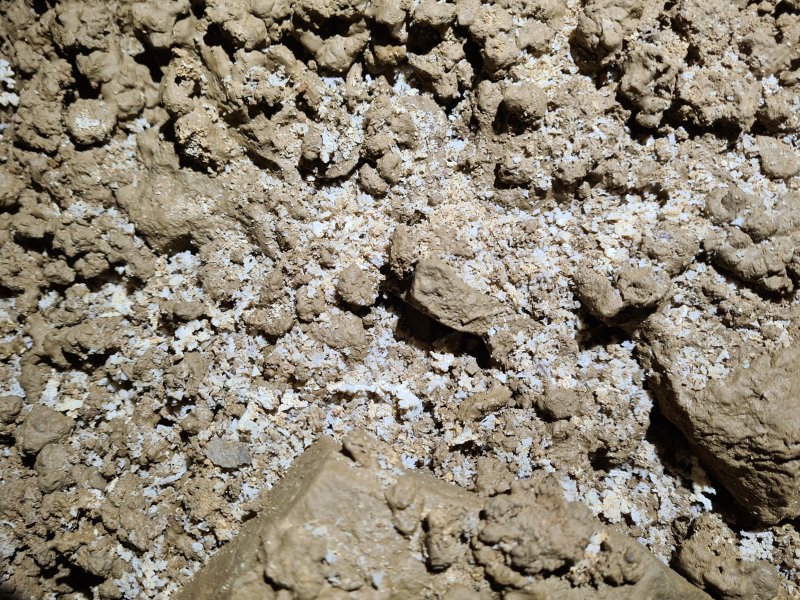 Cryostal in the canyon passage.
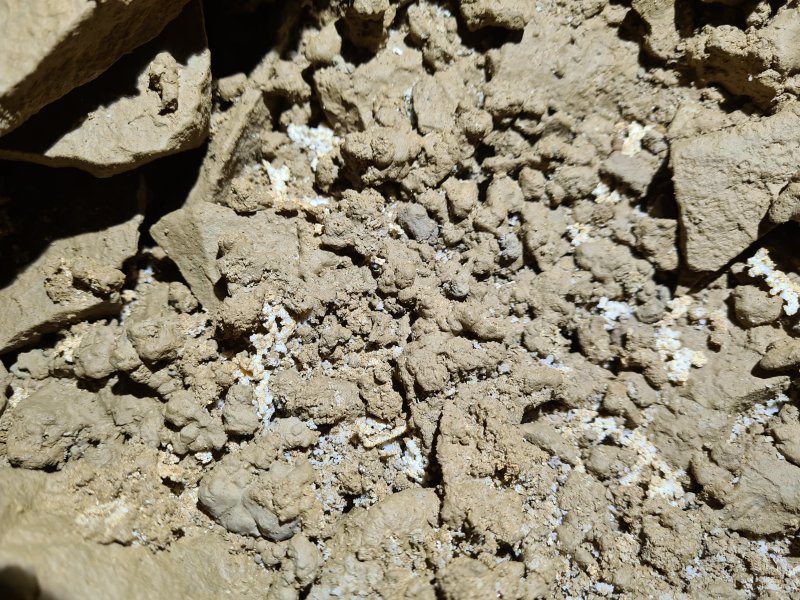 Cryostal in the canyon passage.
 Cryostal in the canyon passage.
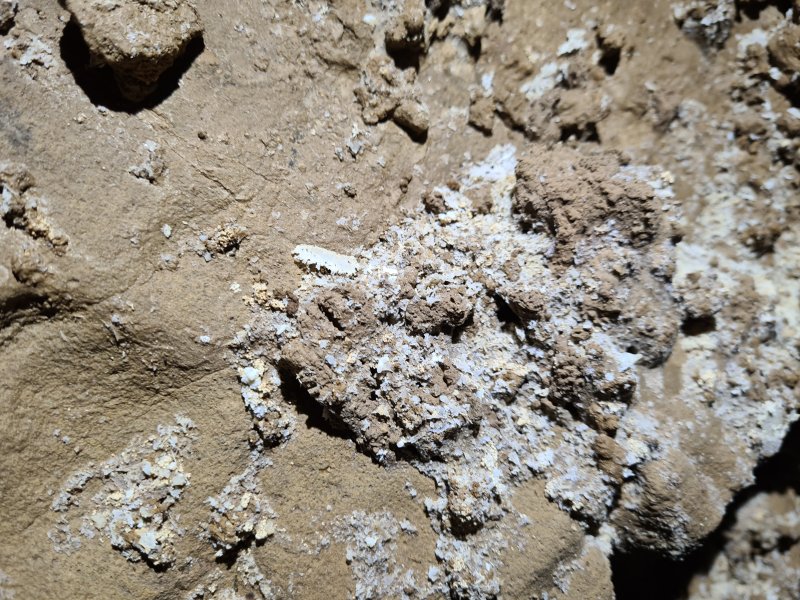 Cryostal in the canyon passage.
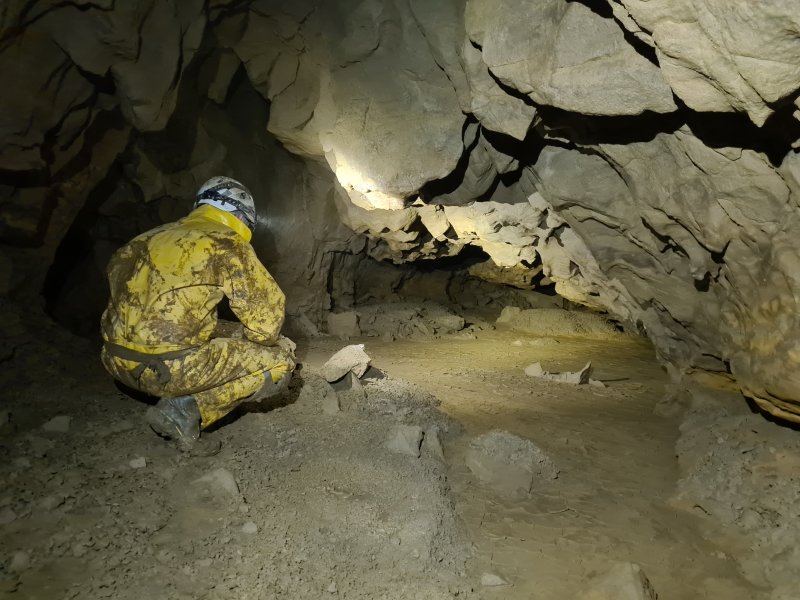 A side passage to the right oxbowed to the earlier taped-off passages with cracked mud. The view was much better from here, but the lack of conservation tape was an issue, so we retrieved a roll that we had found in a previous passage, and added a taped route into here, following the existing footprints. We then added some taping back down the canyon passage as well, and several of the earlier cryostal deposits.
Modelling by Pete, lighting by Tarquin and Pete
A side passage to the right oxbowed to the earlier taped-off passages with cracked mud. The view was much better from here, but the lack of conservation tape was an issue, so we retrieved a roll that we had found in a previous passage, and added a taped route into here, following the existing footprints. We then added some taping back down the canyon passage as well, and several of the earlier cryostal deposits.
Modelling by Pete, lighting by Tarquin and Pete Beautiful cracked mud in the oxbows.
Lighting by Pete
Beautiful cracked mud in the oxbows.
Lighting by Pete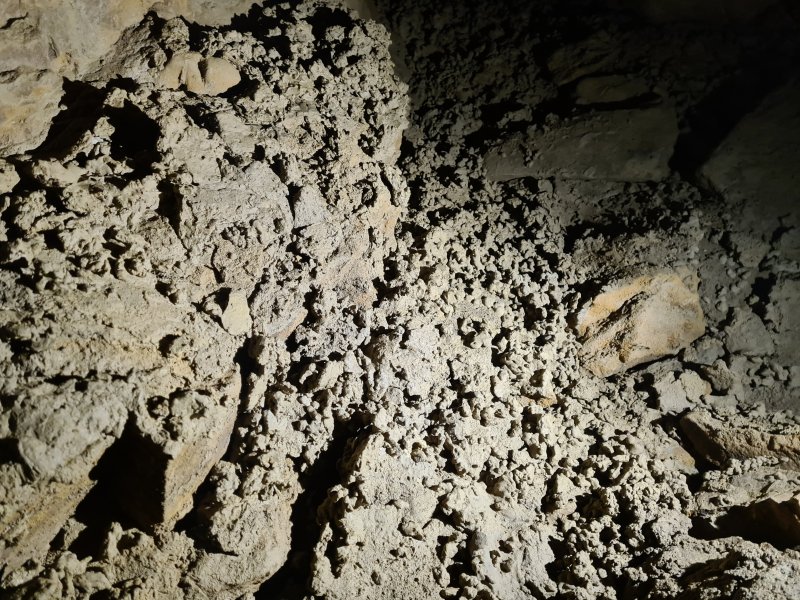 Textured mud in the oxbows.
 Drip pockets.
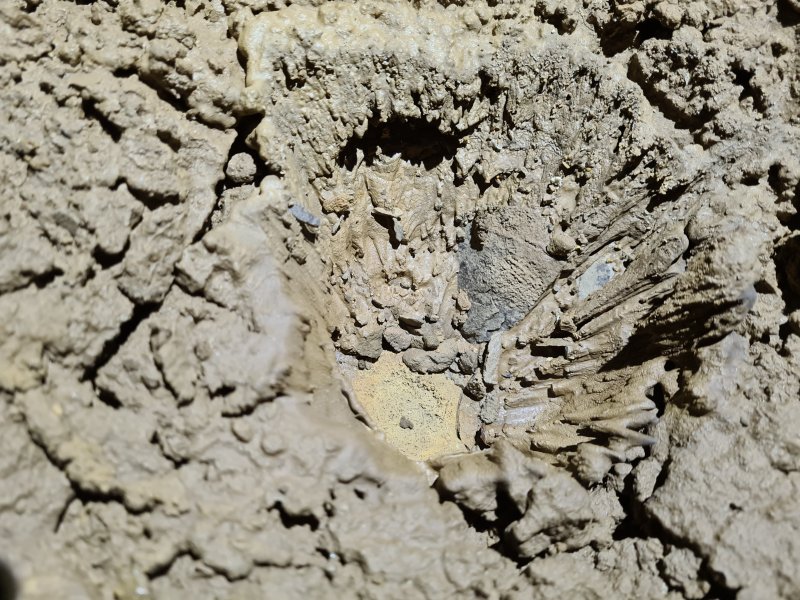 Drip splash.
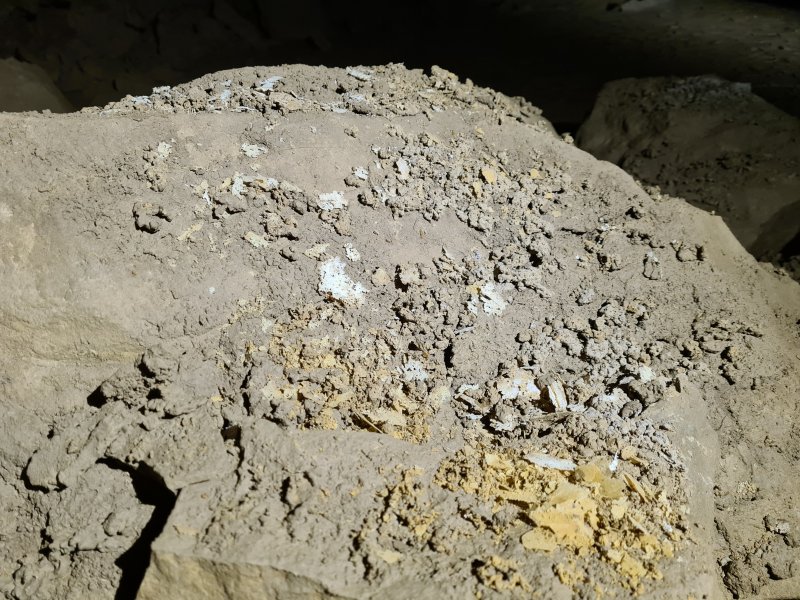 Cryostal in the oxbows.
 After the connection to the oxbows, the canyon becomes narrower.
Modelling by John, lighting by Tarquin and John
After the connection to the oxbows, the canyon becomes narrower.
Modelling by John, lighting by Tarquin and John Cryostal in the canyon.
 The canyon. There are several cryostal deposits on the floor, but fortunately, this passage is unlikely to ever see much traffic. The mud formations are ice-formed on the ledges, and more recent flooding surge marks at floor level.
Modelling by John, lighting by Tarquin and John
The canyon. There are several cryostal deposits on the floor, but fortunately, this passage is unlikely to ever see much traffic. The mud formations are ice-formed on the ledges, and more recent flooding surge marks at floor level.
Modelling by John, lighting by Tarquin and John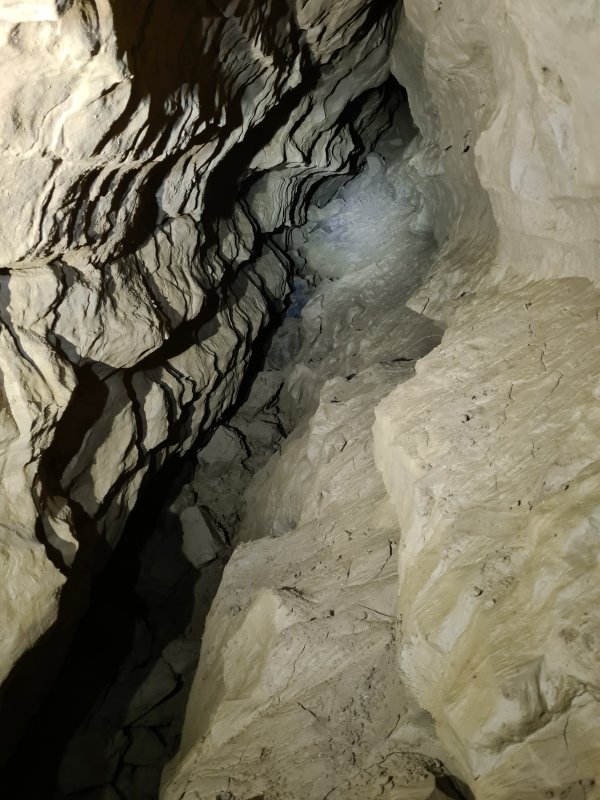 After a corner, the passage soon becomes too narrow, with a visual connection up into the narrow rift's squeeze mentioned earlier. The lean of the rift is quite pronounced here, and would appear to be a fault which is not shown on the geological maps. In order to avoid damaging the surge mark mud formations, we stopped at the corner.
Lighting by Tarquin and John
After a corner, the passage soon becomes too narrow, with a visual connection up into the narrow rift's squeeze mentioned earlier. The lean of the rift is quite pronounced here, and would appear to be a fault which is not shown on the geological maps. In order to avoid damaging the surge mark mud formations, we stopped at the corner.
Lighting by Tarquin and John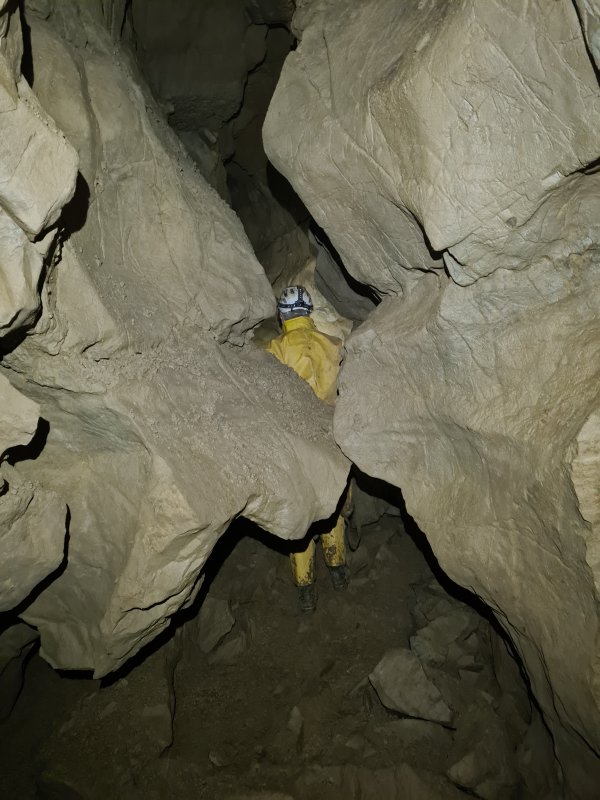 Back at the start of the wide loop, the main way on through Aces High is a tall passage ahead-left.
Modelling by Pete, lighting by Tarquin and Pete
Back at the start of the wide loop, the main way on through Aces High is a tall passage ahead-left.
Modelling by Pete, lighting by Tarquin and Pete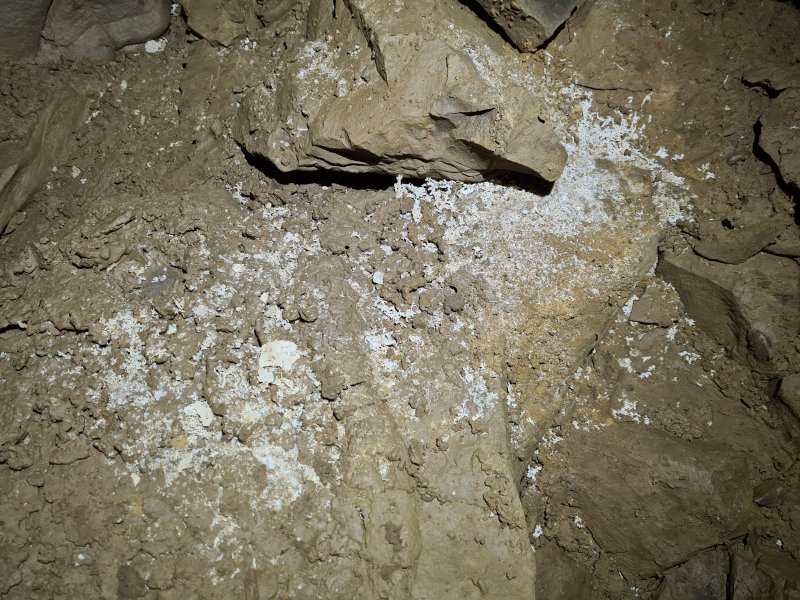 The main route is absolutely full of cryostal deposits. We added conservation tape to several of these after taking the pictures.
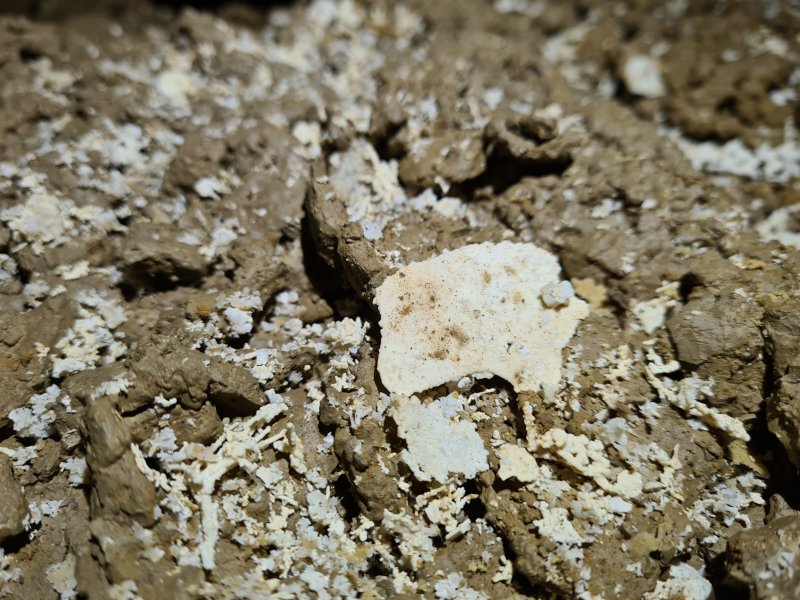 Cryostal in the main route.
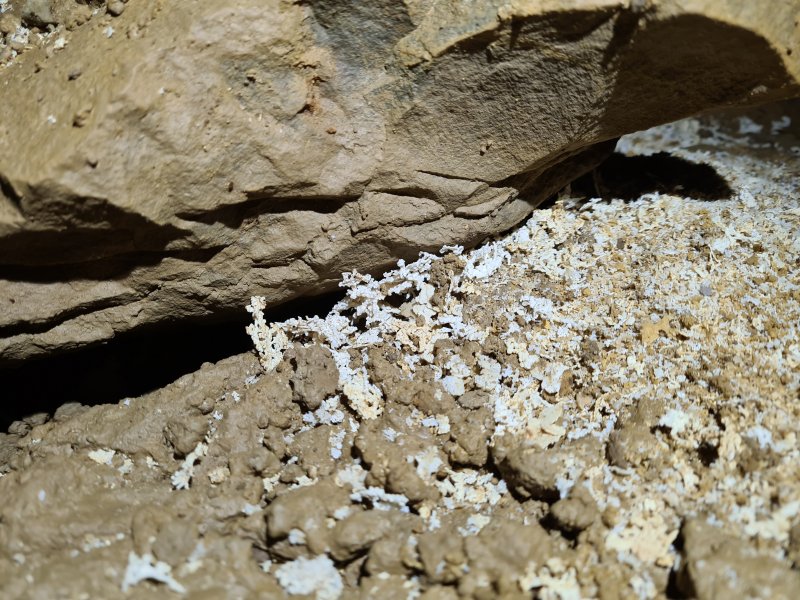 Cryostal in the main route.
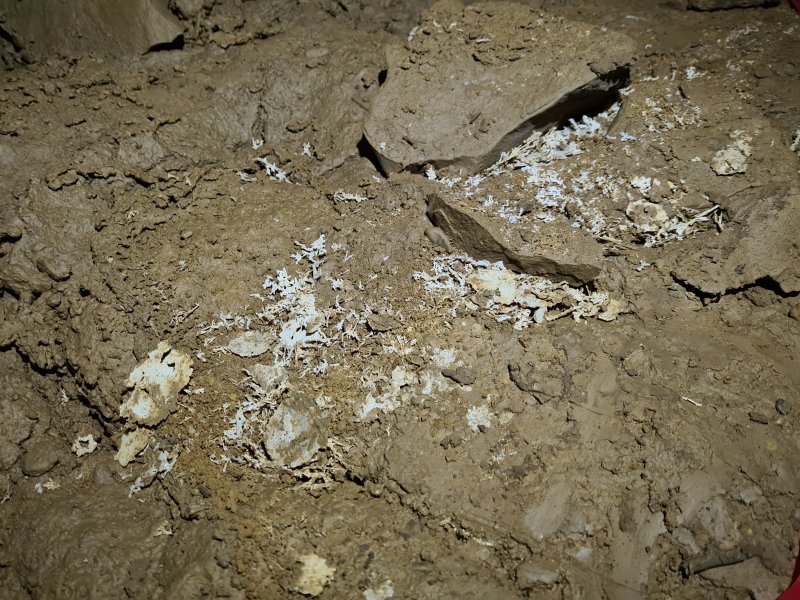 Another cryostal deposit.
 Detail of the cryostal.
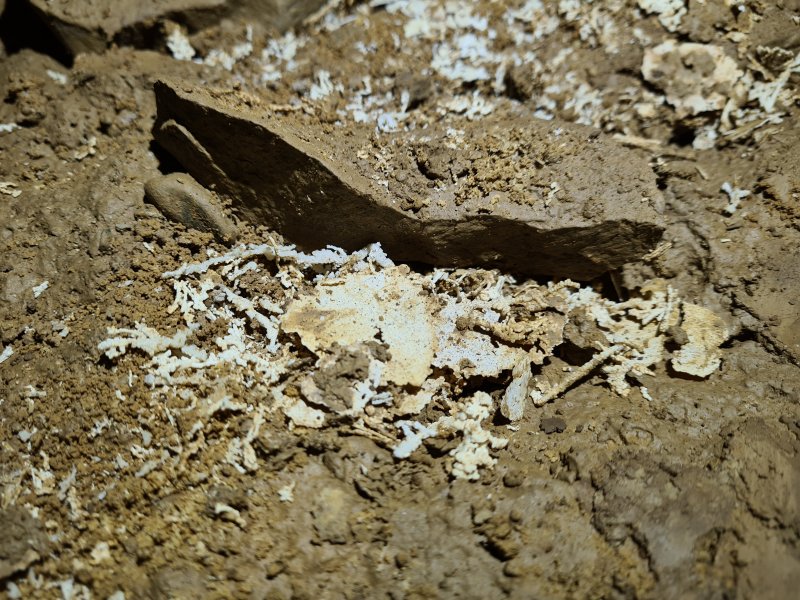 Detail of the cryostal.
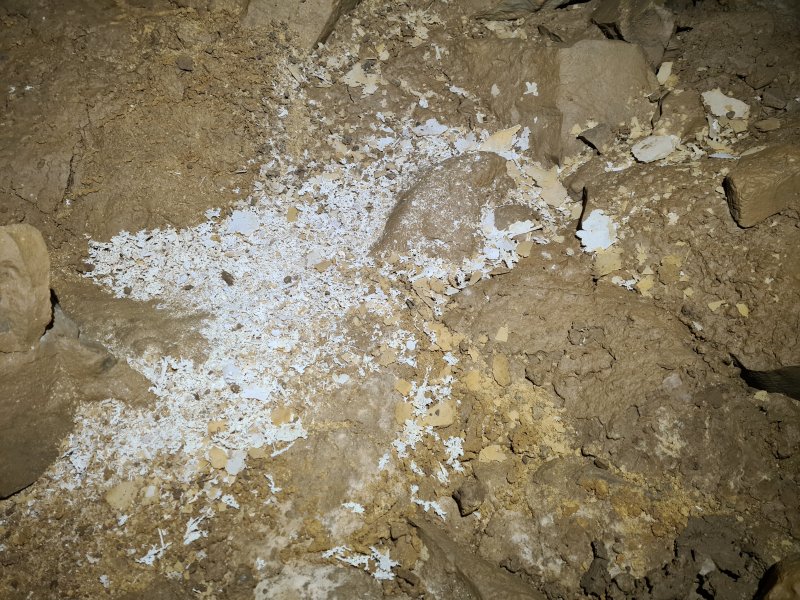 A superb cryostal deposit in a large alcove.
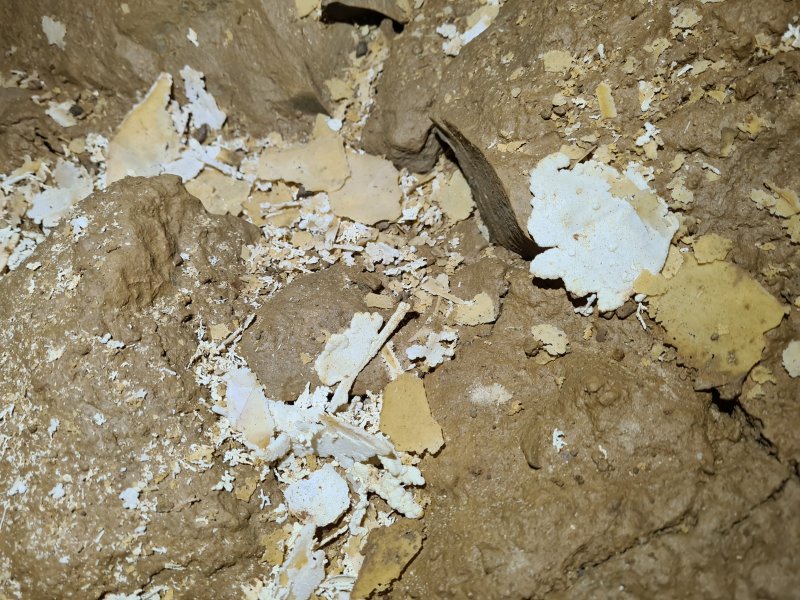 Detail of the cryostal.
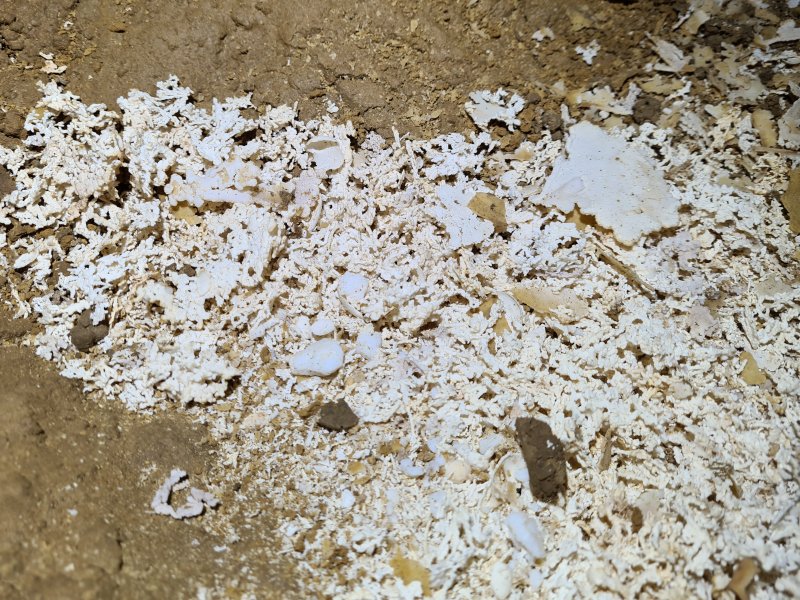 Detail of the cryostal.
 A narrow section of the passage, where you can either crawl below a rock bridge, or squeeze above it.
Modelling by Pete, lighting by Tarquin and Pete
A narrow section of the passage, where you can either crawl below a rock bridge, or squeeze above it.
Modelling by Pete, lighting by Tarquin and Pete Nodules on the wall of the passage.
Modelling by Pete's PVC
Nodules on the wall of the passage.
Modelling by Pete's PVC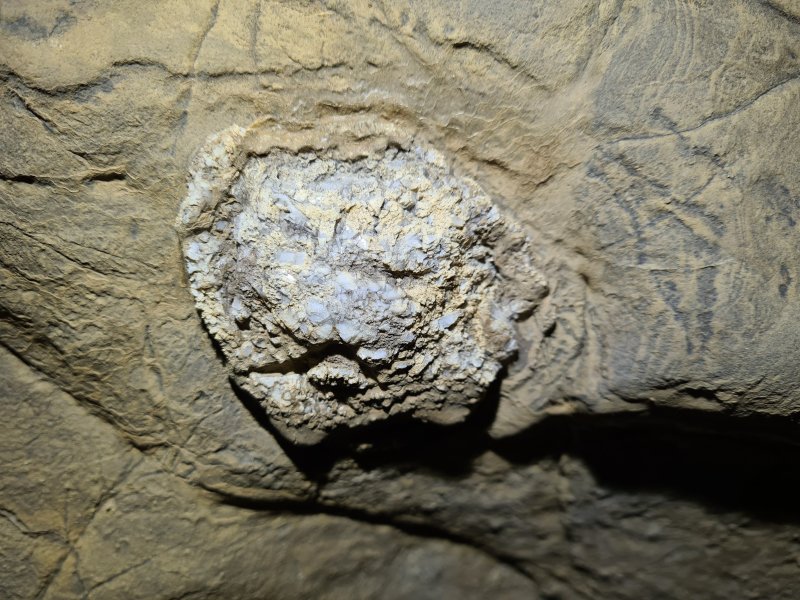 Heavily crystallised nodule. The actual composition is not known, but some of them look like chert.
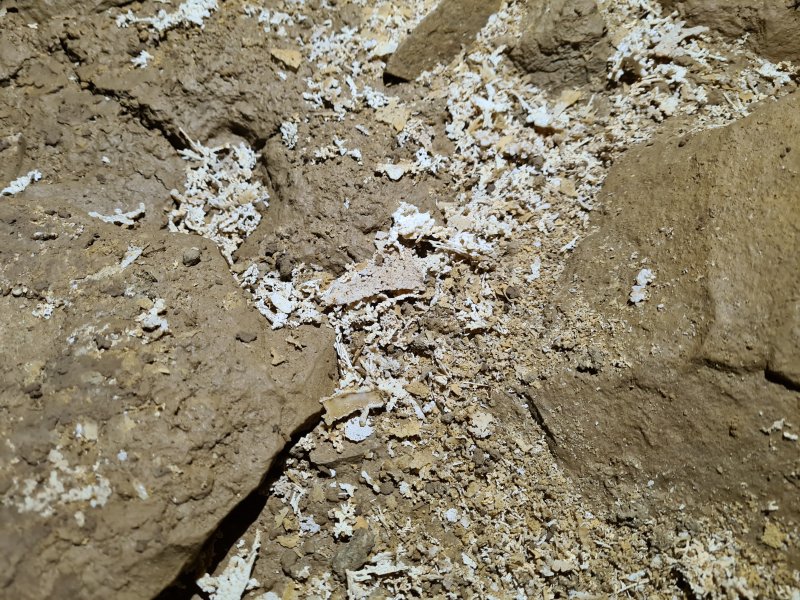 Another cryostal deposit, just before another crawl. This one actually divides the passage, and needs to be carefully stepped over.
 Cryostal.
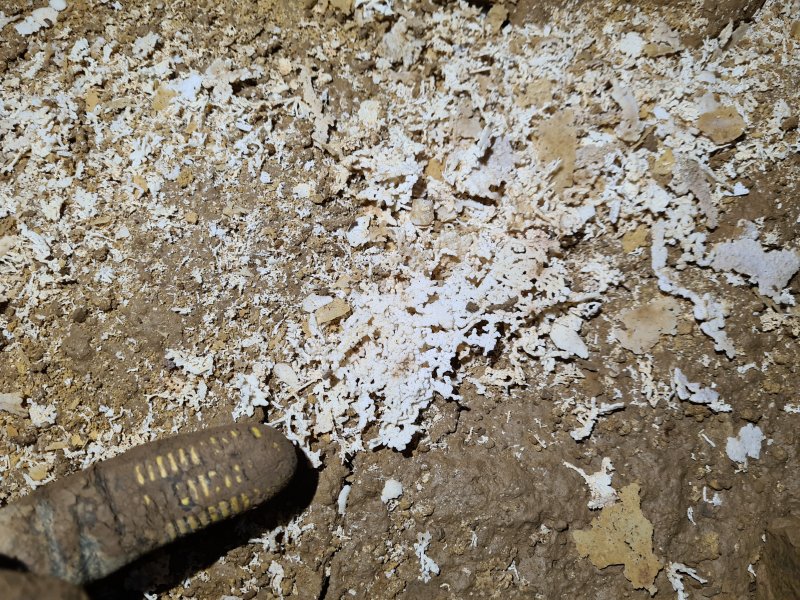 Cryostal.
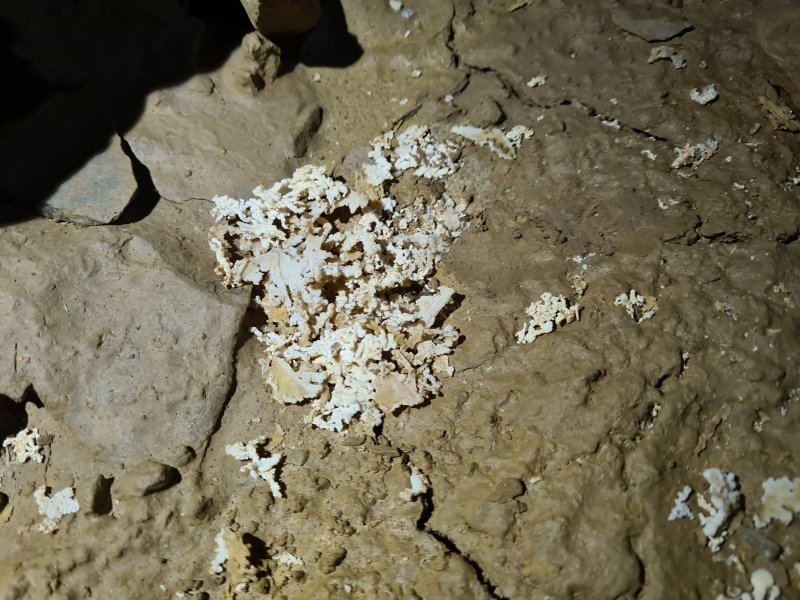 Cryostal.
 The passage emerges from the crawl (seen on the left here) and turns sharp right (behind the camera). On the corner is a climb up into a narrow rift, which is the way on to the smaller loop. It is very easy to miss this junction.
Modelling by John, lighting by Tarquin and John
The passage emerges from the crawl (seen on the left here) and turns sharp right (behind the camera). On the corner is a climb up into a narrow rift, which is the way on to the smaller loop. It is very easy to miss this junction.
Modelling by John, lighting by Tarquin and John Ignoring the climb, the passage immediately turns left again, and there is another climb above into a roof rift. The climb is relatively easy on the way up, but may need a spotter on the way down.
Modelling by Pete, lighting by Tarquin and Pete
Ignoring the climb, the passage immediately turns left again, and there is another climb above into a roof rift. The climb is relatively easy on the way up, but may need a spotter on the way down.
Modelling by Pete, lighting by Tarquin and Pete The passage at the top is the narrow rift from the other side of the wide loop. It is quite awkward, and is not recommended as a route.
Modelling by John, lighting by Tarquin and John
The passage at the top is the narrow rift from the other side of the wide loop. It is quite awkward, and is not recommended as a route.
Modelling by John, lighting by Tarquin and John Continuing past both climbs, the passage passes through an eyehole. If you see this, you went too far!
Modelling by John, lighting by Tarquin and John
Continuing past both climbs, the passage passes through an eyehole. If you see this, you went too far!
Modelling by John, lighting by Tarquin and John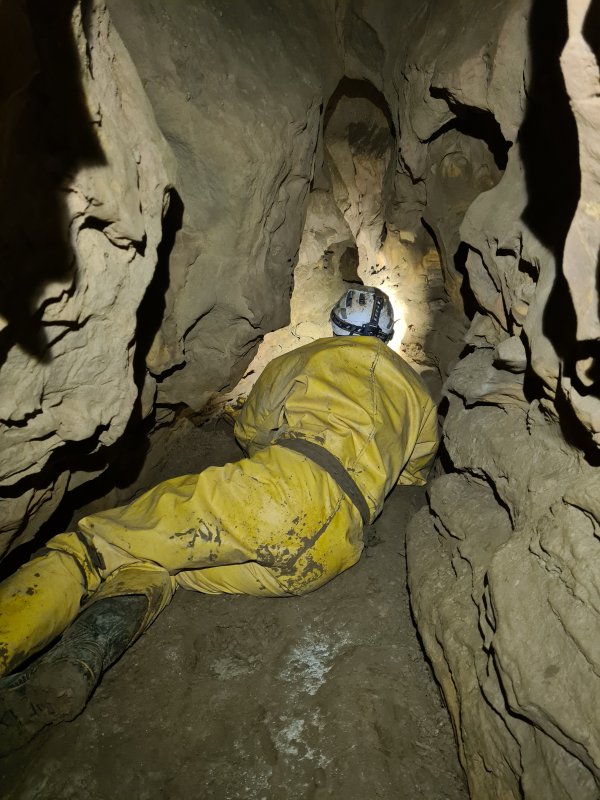 The passage then ends at a dig.
Modelling by Pete, lighting by Tarquin and Pete
The passage then ends at a dig.
Modelling by Pete, lighting by Tarquin and Pete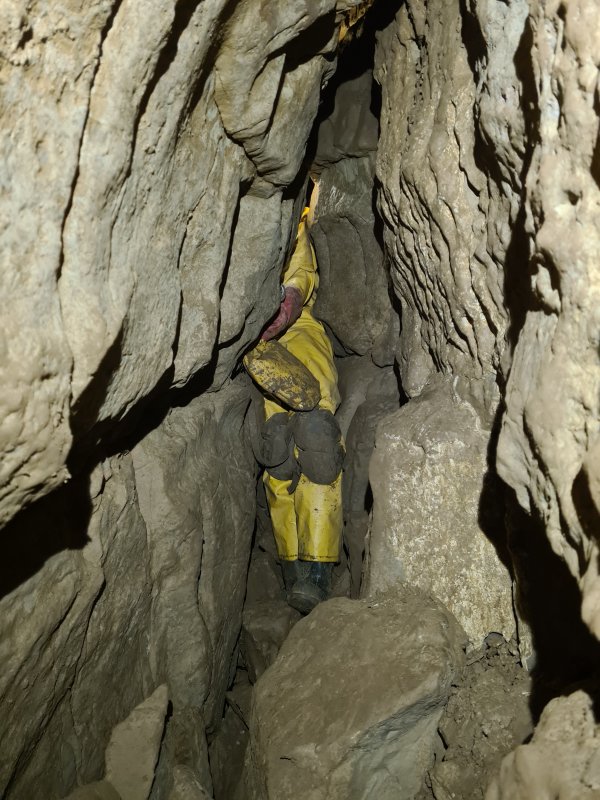 The way to the smaller loop, above the climb, starts with this drop down into a narrow rift.
Modelling by Pete, lighting by Tarquin and Pete
The way to the smaller loop, above the climb, starts with this drop down into a narrow rift.
Modelling by Pete, lighting by Tarquin and Pete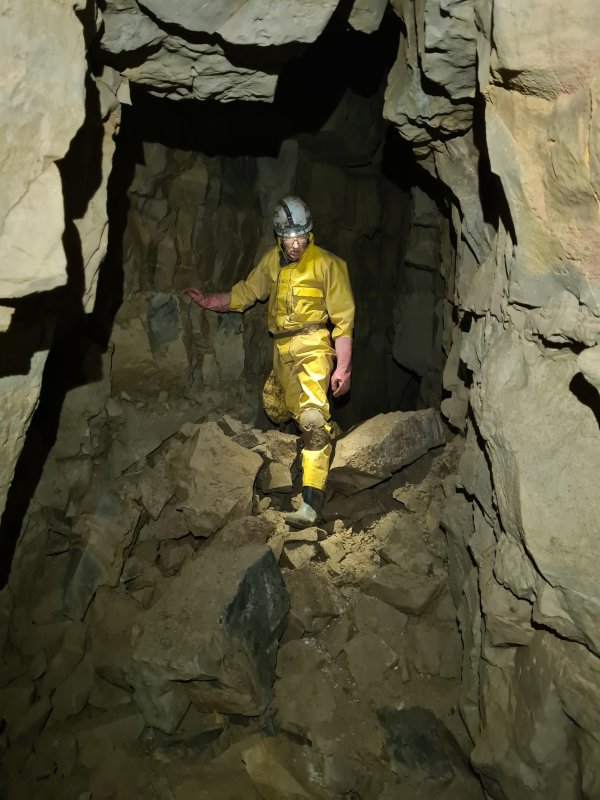 It quickly enlarges. There appears to be a short side passage here.
Modelling by Pete, lighting by Tarquin and Pete
It quickly enlarges. There appears to be a short side passage here.
Modelling by Pete, lighting by Tarquin and Pete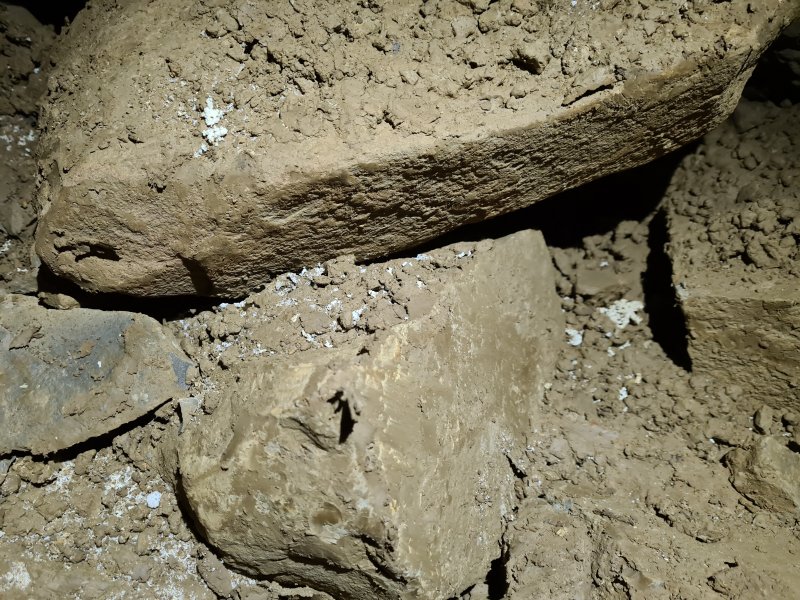 Cryostal in the wide bit.
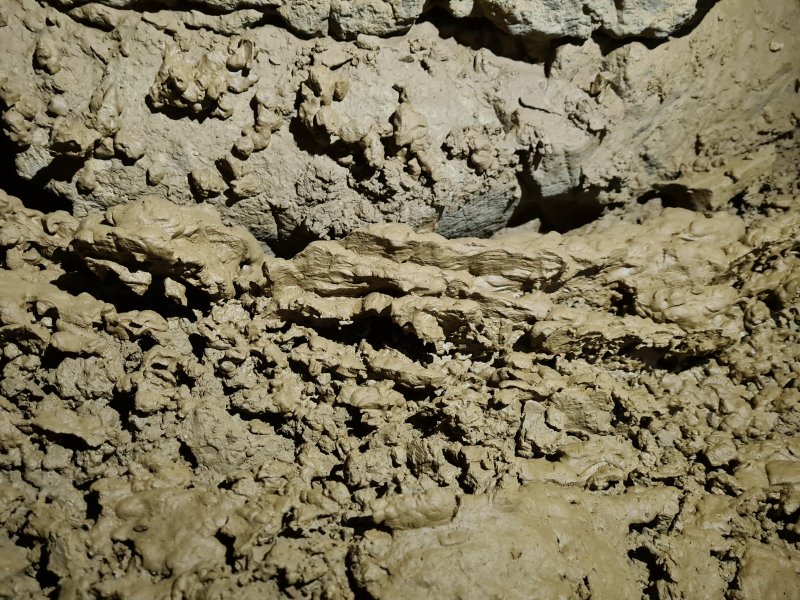 At a T-junction, where the way on is to the right, the side passage to the left contains these mud formations.
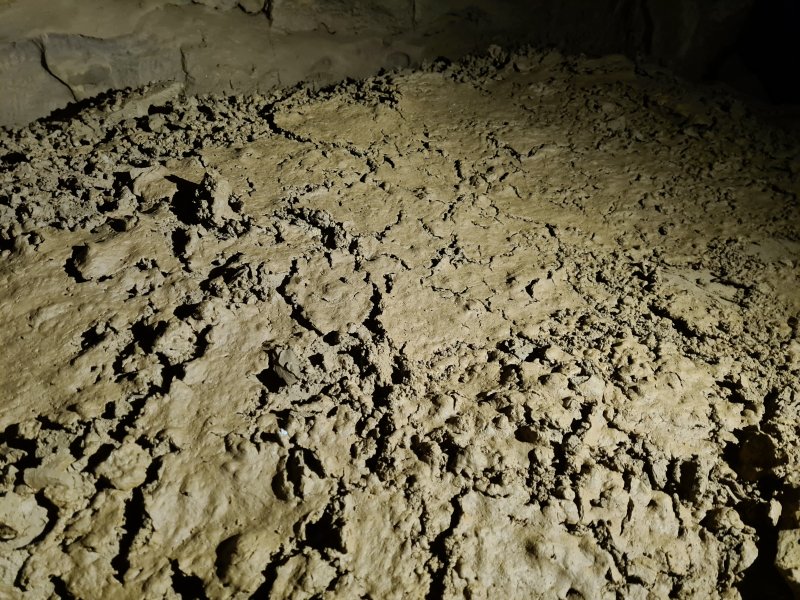 Mud formations in the side passage.
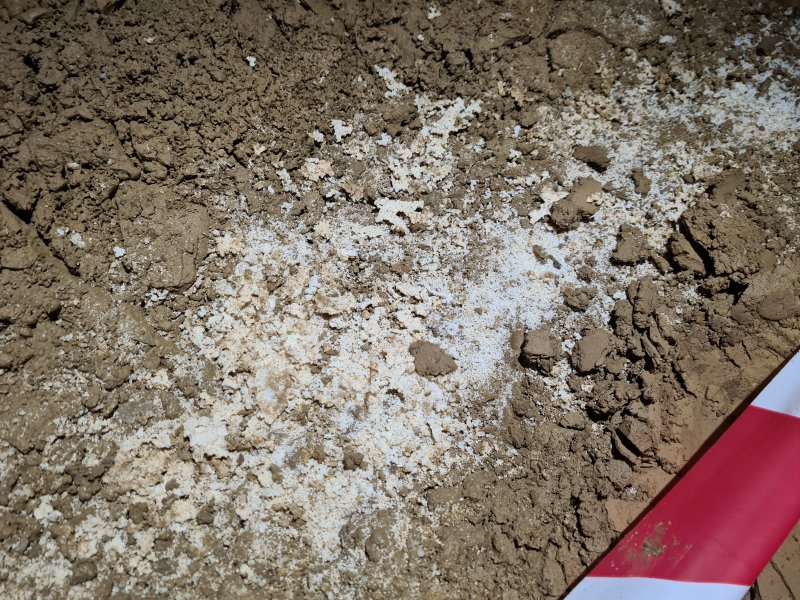 Cryostal in the side passage.
 Cryostal in the side passage.
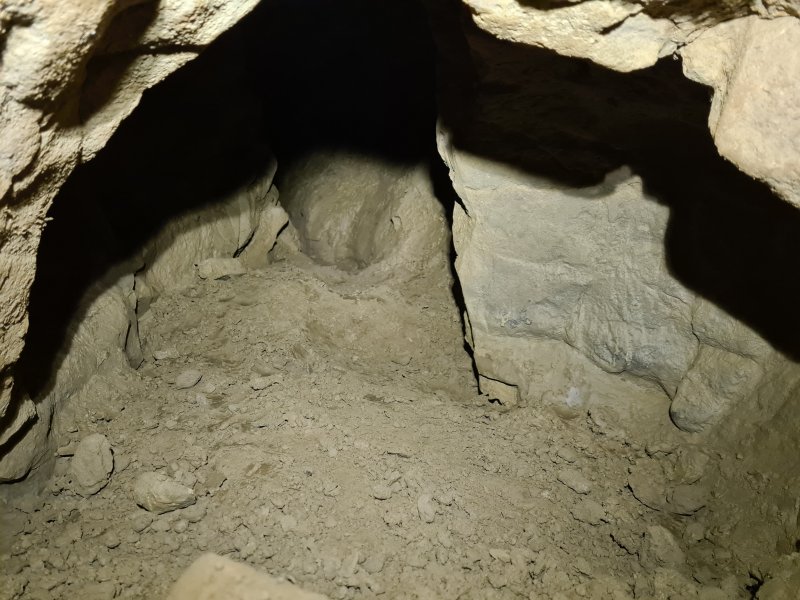 The side passage branches, with this crawl to a dig through a low arch ahead.
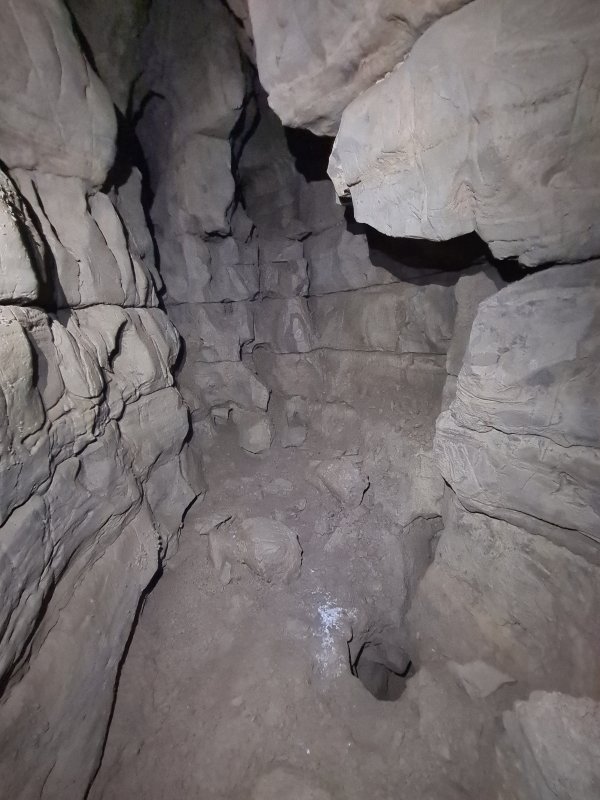 In the right branch, a dig up enters the floor of this chamber.
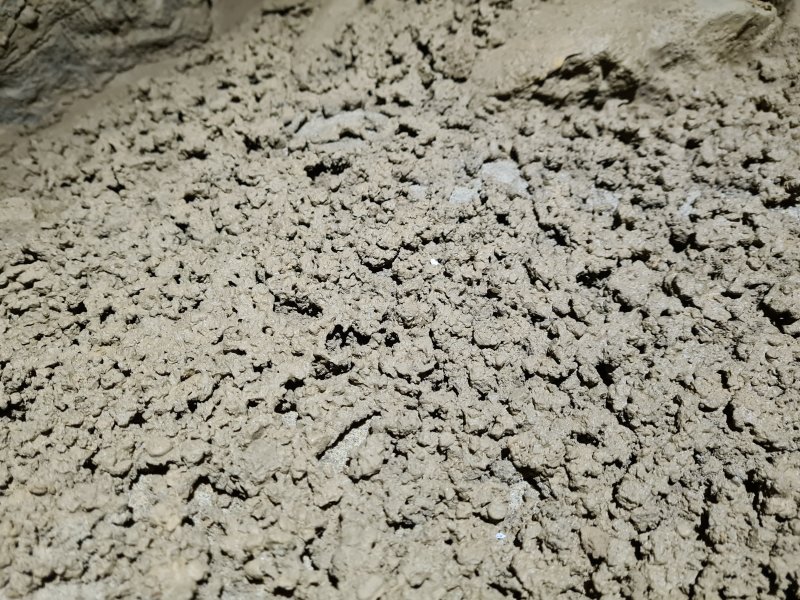 Textured mud in the chamber. There appeared to only have been a single set of footprints in the mud, so I stepped in the same spots.
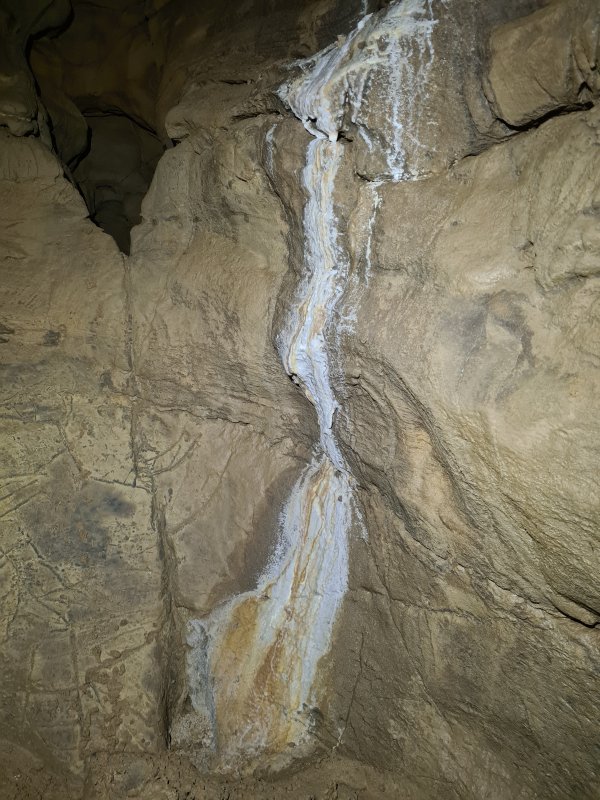 Stal flow in the chamber. The rift beside it is too tight.
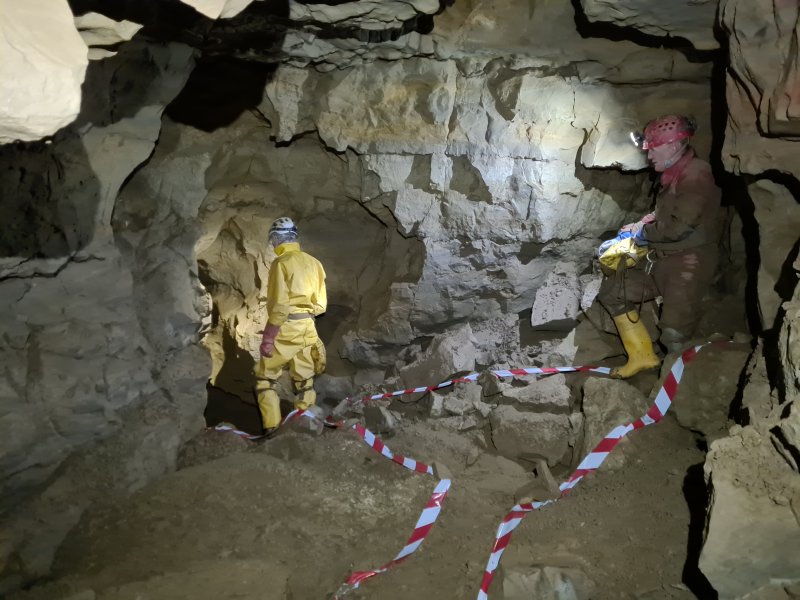 The main way on reaches a chamber, with the way on to the smaller loop (seen on the left here) to the right, and a side rift (behind the camera) to the left.
Modelling by Pete and John, lighting by Tarquin, Pete and John
The main way on reaches a chamber, with the way on to the smaller loop (seen on the left here) to the right, and a side rift (behind the camera) to the left.
Modelling by Pete and John, lighting by Tarquin, Pete and John Cryostal in the chamber.
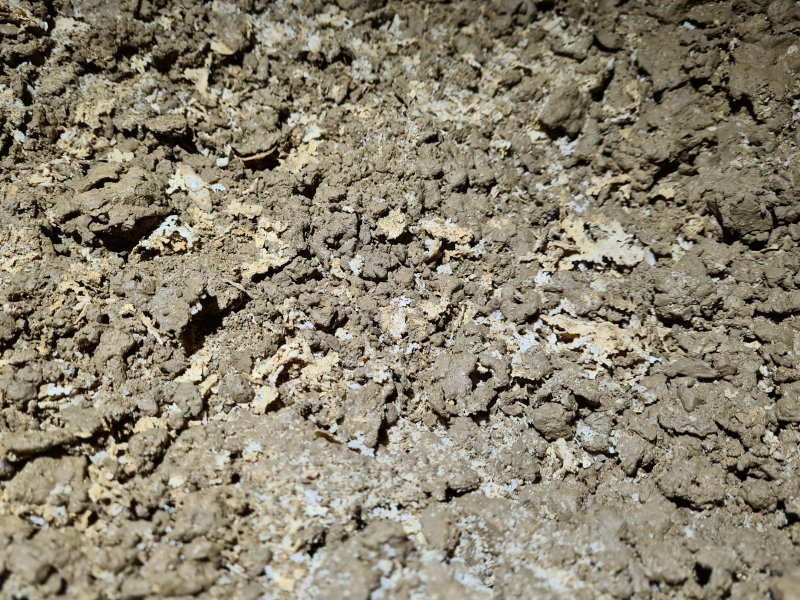 Cryostal in the chamber.
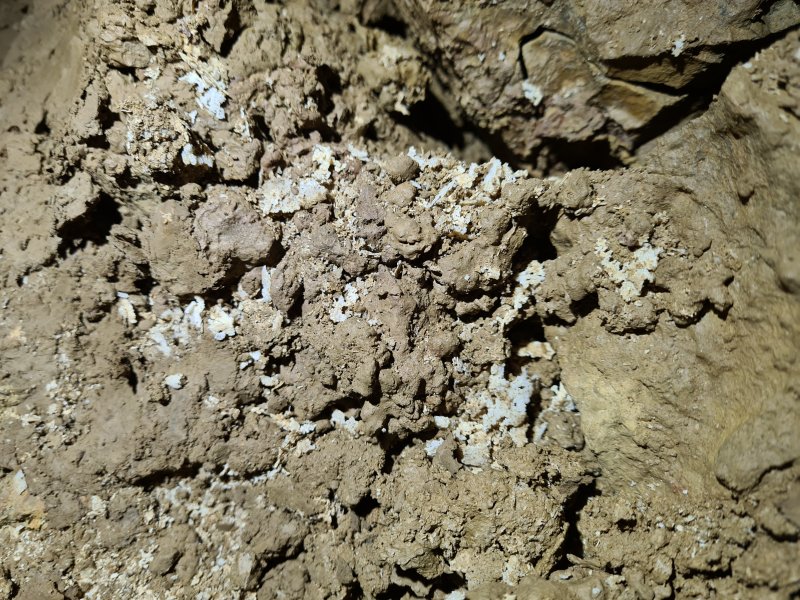 The side rift to the left also has a little cryostal.
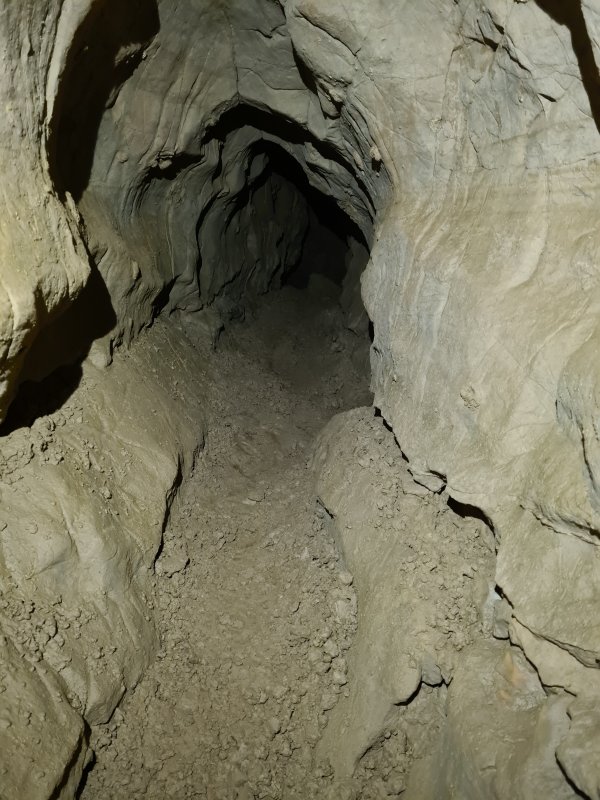 The side rift ascends a climb, and becomes a crawling sized tube that abruptly ends.
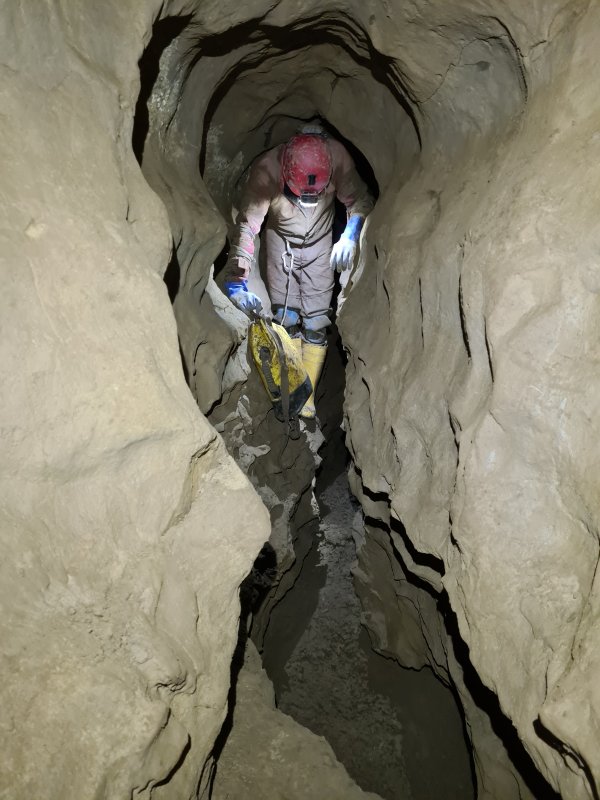 The passage leading to the smaller loop.
Modelling by John, lighting by Tarquin and John
The passage leading to the smaller loop.
Modelling by John, lighting by Tarquin and John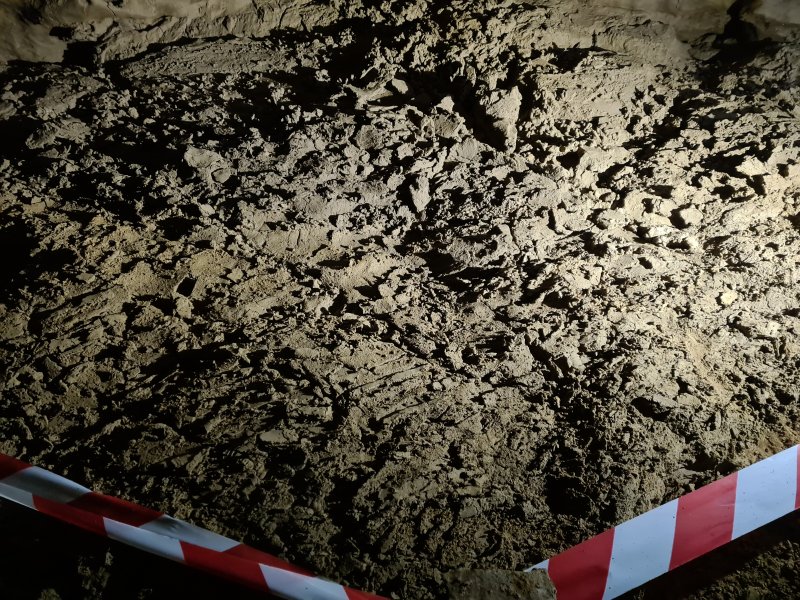 Mud formations in an oxbow to the main route.
Lighting by Pete and John
Mud formations in an oxbow to the main route.
Lighting by Pete and John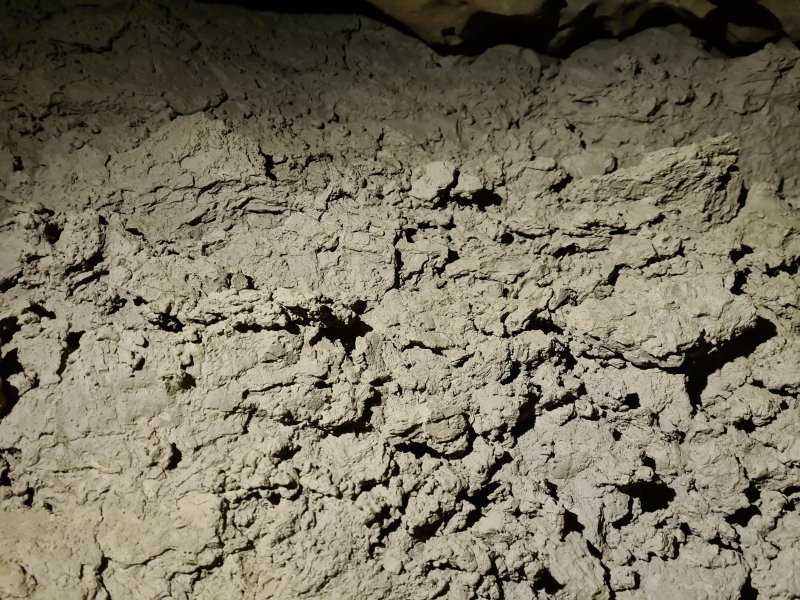 Mud formations in the oxbow.
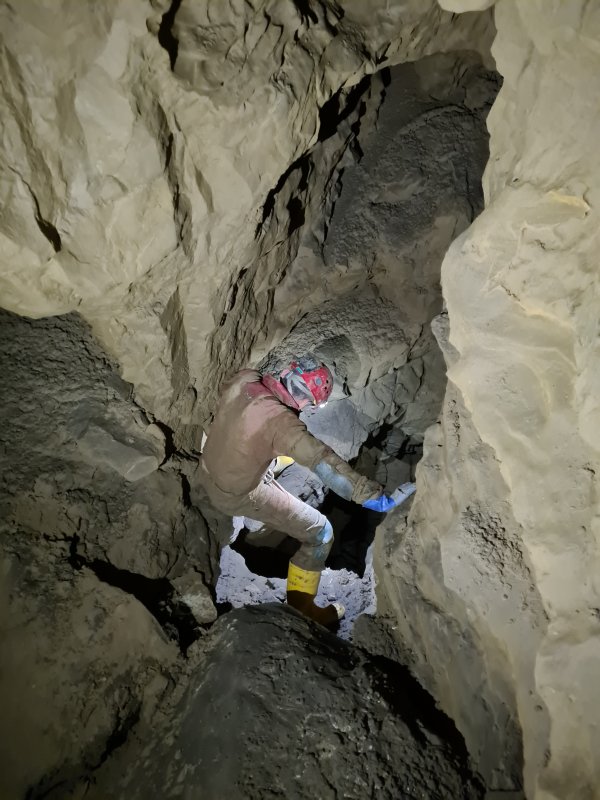 The passage ends at a junction, the start of the smaller loop. Immediately ahead is this pitch, dropping down into a side passage from The Red Baron. This is the original route into Aces High, but was originally rigged from the far side. Traversing over this hole should not be done without protection, but there are no belays on this side.
Modelling by John, lighting by Tarquin and John
The passage ends at a junction, the start of the smaller loop. Immediately ahead is this pitch, dropping down into a side passage from The Red Baron. This is the original route into Aces High, but was originally rigged from the far side. Traversing over this hole should not be done without protection, but there are no belays on this side.
Modelling by John, lighting by Tarquin and John Cryostal at the head of the pitch.
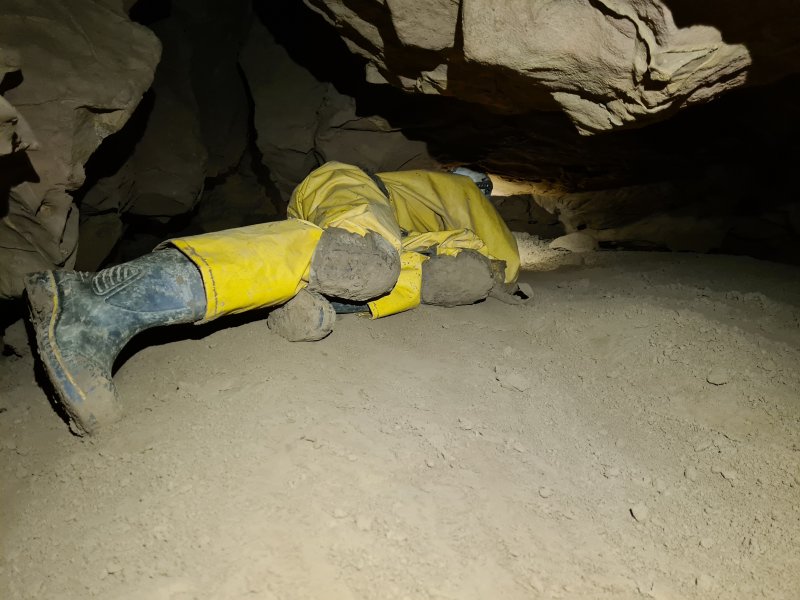 At the junction, the way on around the loop is to the left, then immediately right into this sandy crawl. (To the left was the other end of the oxbow, which has a side rift to its right, which ends up in a dead-end crawl.)
Modelling by Pete, lighting by Tarquin and Pete
At the junction, the way on around the loop is to the left, then immediately right into this sandy crawl. (To the left was the other end of the oxbow, which has a side rift to its right, which ends up in a dead-end crawl.)
Modelling by Pete, lighting by Tarquin and Pete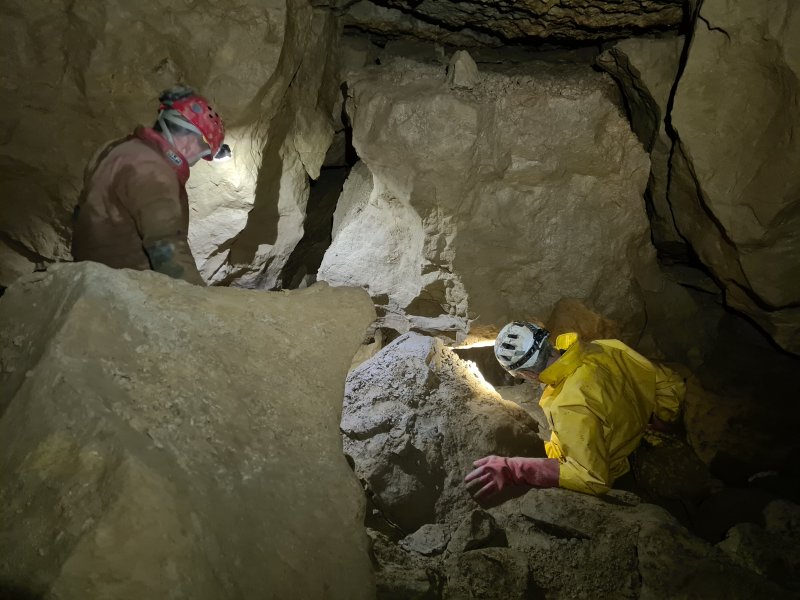 The sandy crawl ends at a junction with this enormous poised boulder. The crawl is seen on the right here. Behind the camera is a very tight side passage that soon ends. To the left of this picture is the longest of the loop's side passages. Behind the boulder is a deep crater, with the way around the loop being under the right side of the boulder, along a bouldery ledge above the crater.
Modelling by John and Pete, lighting by Tarquin, John and Pete
The sandy crawl ends at a junction with this enormous poised boulder. The crawl is seen on the right here. Behind the camera is a very tight side passage that soon ends. To the left of this picture is the longest of the loop's side passages. Behind the boulder is a deep crater, with the way around the loop being under the right side of the boulder, along a bouldery ledge above the crater.
Modelling by John and Pete, lighting by Tarquin, John and Pete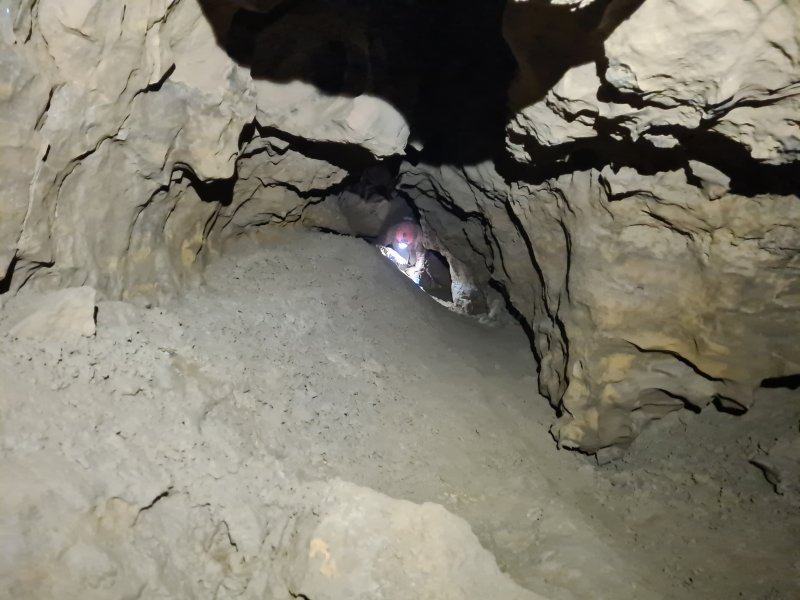 The longest side passage passes through a wriggle under a flake, and soon ends at a choke. This sits directly below a side passage in The Last Post.
Modelling by John, lighting by Tarquin and John
The longest side passage passes through a wriggle under a flake, and soon ends at a choke. This sits directly below a side passage in The Last Post.
Modelling by John, lighting by Tarquin and John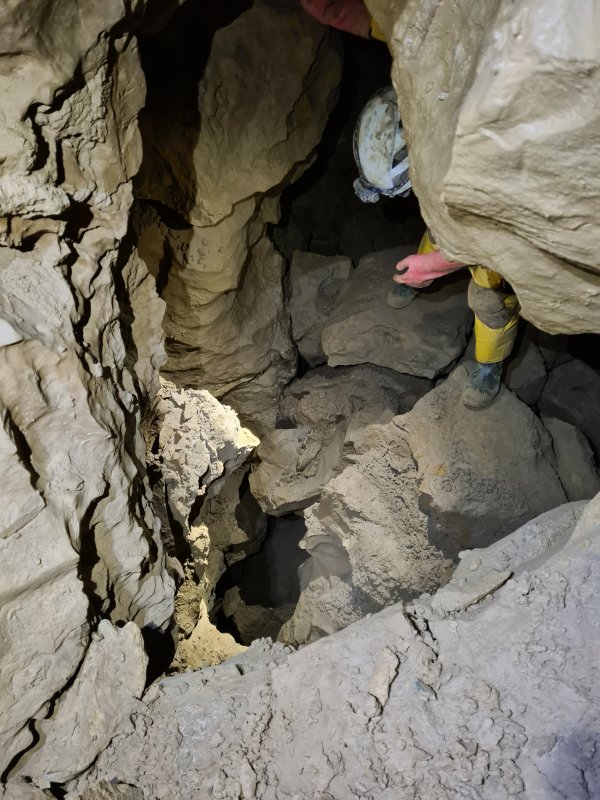 The crater is quite deep, but the bottom of it is blind. It ends over the end of the side passage from The Red Baron. There is also a side passage hidden above it, which passes over a too-tight hole dropping into a visible passage, before ending too tight beyond the hole. The hole does not appear to enter a known passage.
Modelling by Pete, lighting by Tarquin and Pete
The crater is quite deep, but the bottom of it is blind. It ends over the end of the side passage from The Red Baron. There is also a side passage hidden above it, which passes over a too-tight hole dropping into a visible passage, before ending too tight beyond the hole. The hole does not appear to enter a known passage.
Modelling by Pete, lighting by Tarquin and Pete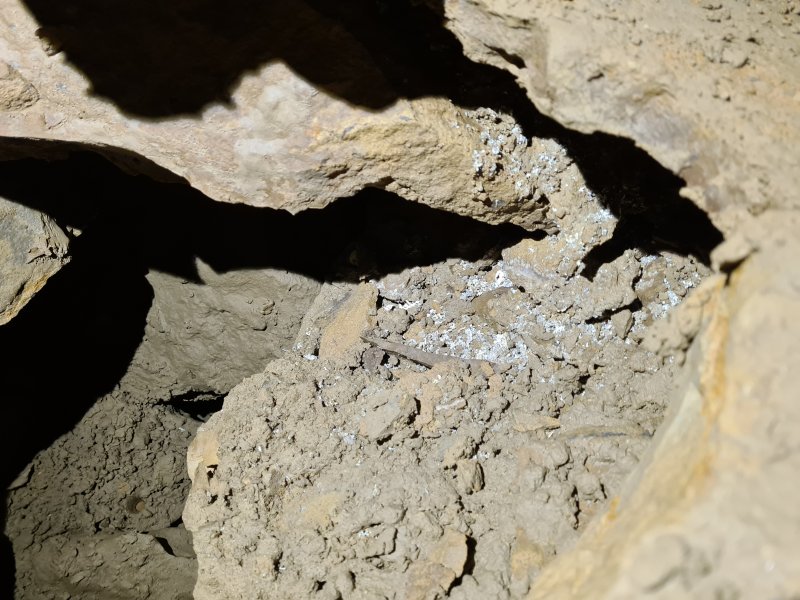 Cryostal part way down the crater.
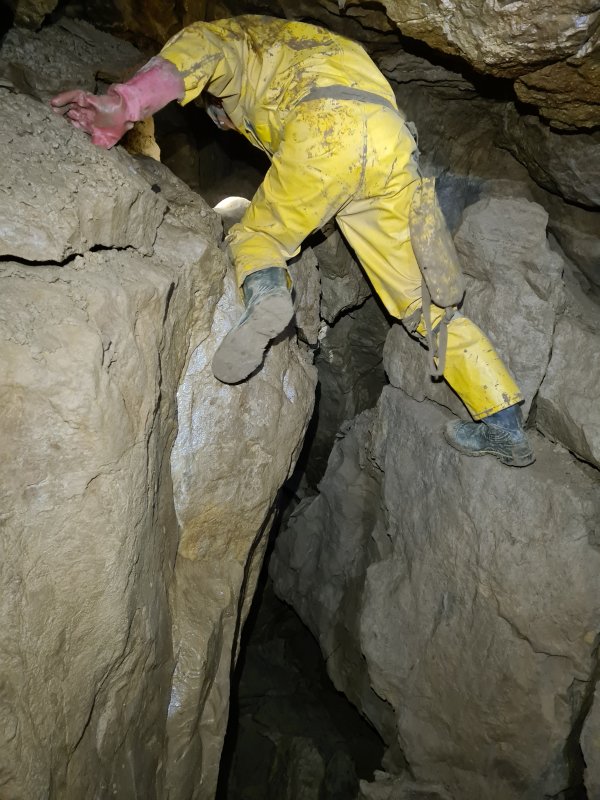 Beyond the crater, the passage splits into lower and upper routes. The lower one ends, but the upper one, above boulders, turns right into a low passage.
Modelling by Pete, lighting by Tarquin and Pete
Beyond the crater, the passage splits into lower and upper routes. The lower one ends, but the upper one, above boulders, turns right into a low passage.
Modelling by Pete, lighting by Tarquin and Pete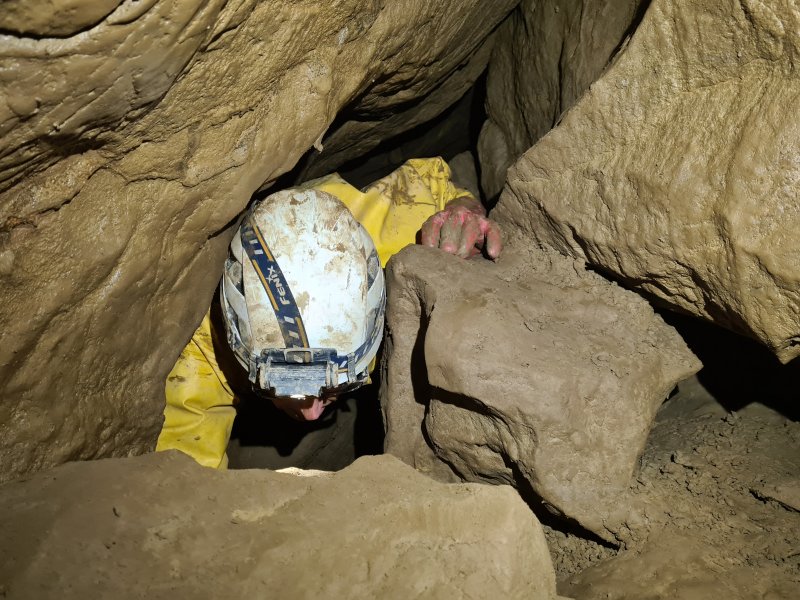 It then passes through a squeeze, which is technically entertaining, but not particularly tight.
Modelling by Pete, lighting by Tarquin and Pete
It then passes through a squeeze, which is technically entertaining, but not particularly tight.
Modelling by Pete, lighting by Tarquin and Pete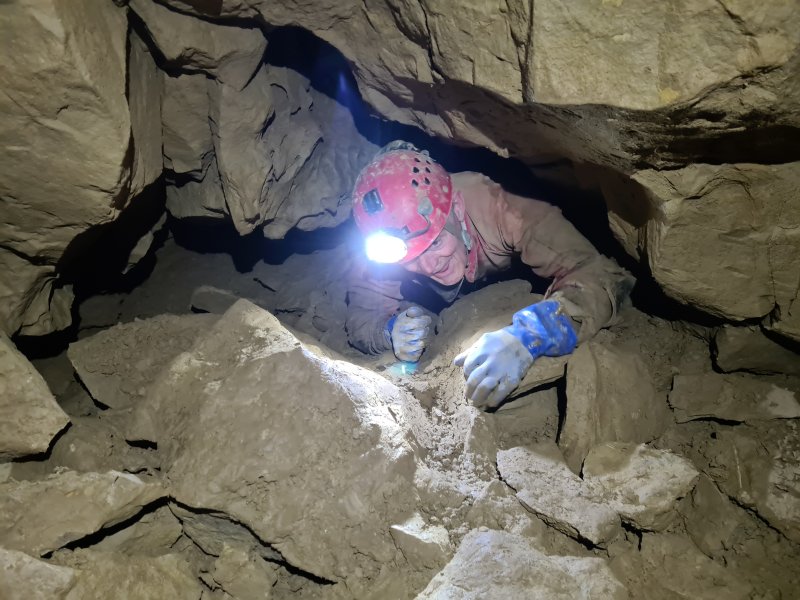 The passage continues as a low bedding. Where it suddenly enlarges, three passages on the left all end quickly.
Modelling by John, lighting by Tarquin and John
The passage continues as a low bedding. Where it suddenly enlarges, three passages on the left all end quickly.
Modelling by John, lighting by Tarquin and John The bedding ends at a large passage, with the way on around the loop to the right.
Modelling by John, lighting by Tarquin and John
The bedding ends at a large passage, with the way on around the loop to the right.
Modelling by John, lighting by Tarquin and John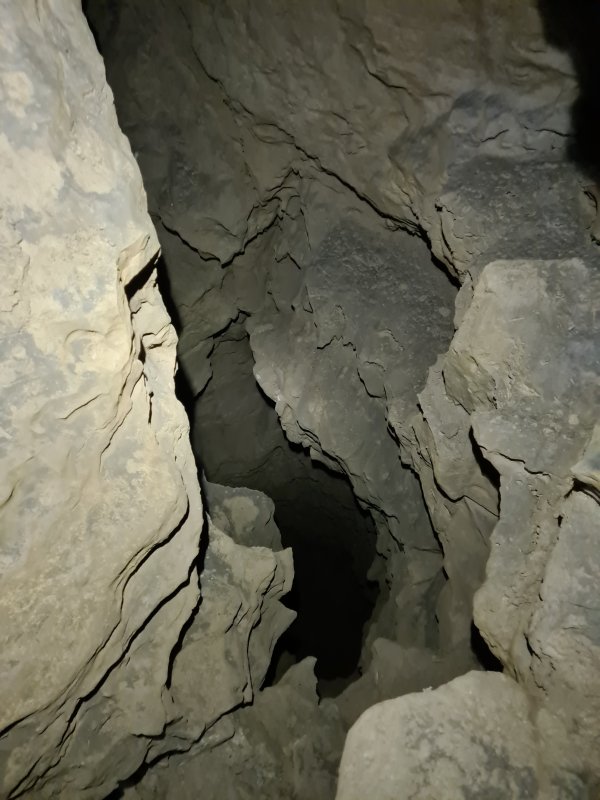 The passage then drops down the 8 metre pitch to The Red Baron's side passage. This is the side that was originally bolted (the spits are horribly rusted), and is how Aces High was originally explored. Sadly, this pitch means that a round trip via The Red Baron is now unlikely to happen, as bringing in rope or ladder equipment to this point would be too much effort, and retrieving it would be difficult. The pitch would also need new anchors to be installed. Although it might be possible to traverse over the pitch, it should be stressed that a rope should be used to make this safer, and it is best to just return through the squeeze. There was no evidence of the original explorers traversing over the hole.