Dan yr Ogof Hangar Passage trip 06/09/2020
Unless otherwise stated, camera, setups, lighting, edits and gallery effects by Tarquin. Modelling and lighting at various points will be Gareth Davies, Huw Jones, Ali Garman and Jules Carter.
On a previous trip to this area, the series was photographed extensively, but we stopped at the choke in Hangar North as we had been warned about some possibly-moving boulders. This return trip was done with others who knew the choke better, and could decide if it was OK.
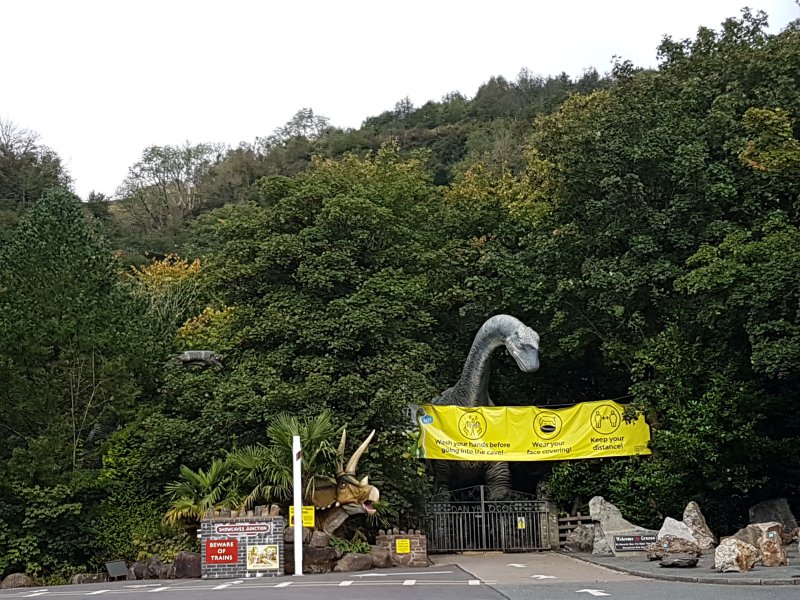
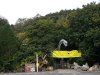 Even the dinosaurs have to wear masks, and through the showcave, so do we.
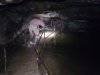 The water levels were pretty high, with the water fully flowing over the path at Lake 1.
Modelling by Gareth, lighting by Tarquin and Gareth
The water levels were pretty high, with the water fully flowing over the path at Lake 1.
Modelling by Gareth, lighting by Tarquin and Gareth The lower route through the choke at the end of Hangar Passage into Hangars North and South. This is the part with a letterbox requiring a contortion.
Modelling by Huw, lighting by Tarquin and Huw
The lower route through the choke at the end of Hangar Passage into Hangars North and South. This is the part with a letterbox requiring a contortion.
Modelling by Huw, lighting by Tarquin and Huw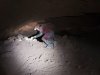 Investigating one of the old digs in Hangar North.
Modelling by Gareth, lighting by Tarquin, Ali and Gareth
Investigating one of the old digs in Hangar North.
Modelling by Gareth, lighting by Tarquin, Ali and Gareth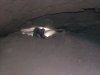 This ends at an ascending choke.
Modelling by Gareth, lighting by Tarquin, Ali and Gareth
This ends at an ascending choke.
Modelling by Gareth, lighting by Tarquin, Ali and Gareth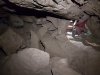 The choke at the end of Hangar North, which looks overhanging and quite unnerving, but the route through it, starting on the right side, is stable.
Modelling by Huw, lighting by Tarquin and Huw
The choke at the end of Hangar North, which looks overhanging and quite unnerving, but the route through it, starting on the right side, is stable.
Modelling by Huw, lighting by Tarquin and Huw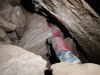 Route through the choke.
Modelling by Huw, lighting by Tarquin and Huw
Route through the choke.
Modelling by Huw, lighting by Tarquin and Huw Slithering around the boulders.
Modelling by Tarquin
Slithering around the boulders.
Modelling by Tarquin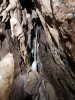 Formations in the choke.
 Emerging from the choke.
Modelling by Jules, lighting by Tarquin and Jules
Emerging from the choke.
Modelling by Jules, lighting by Tarquin and Jules Formations at the exit from the choke.
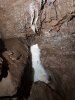 Formations above the choke.
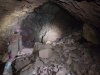 The choke is formed from the floor of an immense chimney failure chamber, formed on a fault (the jagged strips of rock above the camera).
Modelling by Gareth, lighting by Tarquin, Jules and Gareth
The choke is formed from the floor of an immense chimney failure chamber, formed on a fault (the jagged strips of rock above the camera).
Modelling by Gareth, lighting by Tarquin, Jules and Gareth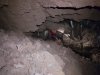 The slope is as steep as it can get, and looks like it is ready to slide into the choke, but it seems to be holding itself fairly well at the moment.
Modelling by Huw, lighting by Tarquin and Huw
The slope is as steep as it can get, and looks like it is ready to slide into the choke, but it seems to be holding itself fairly well at the moment.
Modelling by Huw, lighting by Tarquin and Huw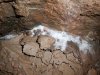 Crystal pools in the blind side alcove.
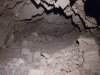 To the left of the big chamber, a wide side passage follows the fault, but it is blind, ending in its own slope of debris almost immediately.
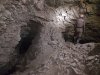 At the top of the main slope is this distinctive, shattered rubble wall. There are ways on on both sides of the wall. The left side is the better side. The pit in the floor on the left is an undercut. It is worth noting that none of the pasages here are shown correctly on the survey.
Modelling by Gareth, lighting by Tarquin, Jules and Gareth
At the top of the main slope is this distinctive, shattered rubble wall. There are ways on on both sides of the wall. The left side is the better side. The pit in the floor on the left is an undercut. It is worth noting that none of the pasages here are shown correctly on the survey.
Modelling by Gareth, lighting by Tarquin, Jules and Gareth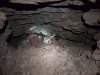 The left side of the shattered wall. This is the last place that you would expect to find a way on, as this part of the chamber is so much higher than the natural passage level. However, a flat out crawl under the wall ahead does indeed gain a junction of passages.
Modelling by Jules and Gareth, lighting by Tarquin, Jules and Gareth
The left side of the shattered wall. This is the last place that you would expect to find a way on, as this part of the chamber is so much higher than the natural passage level. However, a flat out crawl under the wall ahead does indeed gain a junction of passages.
Modelling by Jules and Gareth, lighting by Tarquin, Jules and Gareth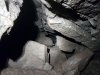 To the left is an undercut that connects back to the earlier undercuts via an awkward hole between boulders.
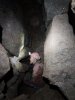 Ahead quickly reaches a surprisingly stable, pheatic passage, where it is possible to stand.
Modelling by Gareth, lighting by Tarquin and Gareth
Ahead quickly reaches a surprisingly stable, pheatic passage, where it is possible to stand.
Modelling by Gareth, lighting by Tarquin and Gareth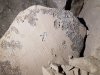 The walls and boulders are covered in selenite flowers.
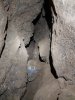 A side rift to the left, completely covered in selenite, ends immediately.
 The way on becomes a flat out crawl leading to a dig.
Modelling by parts of Tarquin and Gareth, lighting by Tarquin and Gareth
The way on becomes a flat out crawl leading to a dig.
Modelling by parts of Tarquin and Gareth, lighting by Tarquin and Gareth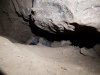 In the dig.
Modelling by Gareth, lighting by Tarquin and Gareth
In the dig.
Modelling by Gareth, lighting by Tarquin and Gareth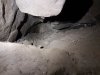 The dig ends after passing an extremely tight squeeze over a rock. We couldn't tell if maybe there was a way up in the ceiling. This part of the cave must be extremely close to parts of Mazeways 2, but it's possible that it is either much higher or much lower than those passages. A connection here would make it possible for dry cavers to reach Mazeways 2.
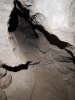 I took the side passage to the right at the first junction, which quickly became a crawl in a solid phreatic tube.
 After some distance, this passed through a window between boulders into a small chamber.
 Gareth had taken a very tight side passage to the right over rocks, somewhere near the final dig, and our two routes joined in the little chamber.
Modelling by Gareth, lighting by Tarquin and Gareth
Gareth had taken a very tight side passage to the right over rocks, somewhere near the final dig, and our two routes joined in the little chamber.
Modelling by Gareth, lighting by Tarquin and Gareth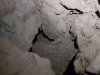 Gareth's route did not look fun at all; a lot of squeezing.
 The chamber has to be the best grotto this side of the main Hangar Passage choke.
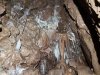 Grotto in the chamber.
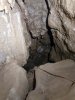 The passage then quickly reaches a dig.
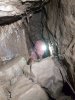 The dig is not exactly spacious, and stacking space is limited, but it is the most promising dig site.
Modelling by Gareth, lighting by Tarquin and Gareth
The dig is not exactly spacious, and stacking space is limited, but it is the most promising dig site.
Modelling by Gareth, lighting by Tarquin and Gareth Returning to the big chamber, we took the passage on the other side of the shattered pillar. This was less of a passage, and more of a hair-raising descent into an undercut. Far beyond the angle of repose, with the ceiling being too friable to be used as a handhold, this is quite an "exciting" place to be.
Modelling by Huw, lighting by Tarquin and Huw
Returning to the big chamber, we took the passage on the other side of the shattered pillar. This was less of a passage, and more of a hair-raising descent into an undercut. Far beyond the angle of repose, with the ceiling being too friable to be used as a handhold, this is quite an "exciting" place to be.
Modelling by Huw, lighting by Tarquin and Huw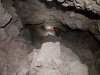 Still far from the bottom. Each person has to tuck safely out of the firing line before the next person can follow.
Modelling by Huw, lighting by Tarquin and Huw
Still far from the bottom. Each person has to tuck safely out of the firing line before the next person can follow.
Modelling by Huw, lighting by Tarquin and Huw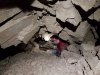 The funnel continues under the wall, and feels less safe than the inside of a partially demolished building.
Modelling by Huw, lighting by Tarquin and Huw
The funnel continues under the wall, and feels less safe than the inside of a partially demolished building.
Modelling by Huw, lighting by Tarquin and Huw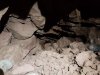 The hole at the bottom continues deeper. Some crazy caver had been down there.
Modelling by Tarquin and Huw's wellies, lighting by Tarquin and Huw
The hole at the bottom continues deeper. Some crazy caver had been down there.
Modelling by Tarquin and Huw's wellies, lighting by Tarquin and Huw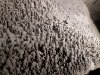 Mud formations at the start of Hangar South.
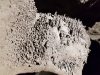 Mud formations.
 Just before the flat out crawls in Hangar South, a rift to the right has a nice flowstone formation on the floor.
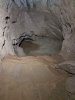 A crawl gives access to the next patch.
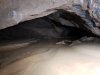 This ends at a squeeze sized arch over mud. Beyond this, the ceiling lifts and a small chamber could be seen, but there is no need to push through, as it has to close down soon. The water is seen again as the inlet above a flowstone formation in Hangar North.
 Even the dinosaurs have to wear masks, and through the showcave, so do we.
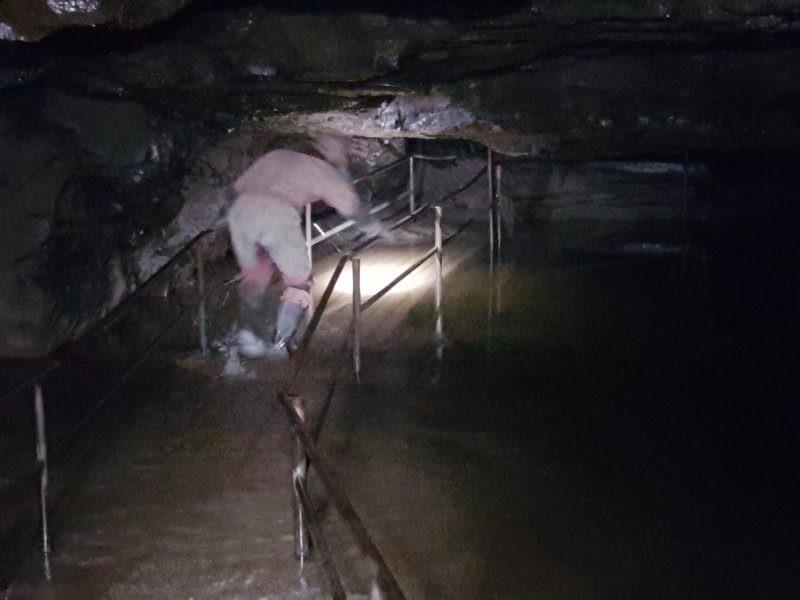 The water levels were pretty high, with the water fully flowing over the path at Lake 1.
Modelling by Gareth, lighting by Tarquin and Gareth
The water levels were pretty high, with the water fully flowing over the path at Lake 1.
Modelling by Gareth, lighting by Tarquin and Gareth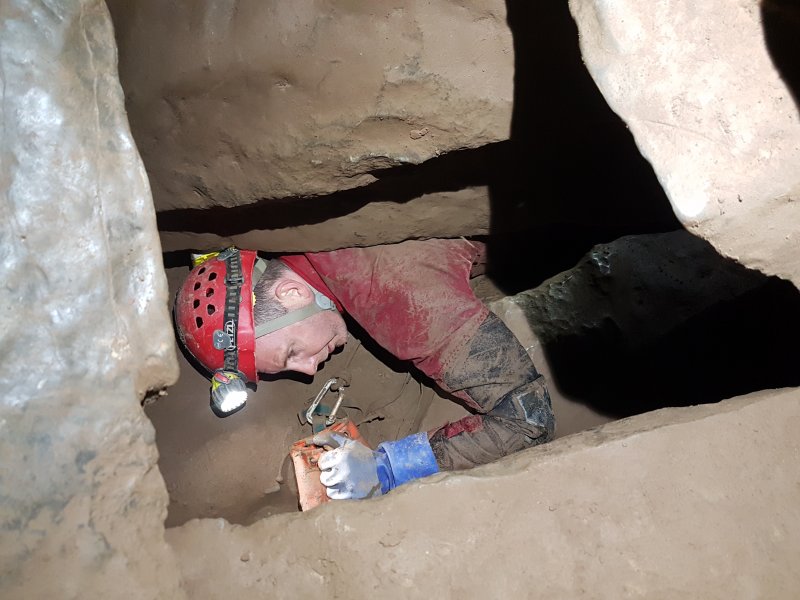 The lower route through the choke at the end of Hangar Passage into Hangars North and South. This is the part with a letterbox requiring a contortion.
Modelling by Huw, lighting by Tarquin and Huw
The lower route through the choke at the end of Hangar Passage into Hangars North and South. This is the part with a letterbox requiring a contortion.
Modelling by Huw, lighting by Tarquin and Huw Investigating one of the old digs in Hangar North.
Modelling by Gareth, lighting by Tarquin, Ali and Gareth
Investigating one of the old digs in Hangar North.
Modelling by Gareth, lighting by Tarquin, Ali and Gareth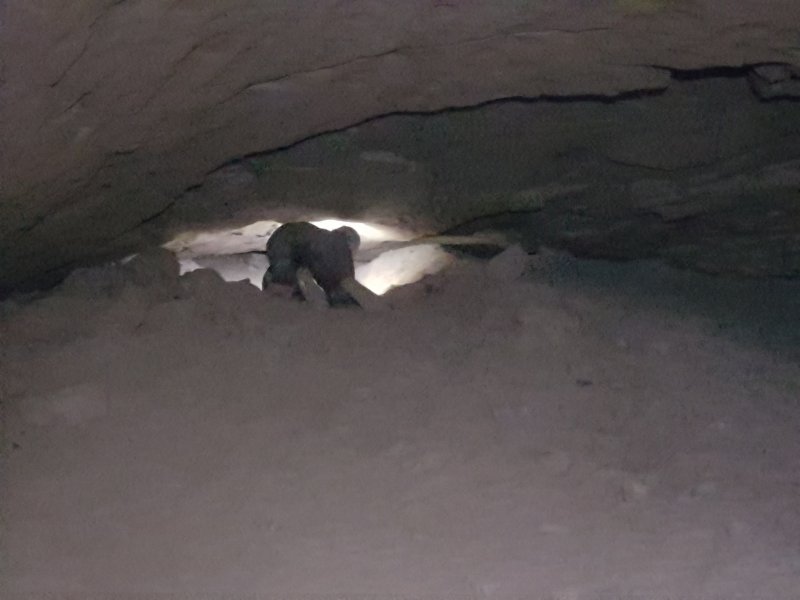 This ends at an ascending choke.
Modelling by Gareth, lighting by Tarquin, Ali and Gareth
This ends at an ascending choke.
Modelling by Gareth, lighting by Tarquin, Ali and Gareth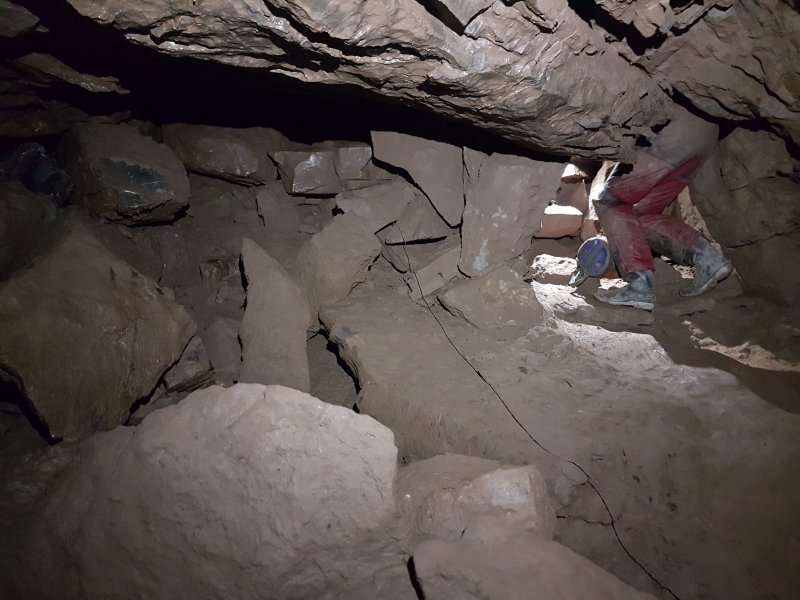 The choke at the end of Hangar North, which looks overhanging and quite unnerving, but the route through it, starting on the right side, is stable.
Modelling by Huw, lighting by Tarquin and Huw
The choke at the end of Hangar North, which looks overhanging and quite unnerving, but the route through it, starting on the right side, is stable.
Modelling by Huw, lighting by Tarquin and Huw Route through the choke.
Modelling by Huw, lighting by Tarquin and Huw
Route through the choke.
Modelling by Huw, lighting by Tarquin and Huw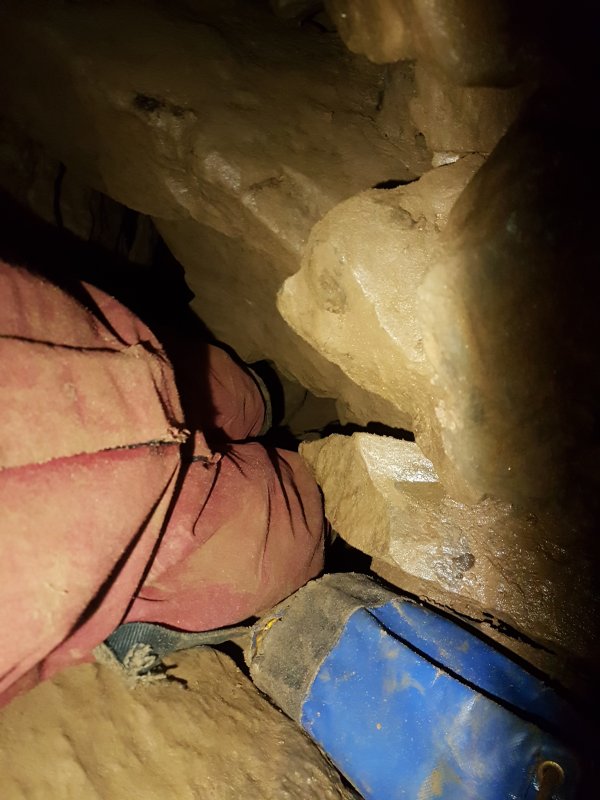 Slithering around the boulders.
Modelling by Tarquin
Slithering around the boulders.
Modelling by Tarquin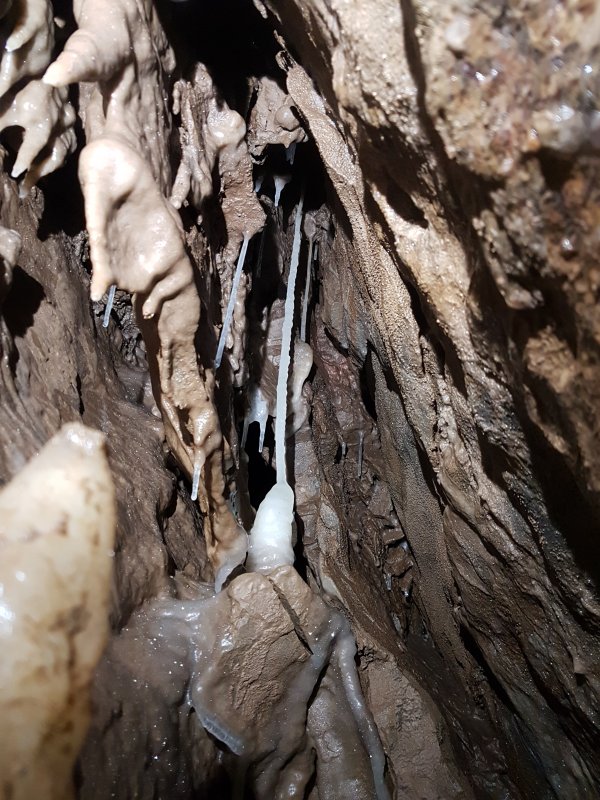 Formations in the choke.
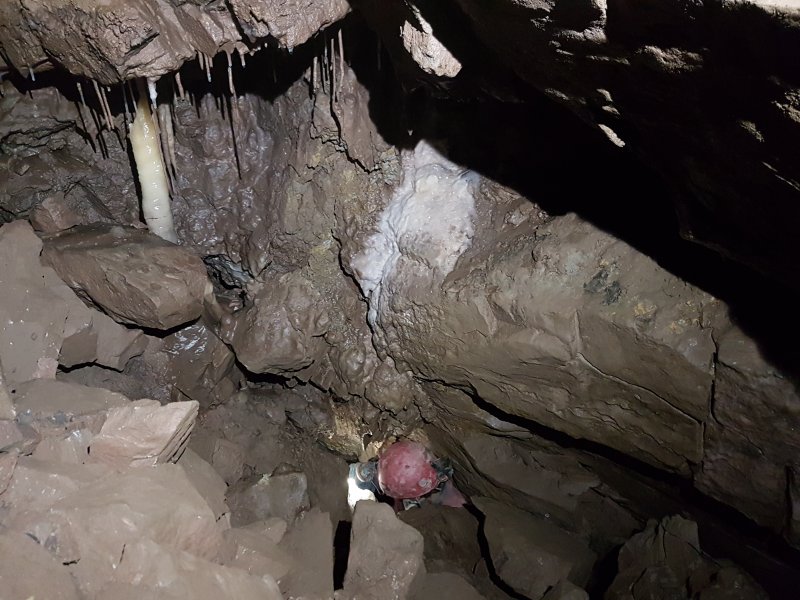 Emerging from the choke.
Modelling by Jules, lighting by Tarquin and Jules
Emerging from the choke.
Modelling by Jules, lighting by Tarquin and Jules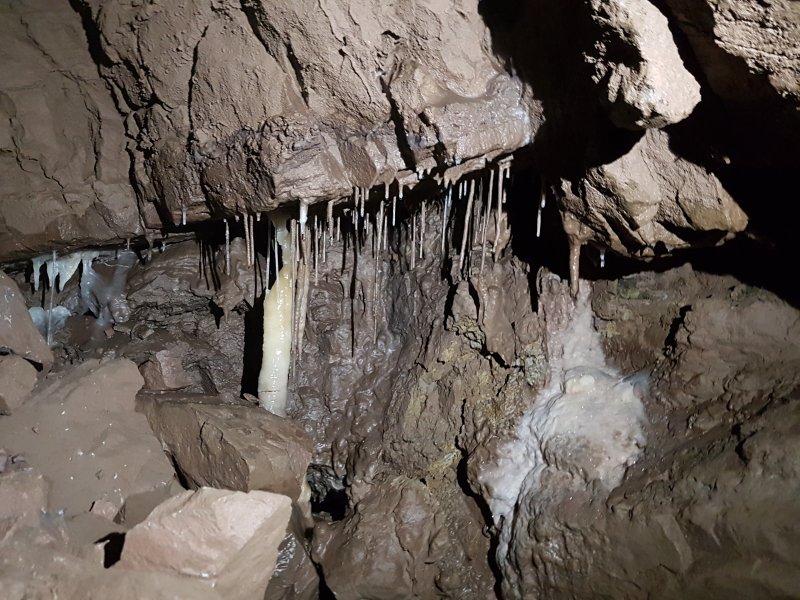 Formations at the exit from the choke.
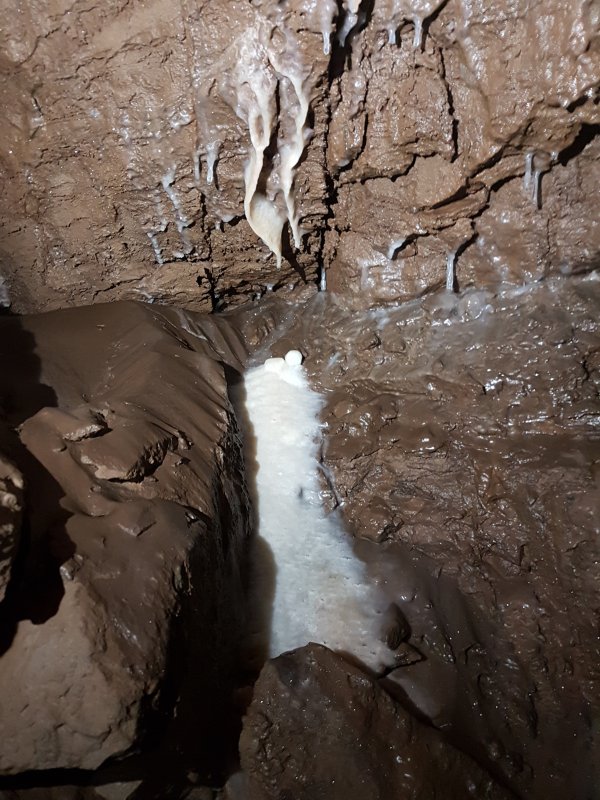 Formations above the choke.
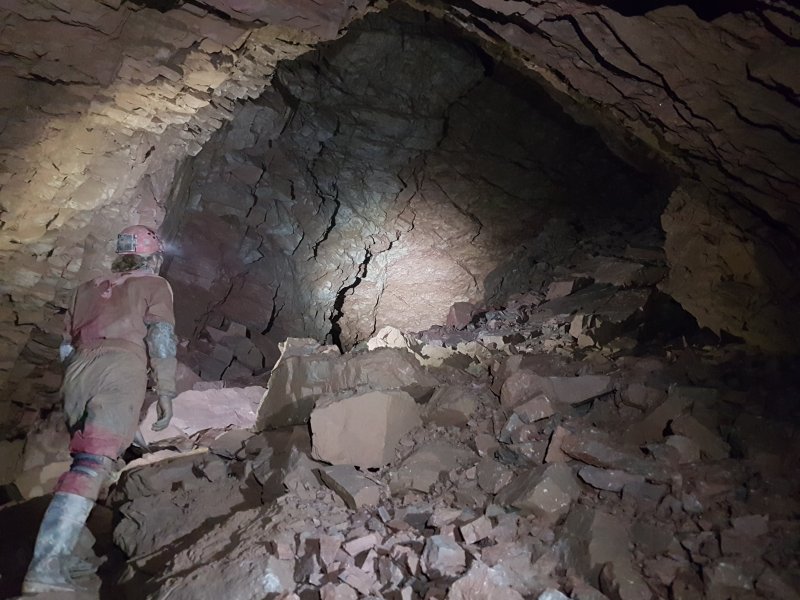 The choke is formed from the floor of an immense chimney failure chamber, formed on a fault (the jagged strips of rock above the camera).
Modelling by Gareth, lighting by Tarquin, Jules and Gareth
The choke is formed from the floor of an immense chimney failure chamber, formed on a fault (the jagged strips of rock above the camera).
Modelling by Gareth, lighting by Tarquin, Jules and Gareth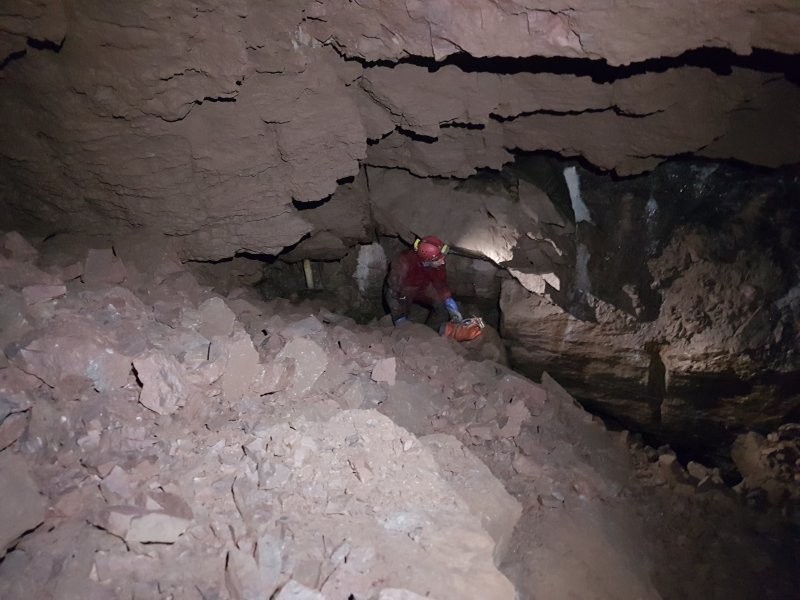 The slope is as steep as it can get, and looks like it is ready to slide into the choke, but it seems to be holding itself fairly well at the moment.
Modelling by Huw, lighting by Tarquin and Huw
The slope is as steep as it can get, and looks like it is ready to slide into the choke, but it seems to be holding itself fairly well at the moment.
Modelling by Huw, lighting by Tarquin and Huw Crystal pools in the blind side alcove.
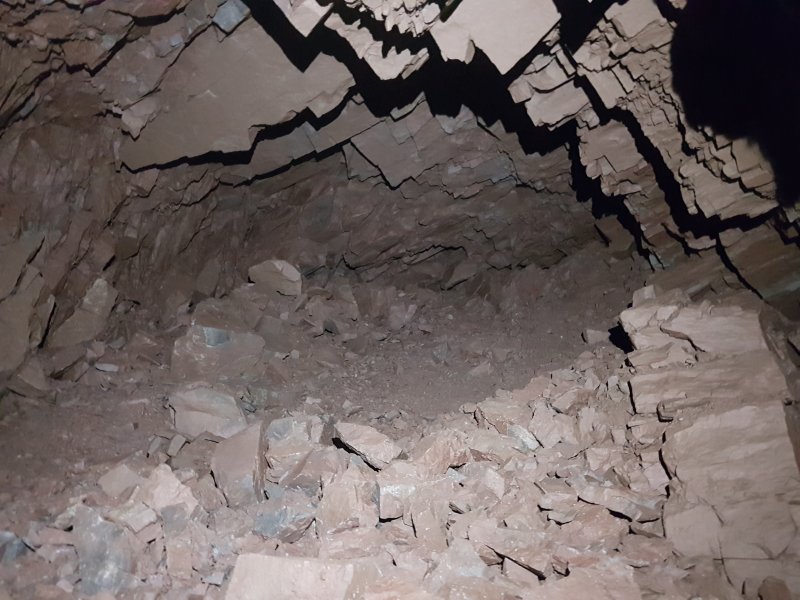 To the left of the big chamber, a wide side passage follows the fault, but it is blind, ending in its own slope of debris almost immediately.
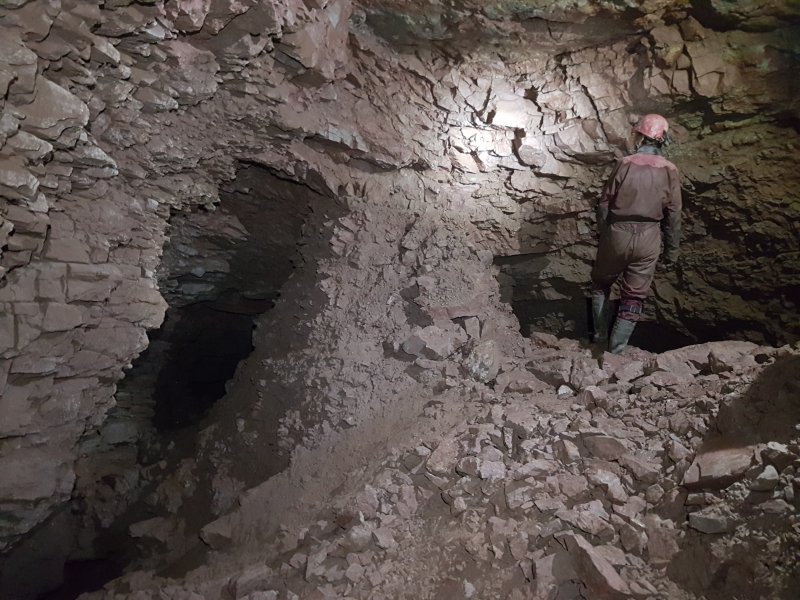 At the top of the main slope is this distinctive, shattered rubble wall. There are ways on on both sides of the wall. The left side is the better side. The pit in the floor on the left is an undercut. It is worth noting that none of the pasages here are shown correctly on the survey.
Modelling by Gareth, lighting by Tarquin, Jules and Gareth
At the top of the main slope is this distinctive, shattered rubble wall. There are ways on on both sides of the wall. The left side is the better side. The pit in the floor on the left is an undercut. It is worth noting that none of the pasages here are shown correctly on the survey.
Modelling by Gareth, lighting by Tarquin, Jules and Gareth The left side of the shattered wall. This is the last place that you would expect to find a way on, as this part of the chamber is so much higher than the natural passage level. However, a flat out crawl under the wall ahead does indeed gain a junction of passages.
Modelling by Jules and Gareth, lighting by Tarquin, Jules and Gareth
The left side of the shattered wall. This is the last place that you would expect to find a way on, as this part of the chamber is so much higher than the natural passage level. However, a flat out crawl under the wall ahead does indeed gain a junction of passages.
Modelling by Jules and Gareth, lighting by Tarquin, Jules and Gareth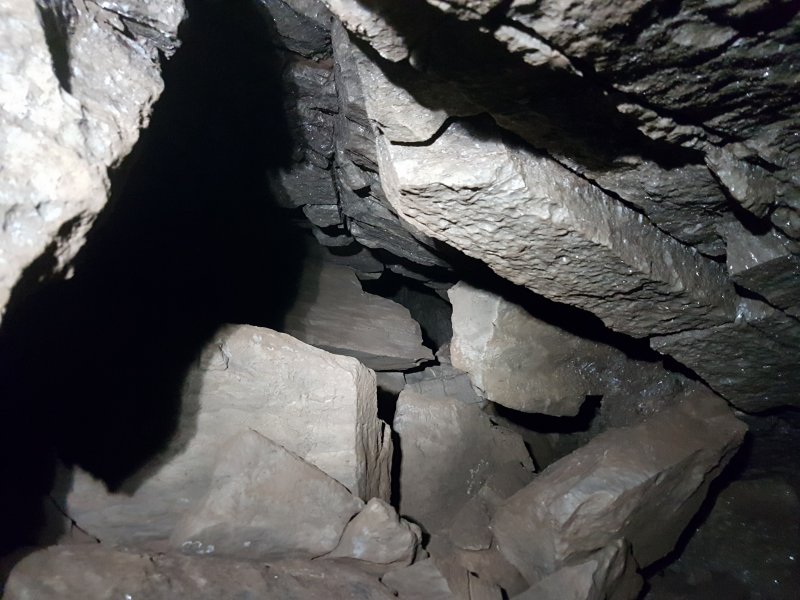 To the left is an undercut that connects back to the earlier undercuts via an awkward hole between boulders.
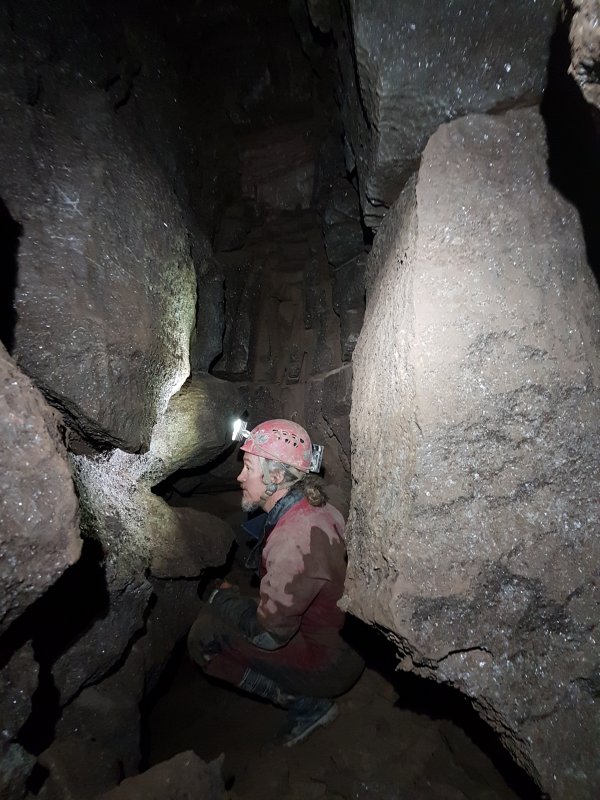 Ahead quickly reaches a surprisingly stable, pheatic passage, where it is possible to stand.
Modelling by Gareth, lighting by Tarquin and Gareth
Ahead quickly reaches a surprisingly stable, pheatic passage, where it is possible to stand.
Modelling by Gareth, lighting by Tarquin and Gareth The walls and boulders are covered in selenite flowers.
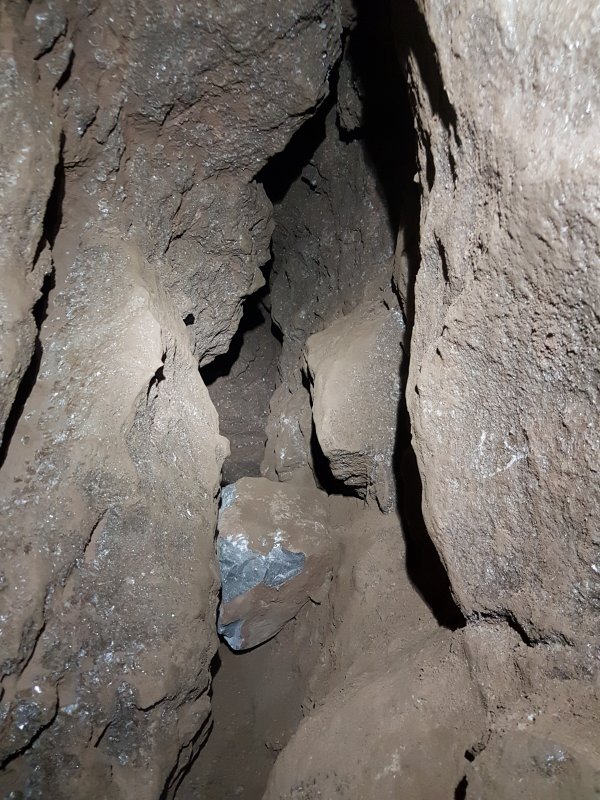 A side rift to the left, completely covered in selenite, ends immediately.
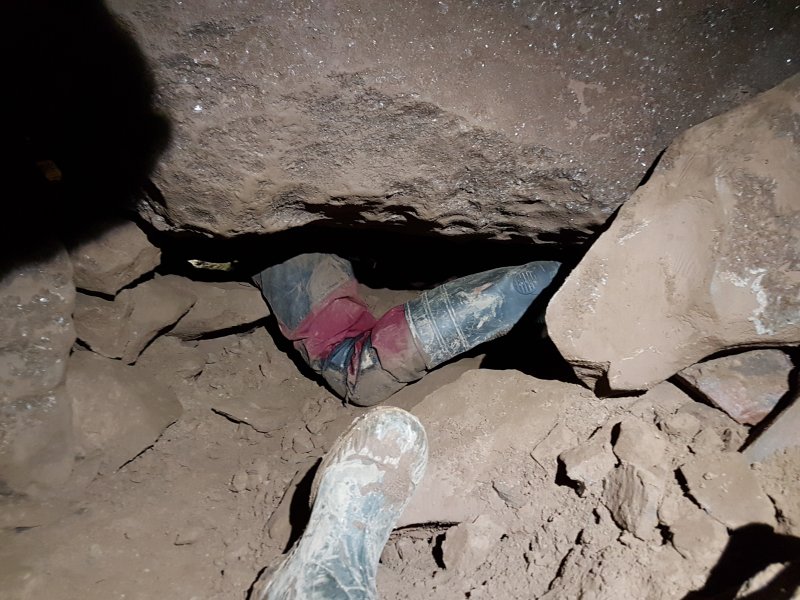 The way on becomes a flat out crawl leading to a dig.
Modelling by parts of Tarquin and Gareth, lighting by Tarquin and Gareth
The way on becomes a flat out crawl leading to a dig.
Modelling by parts of Tarquin and Gareth, lighting by Tarquin and Gareth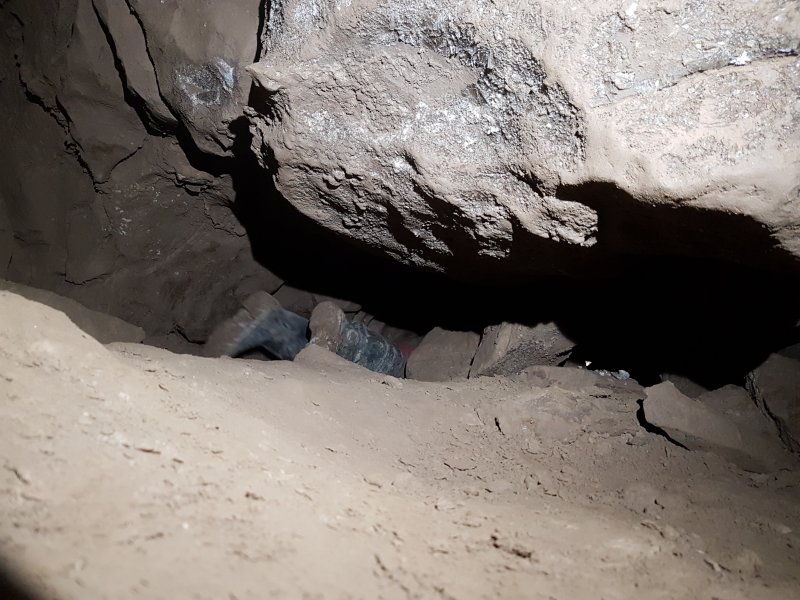 In the dig.
Modelling by Gareth, lighting by Tarquin and Gareth
In the dig.
Modelling by Gareth, lighting by Tarquin and Gareth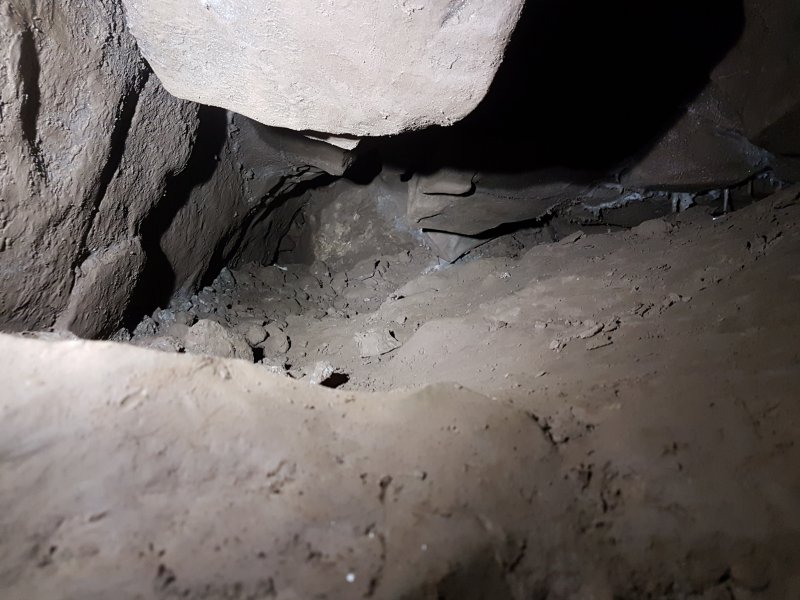 The dig ends after passing an extremely tight squeeze over a rock. We couldn't tell if maybe there was a way up in the ceiling. This part of the cave must be extremely close to parts of Mazeways 2, but it's possible that it is either much higher or much lower than those passages. A connection here would make it possible for dry cavers to reach Mazeways 2.
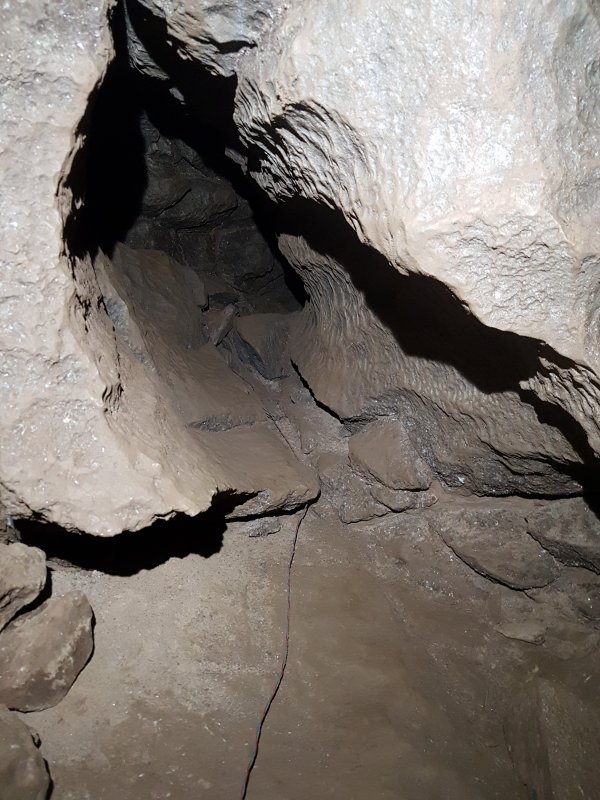 I took the side passage to the right at the first junction, which quickly became a crawl in a solid phreatic tube.
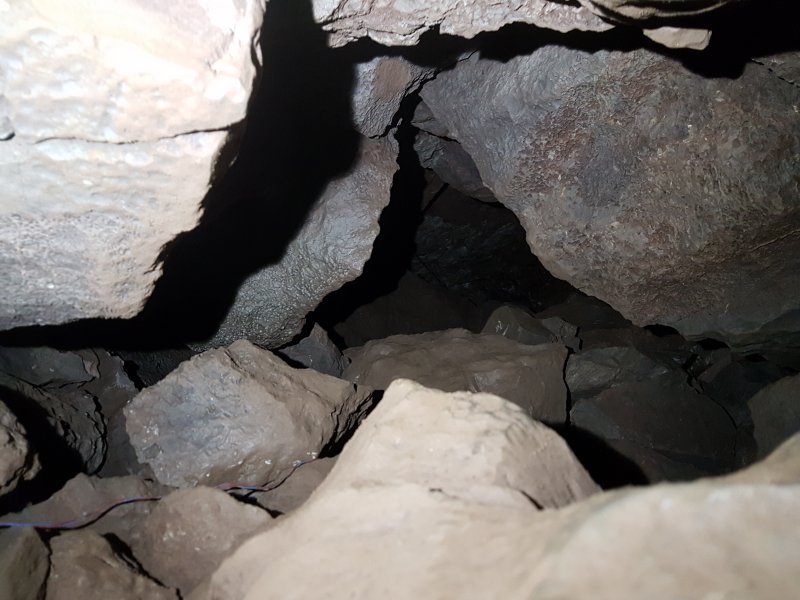 After some distance, this passed through a window between boulders into a small chamber.
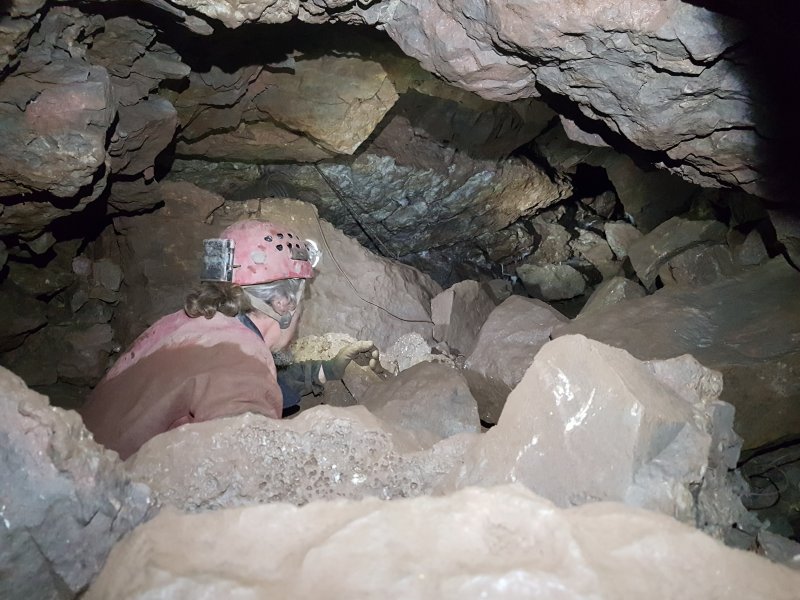 Gareth had taken a very tight side passage to the right over rocks, somewhere near the final dig, and our two routes joined in the little chamber.
Modelling by Gareth, lighting by Tarquin and Gareth
Gareth had taken a very tight side passage to the right over rocks, somewhere near the final dig, and our two routes joined in the little chamber.
Modelling by Gareth, lighting by Tarquin and Gareth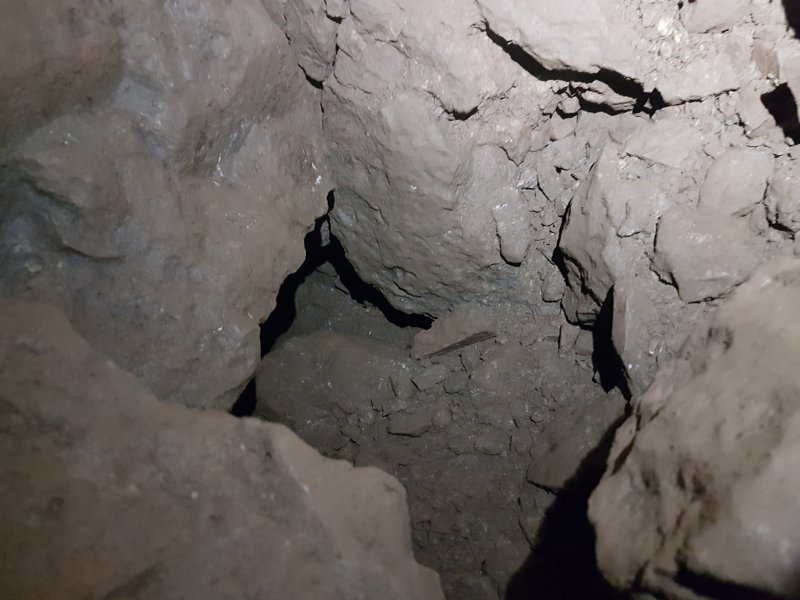 Gareth's route did not look fun at all; a lot of squeezing.
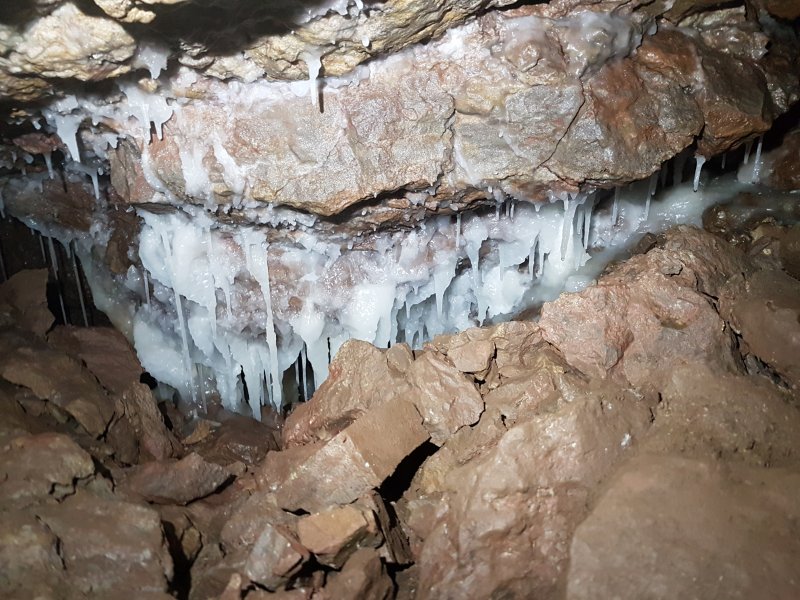 The chamber has to be the best grotto this side of the main Hangar Passage choke.
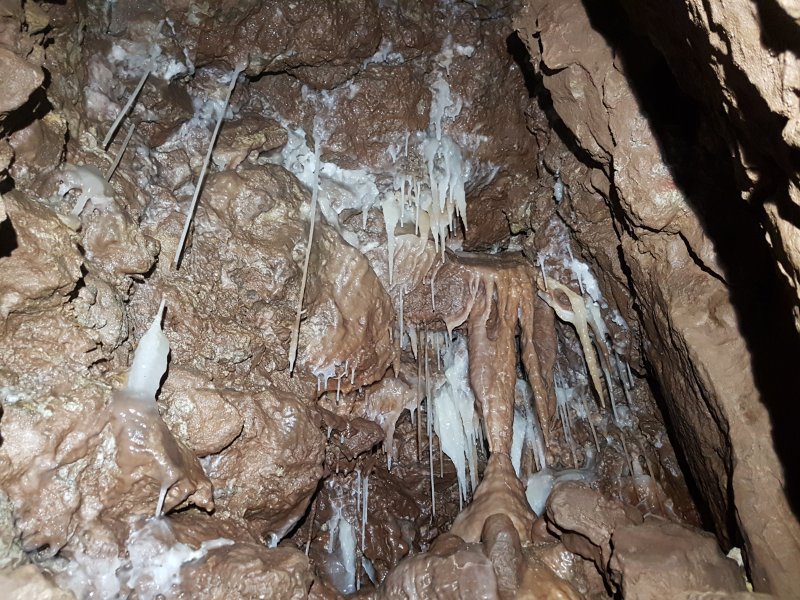 Grotto in the chamber.
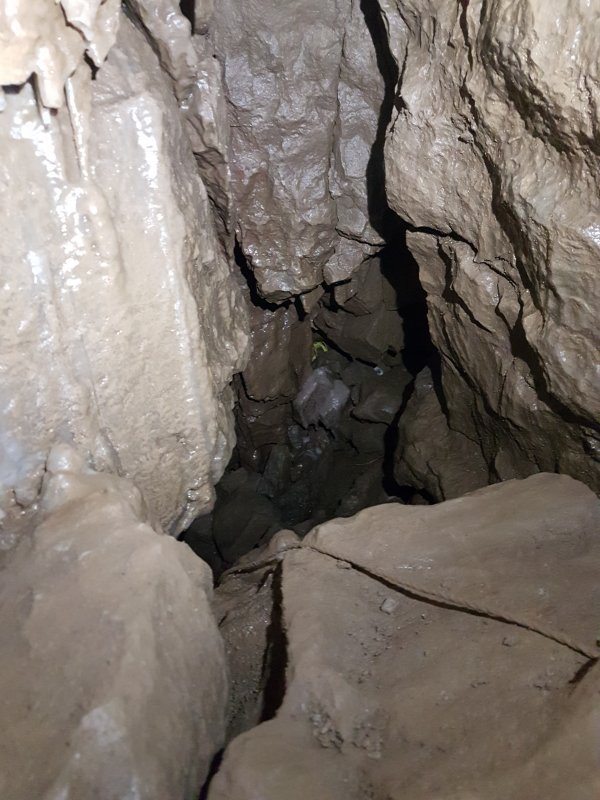 The passage then quickly reaches a dig.
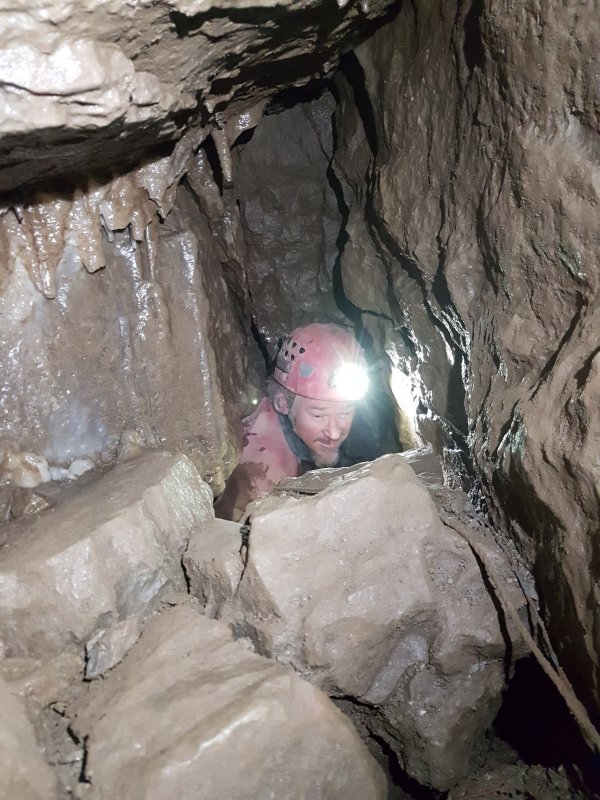 The dig is not exactly spacious, and stacking space is limited, but it is the most promising dig site.
Modelling by Gareth, lighting by Tarquin and Gareth
The dig is not exactly spacious, and stacking space is limited, but it is the most promising dig site.
Modelling by Gareth, lighting by Tarquin and Gareth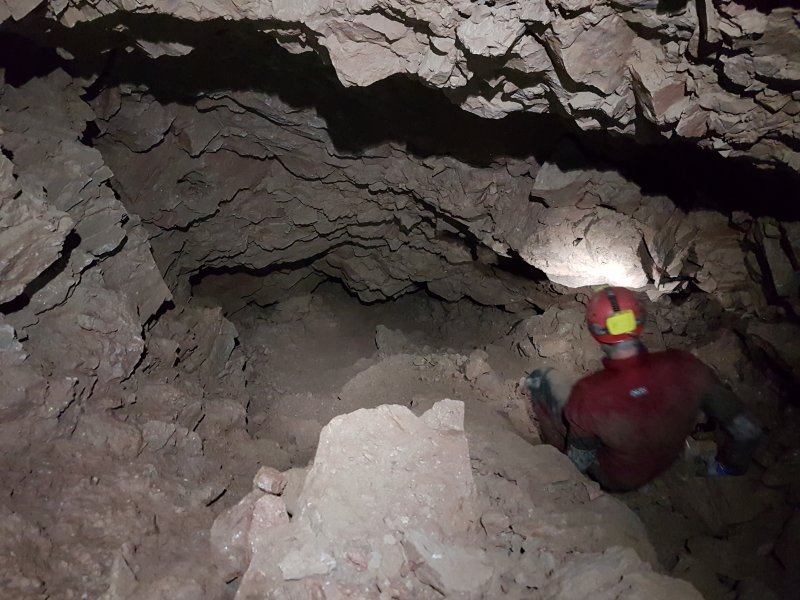 Returning to the big chamber, we took the passage on the other side of the shattered pillar. This was less of a passage, and more of a hair-raising descent into an undercut. Far beyond the angle of repose, with the ceiling being too friable to be used as a handhold, this is quite an "exciting" place to be.
Modelling by Huw, lighting by Tarquin and Huw
Returning to the big chamber, we took the passage on the other side of the shattered pillar. This was less of a passage, and more of a hair-raising descent into an undercut. Far beyond the angle of repose, with the ceiling being too friable to be used as a handhold, this is quite an "exciting" place to be.
Modelling by Huw, lighting by Tarquin and Huw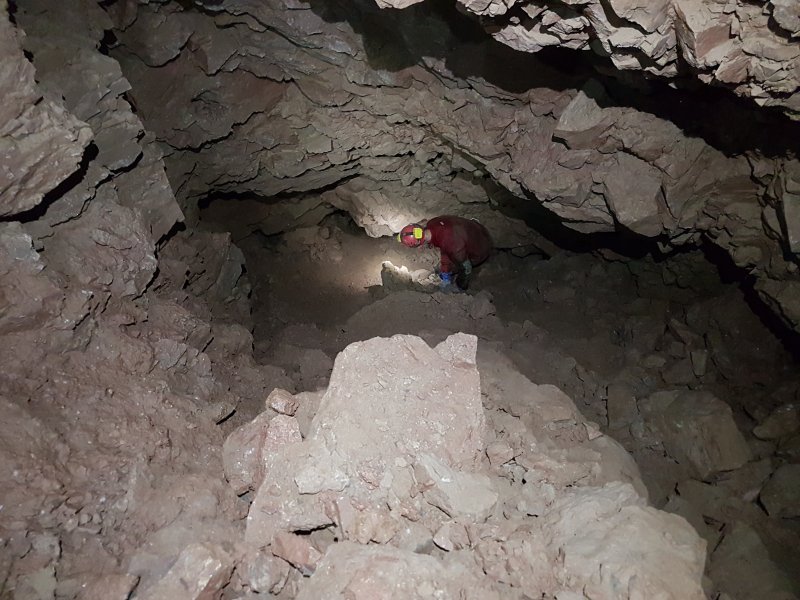 Still far from the bottom. Each person has to tuck safely out of the firing line before the next person can follow.
Modelling by Huw, lighting by Tarquin and Huw
Still far from the bottom. Each person has to tuck safely out of the firing line before the next person can follow.
Modelling by Huw, lighting by Tarquin and Huw The funnel continues under the wall, and feels less safe than the inside of a partially demolished building.
Modelling by Huw, lighting by Tarquin and Huw
The funnel continues under the wall, and feels less safe than the inside of a partially demolished building.
Modelling by Huw, lighting by Tarquin and Huw The hole at the bottom continues deeper. Some crazy caver had been down there.
Modelling by Tarquin and Huw's wellies, lighting by Tarquin and Huw
The hole at the bottom continues deeper. Some crazy caver had been down there.
Modelling by Tarquin and Huw's wellies, lighting by Tarquin and Huw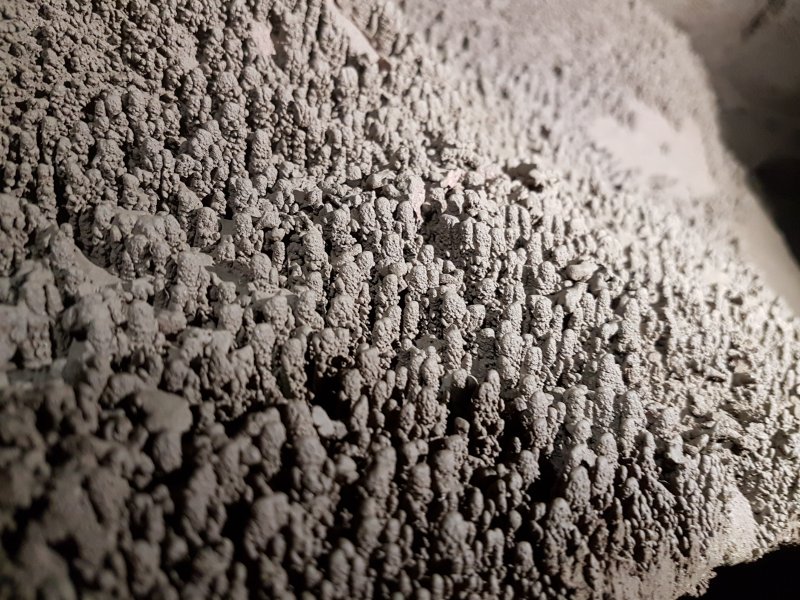 Mud formations at the start of Hangar South.
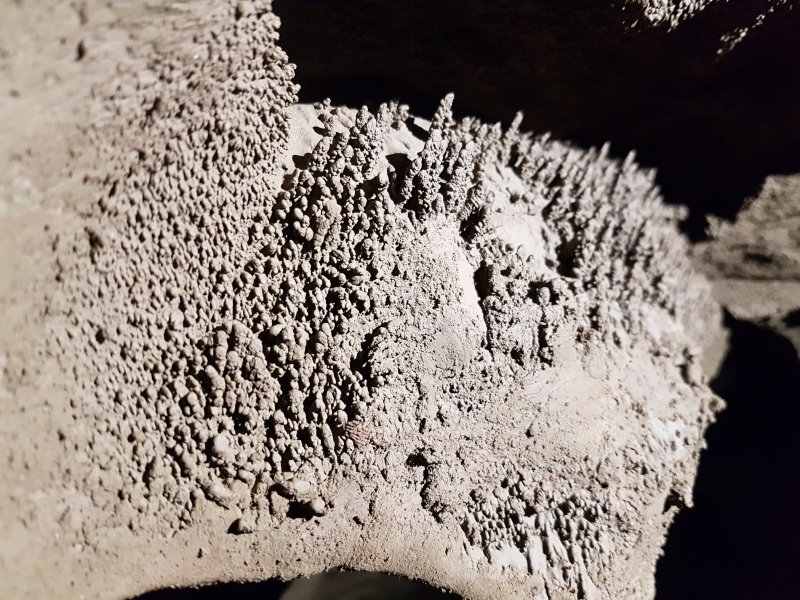 Mud formations.
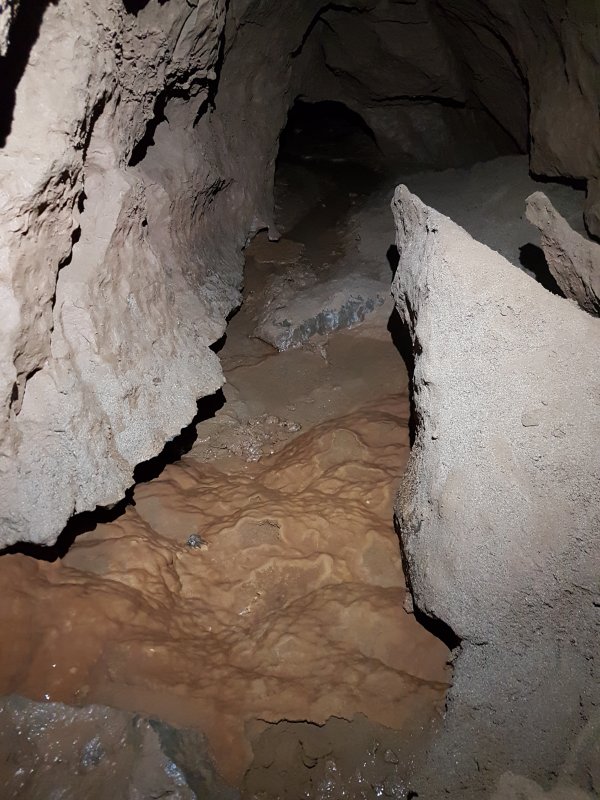 Just before the flat out crawls in Hangar South, a rift to the right has a nice flowstone formation on the floor.
 A crawl gives access to the next patch.
 This ends at a squeeze sized arch over mud. Beyond this, the ceiling lifts and a small chamber could be seen, but there is no need to push through, as it has to close down soon. The water is seen again as the inlet above a flowstone formation in Hangar North.