Vertical caving terminology and methods > SRT basic terms
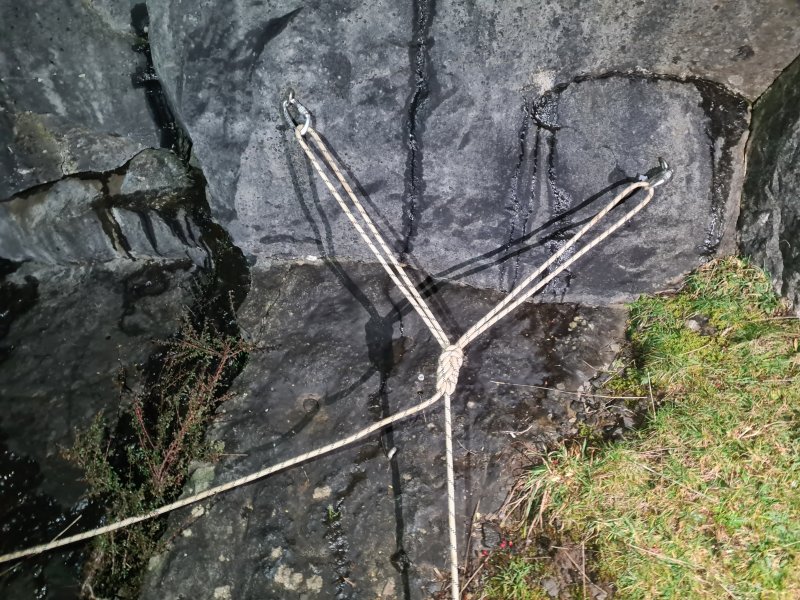
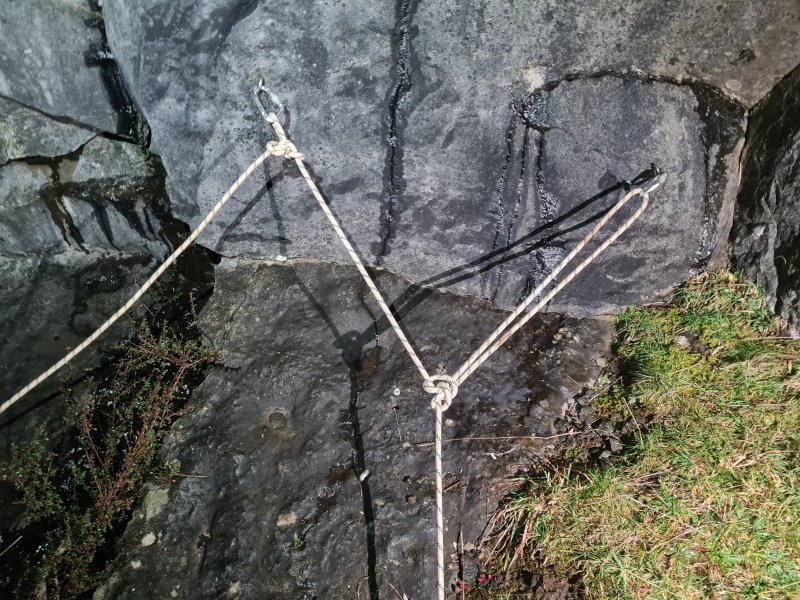
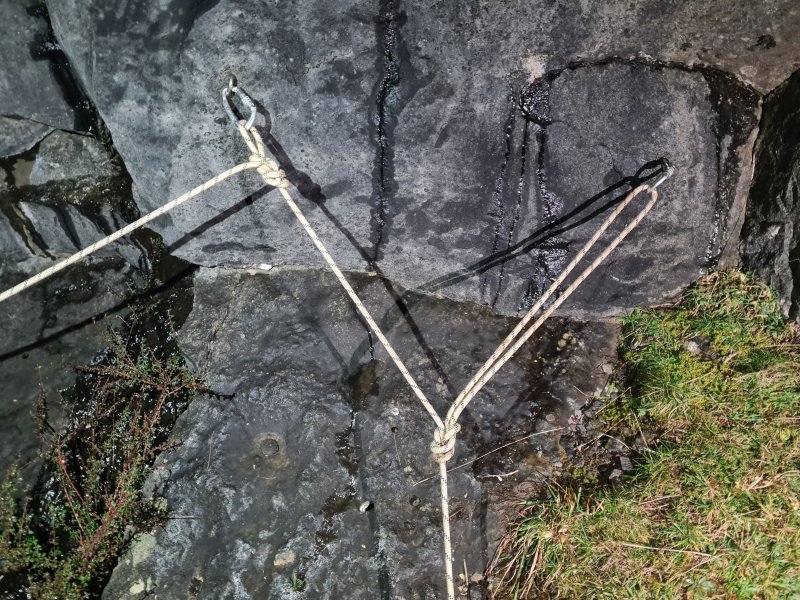
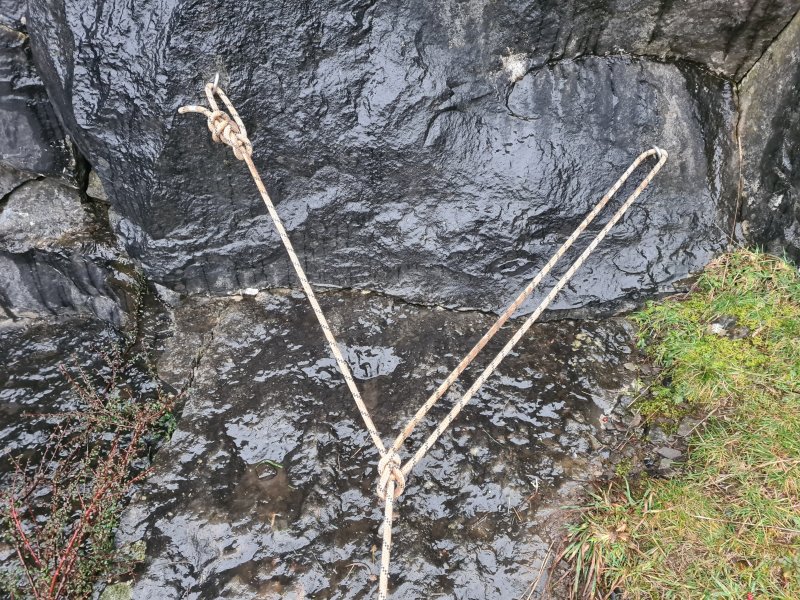

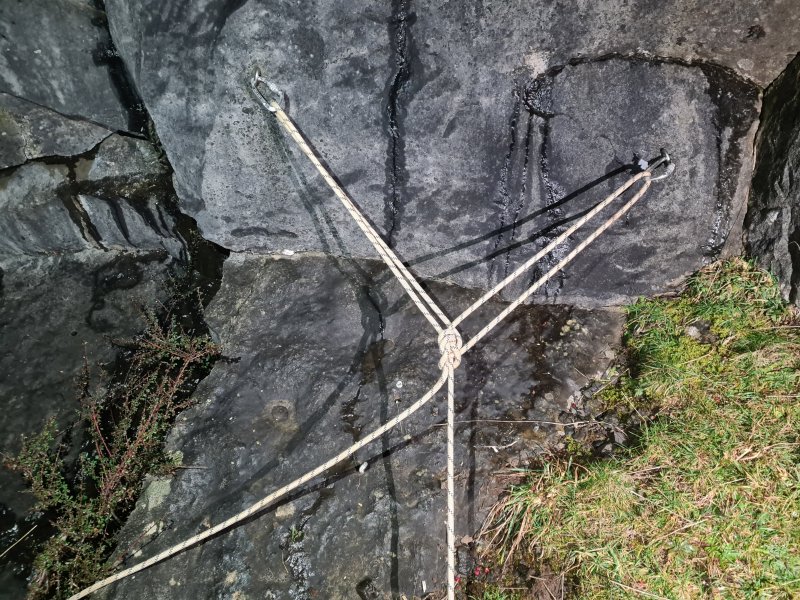
A double attachment point, usually used at the top of a pitch, to share the load of the rope and caver, between two attachments instead of one. Provides redundancy, so that if one fails, there is a second one to take over. Allows fine control over where the rope hangs between two walls of a pitch. This is useful for avoiding rub points, or to avoid the knots rubbing against the rock. As long as the angle of the Y-hang (between the arms of the Y) has been set up to be less than 90°, which it is supposed to be, each attachment point sees less than the full load. On average, they will each see more than half of the load. At a perfectly balanced Y-hang with an angle of 90°, each attachment point would see 71% of the load, pulling towards the knot. At an angle of 120°, each attachment point will see the full load, removing one of the benefits of using a Y-hang. At angles greater than 120°, each attachment point sees more than the full load. This effect is particularly noticeable with the Y-hang used for a pull-through.
Assuming an equally balanced Y-hang, the force on the anchors of a Y-hang can be calculated with the same formula as a Tyrolean traverse:
0.5 × load on the rope / sin( angle of the arm from horizontal )
where:
angle of the arm from horizontal = 90 - ( angle between the arms / 2 )
<< Backup | Rebelay (pronounced "REE-BEE-lay", not "REE-bu-LAY") >>
This page is not intended to be viewed this way, please load the entire article. This version exists only to make it easier for search engines to understand the contents.